Resolutions Can Be Fun

NYE - sisters

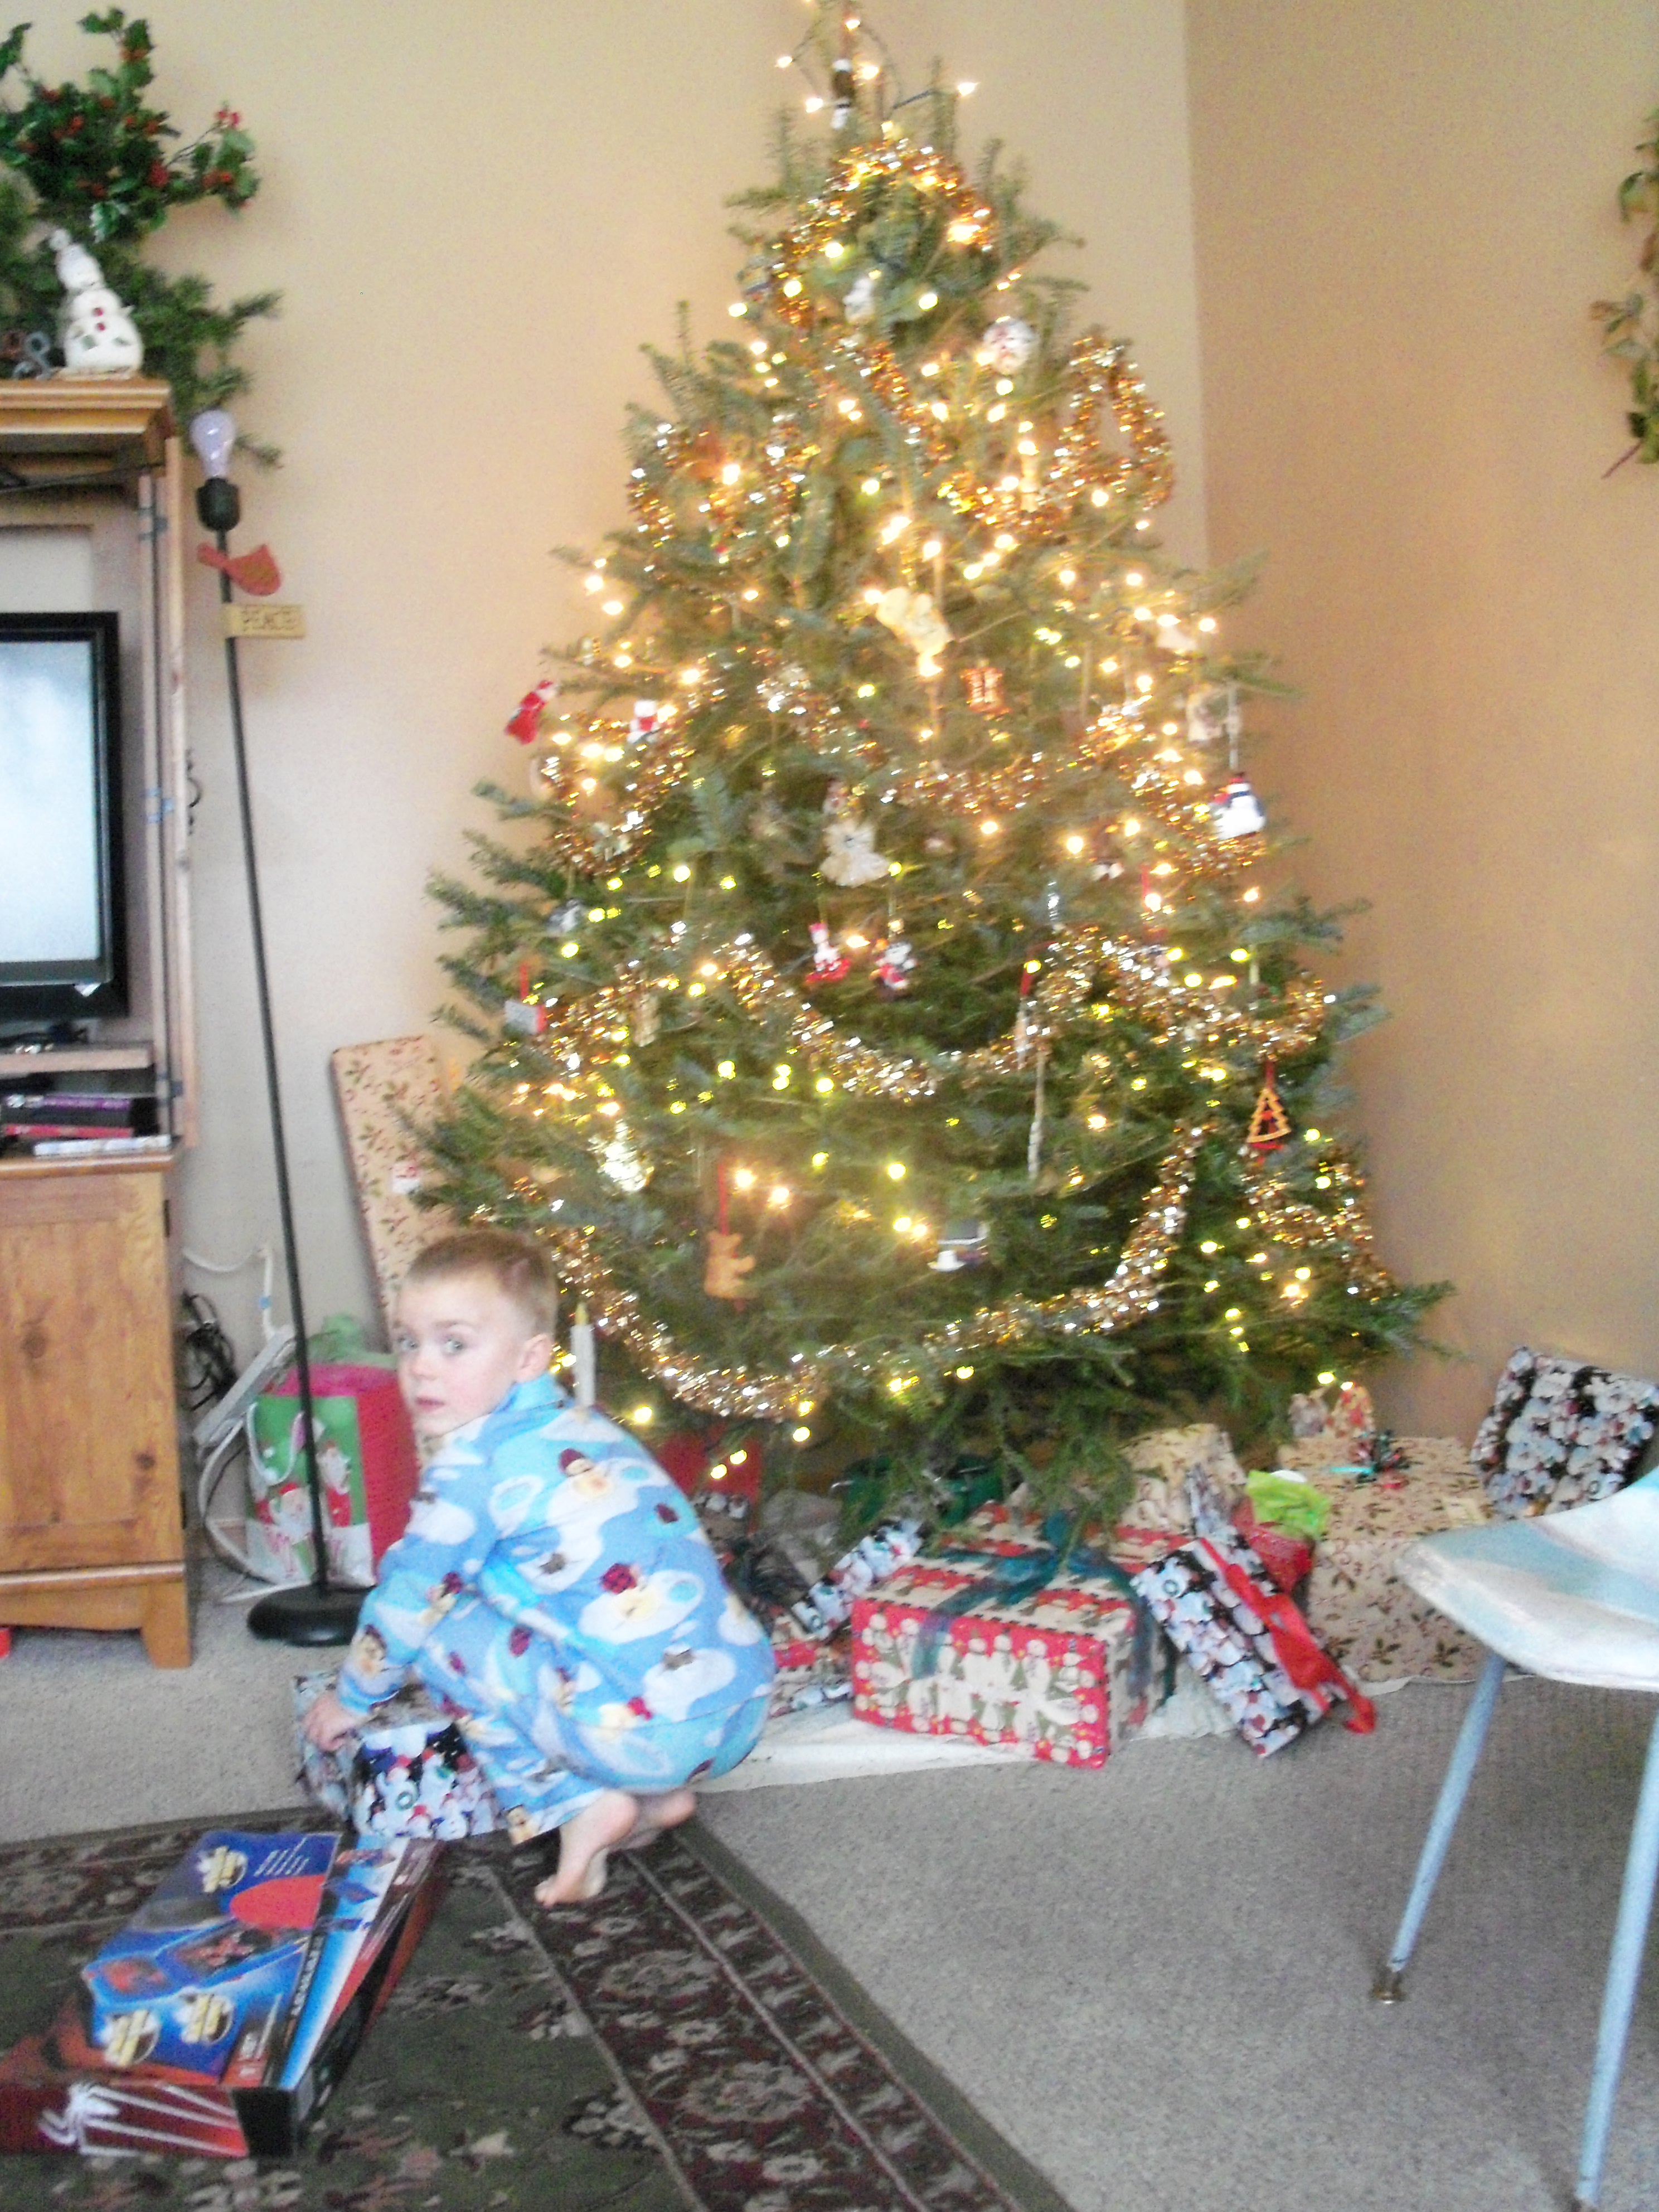
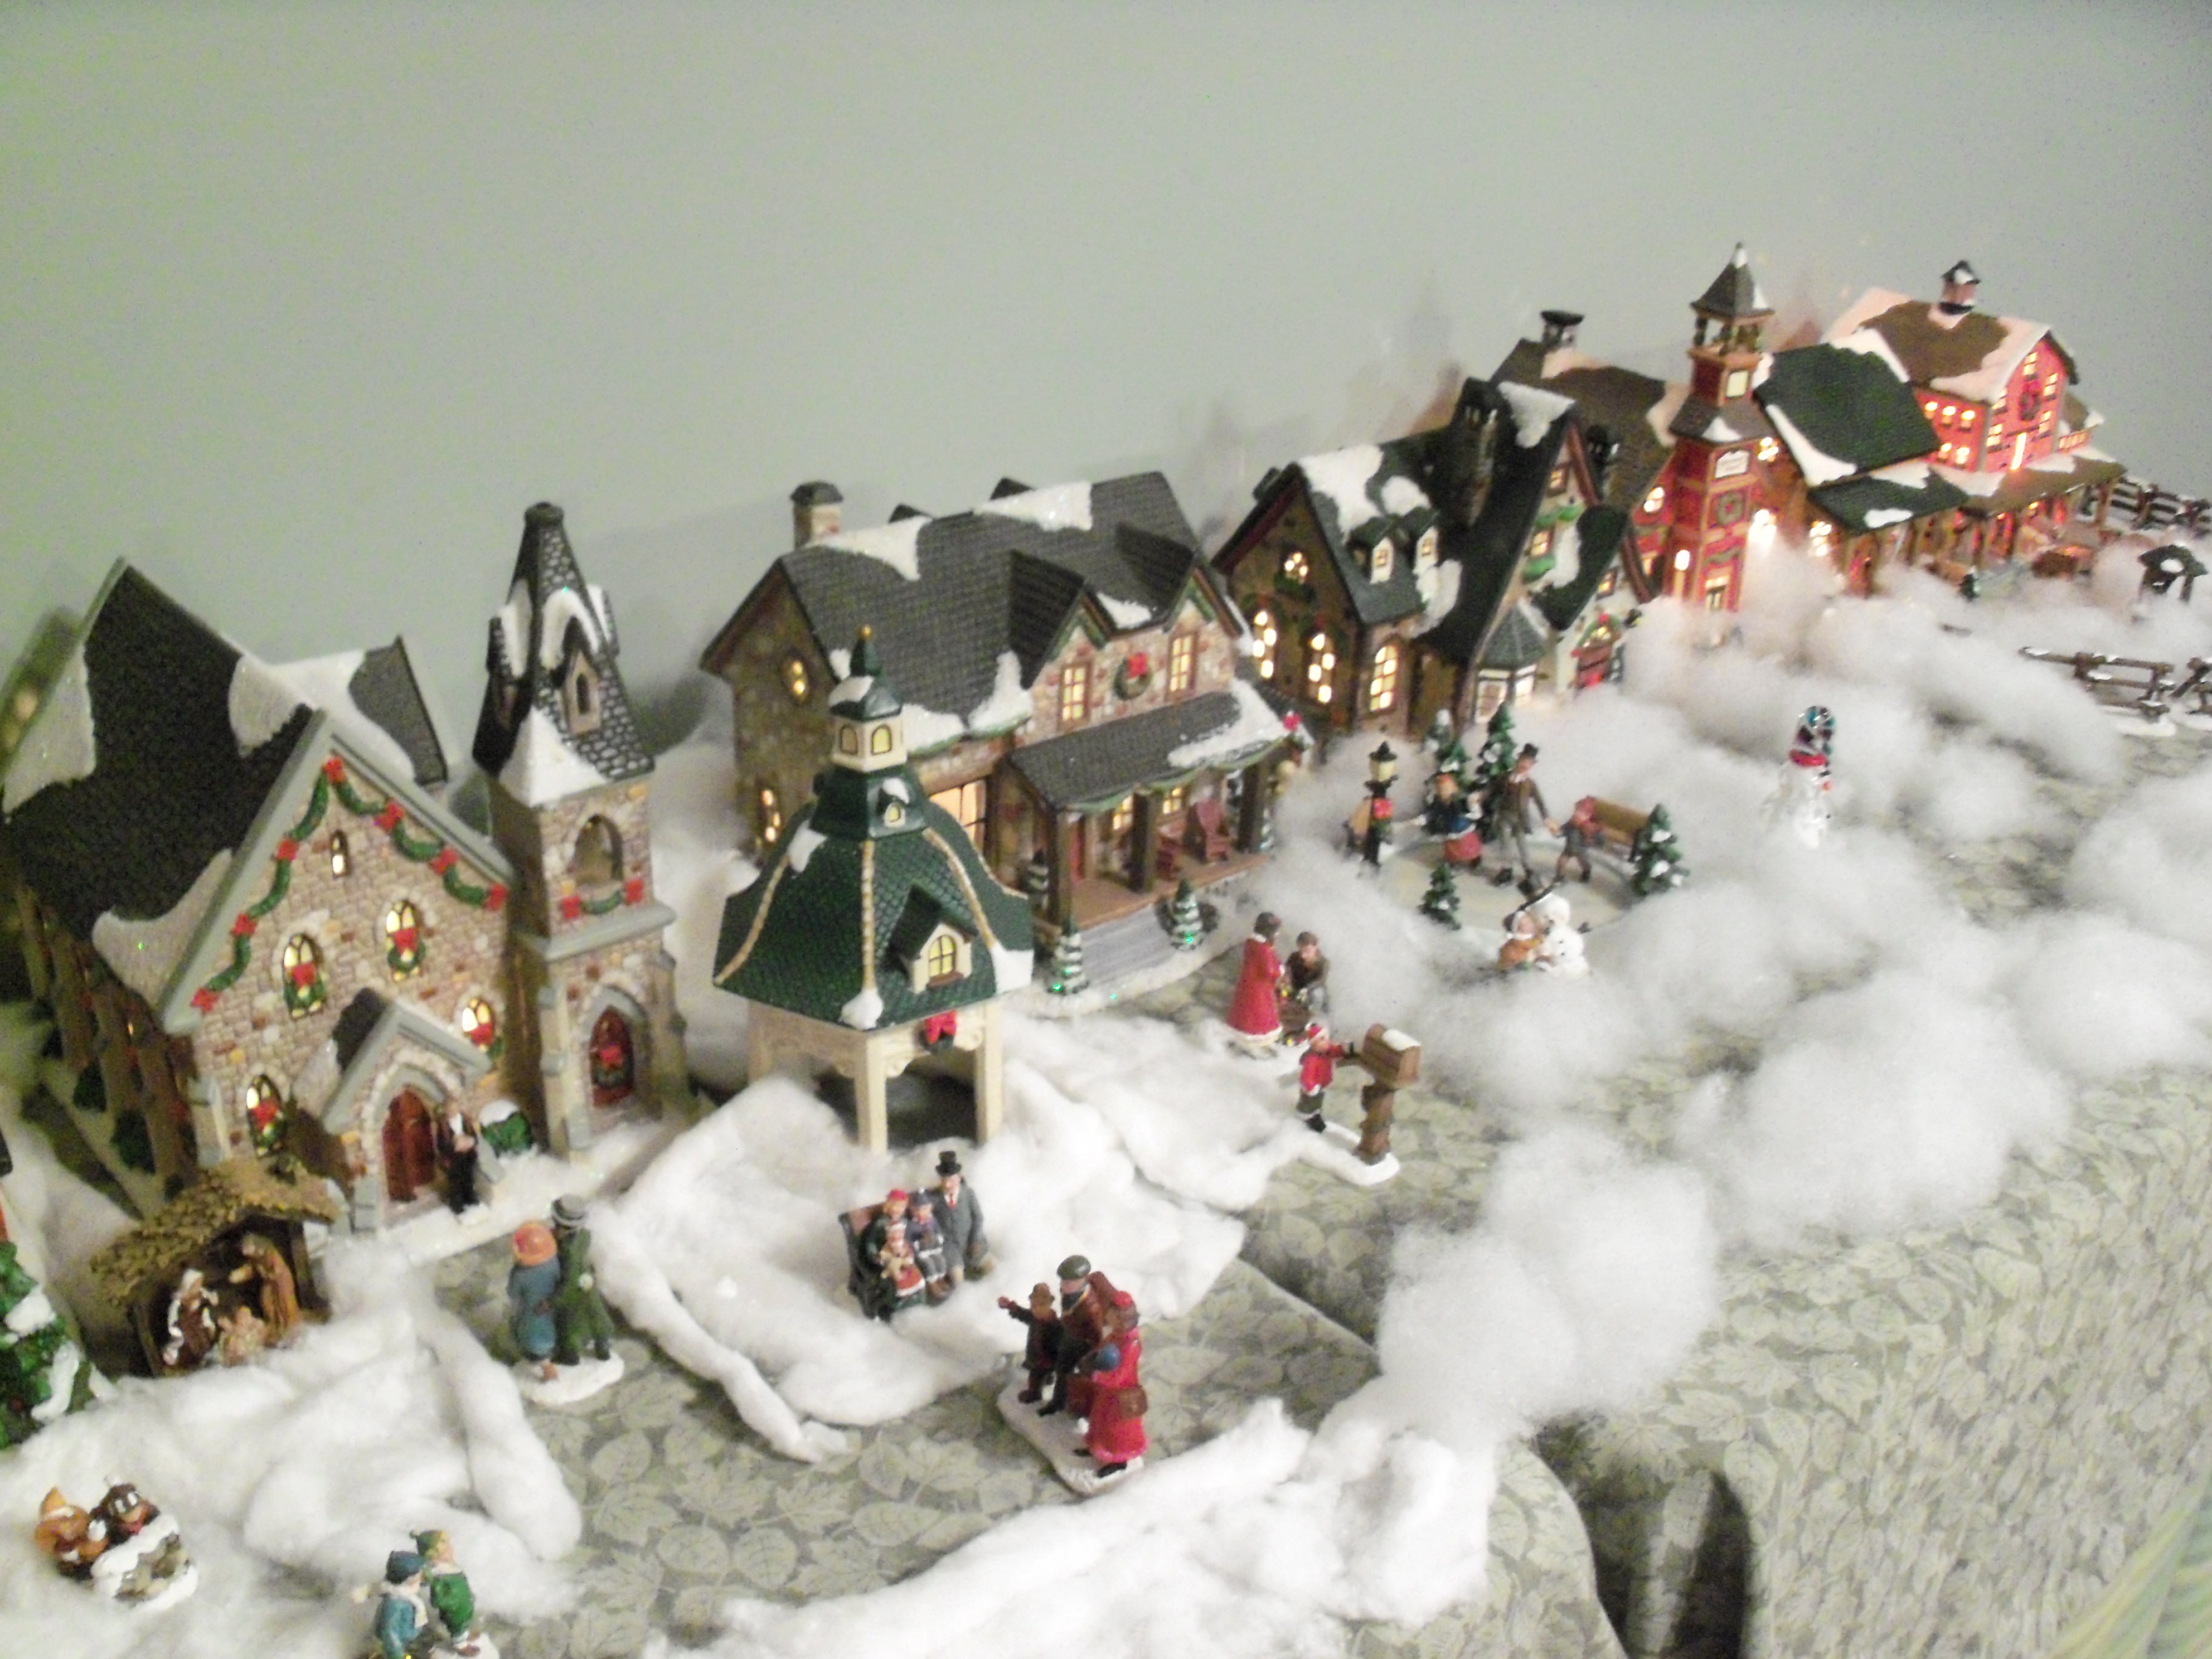
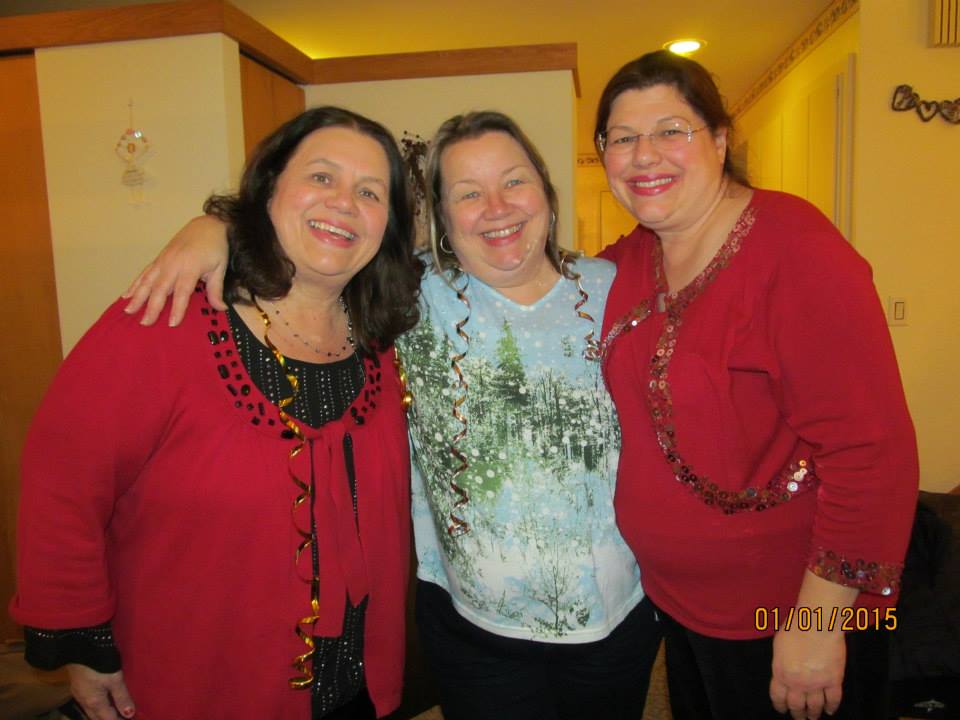
The Z Sisters Celebrating New Year’s Eve

Being a bit slow on the draw, I’m not usually ready by New Year’s Eve to make resolutions, plans or goals for the coming year. Seriously folks, I’m still in recovery mode from Christmas at that point. So be it. I’m trying to clear away the cobwebs now and make a plan for this new year that has fallen upon me. Of course there are the usual “wishes” — eat healthier, more exercise, drop oodles of weight. I DO want to do those things but I have an issue with confusing discipline with punishment. Perhaps that’s something I can work on this year — reprogramming my brain to truly believe that adding disciplines is a form of helping (even loving?) myself rather than the punishment I conceive it to be. But for now, I want to set some goals that I really look forward to putting into action — things that will represent a life change and not just a one year commitment.

A few years back, having been inspired by the movie “Julie and Julia”, I set a New Year’s goal to try a new recipe every week. That was quickly altered to 52 new recipes in 2010. And yes, I did have to make about 10 recipes that final week of the year to meet that goal but meet it I did. This was probably the first time I followed through on a New Year’s resolution and it opened my eyes to the fact that resolutions can be really fun!

In more recent years, I’ve focused on a few more areas in my life that needed changing. I don’t remember if they were New Year changes or just mid-year revelations but I found it took about a year of exercising them before they started to become reflexive.

First off, I determined to be more open and flexible to accept the blessings God has offered to me through allowing Him to work through me. This meant working toward not waking up with a rigid agenda for my day.  It meant adding more margin to my life — a good topic for another post.  It meant waking up with a plan, but being open to altering it without complaint when the phone rang with a need, or someone in my home needed to focus on restoration instead of tasks. It meant adding the phrase, “Why not?” to my thought process. This is a continuing work in progress, but one that has added incredible depth to my life. It was the seed that began to germinate and grow into this blog.

NYE - Margie

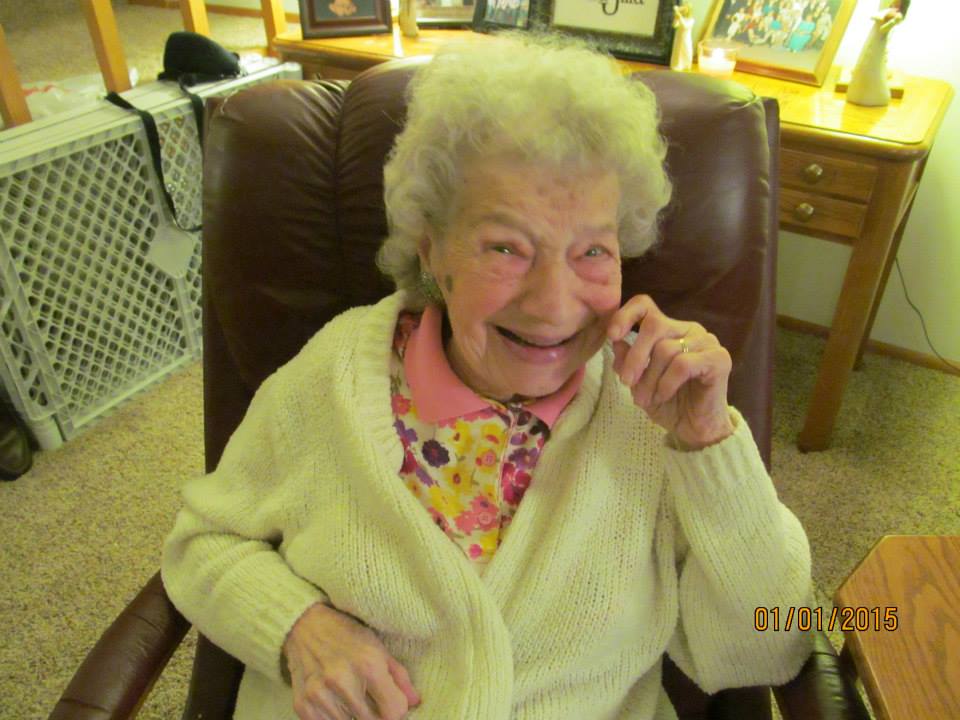
My mom celebrated her 89th New Year’s Eve with us.

Ironic as it may be,  just as I’m in the middle of writing this, I got a phone call. This one was a sister-in-law saying she would take care of checking in on my mom for me this bitter cold afternoon which frees me up to stay cuddly and warm a few more hours and allows me to finish this post. Being flexible to what God has planned for my day has also made me much more willing to except these blessings as he opens up time I didn’t think I’d have. If you know me well, you know it’s a near miraculous change in my heart which allows me to accept help.

Moving on … At one point, God spoke to my heart and told me He didn’t ask me to fix or control the situation, but only to love the people he placed in my life. (The seedling to the sub-heading of this blog — “Love the ones God gives you.”) This has brought some healing and restoration to close relationships in my life.   God continues to bring people into our lives that can benefit from the spontaneous type of hospitality we have to offer, and this has greatly enriched our home. Making this change in my heart was a crucial step in strengthening my soul to be able to strong-arm my depression into submission. And guess what! It’s way more enjoyable to share love than condemnation. Who knew?

Last year, as a New Year determination, I decided to take action when a friend or I said, “We really need to get together.” Realizing how frequently that phrase is tossed about, and how seldom it is followed through, I determined when I came upon it I was going to follow it up with setting up a time and place. I know that is not a measurable goal. We are not supposed to say, “I am going to do more of …”; we are supposed to say something like, “I will reconnect with 10 friends this year.” That type of defined goal has it’s place, but I wasn’t looking for a checkoff list here. I was looking more toward the live life intentionally type of thing. For me, it worked. Looking back, I had many long and enjoyable walks and lunches with family and friends in 2014 because of this determination. So, I’m not going to check that off and move on now, I’m going to continue to make relationships a priority in this way, but I’m ready to add another aspect to my live life intentionally plan.

This will be a change of seasons year for me. I will be completing my 26 year career of home schooling my sons and possibly looking at an empty nest by this time next year.  Of course, this opens me up to the opportunity to pursue “career” options which might even provide an income.  (Oh!  The thought of having a second income!)  It also frees me up to consider ways in which I might minister to others.  It will be a year of deep reflection and considerations.  There will be time for that.

For now, this is what lies on my heart:

First – I want to be more intentional about offering appreciation.  This too is a topic for another post, but to sum it up, I am SO wary of pretentious flattery, that I often neglect genuine appreciation.  I’ve been becoming increasingly aware at how hard it is to WANT to bless someone who never appreciates what you do.  This is a lesson I want to change in our family dynamics and one which I’d like to pass on to the next generations.  I will start with working on it myself.

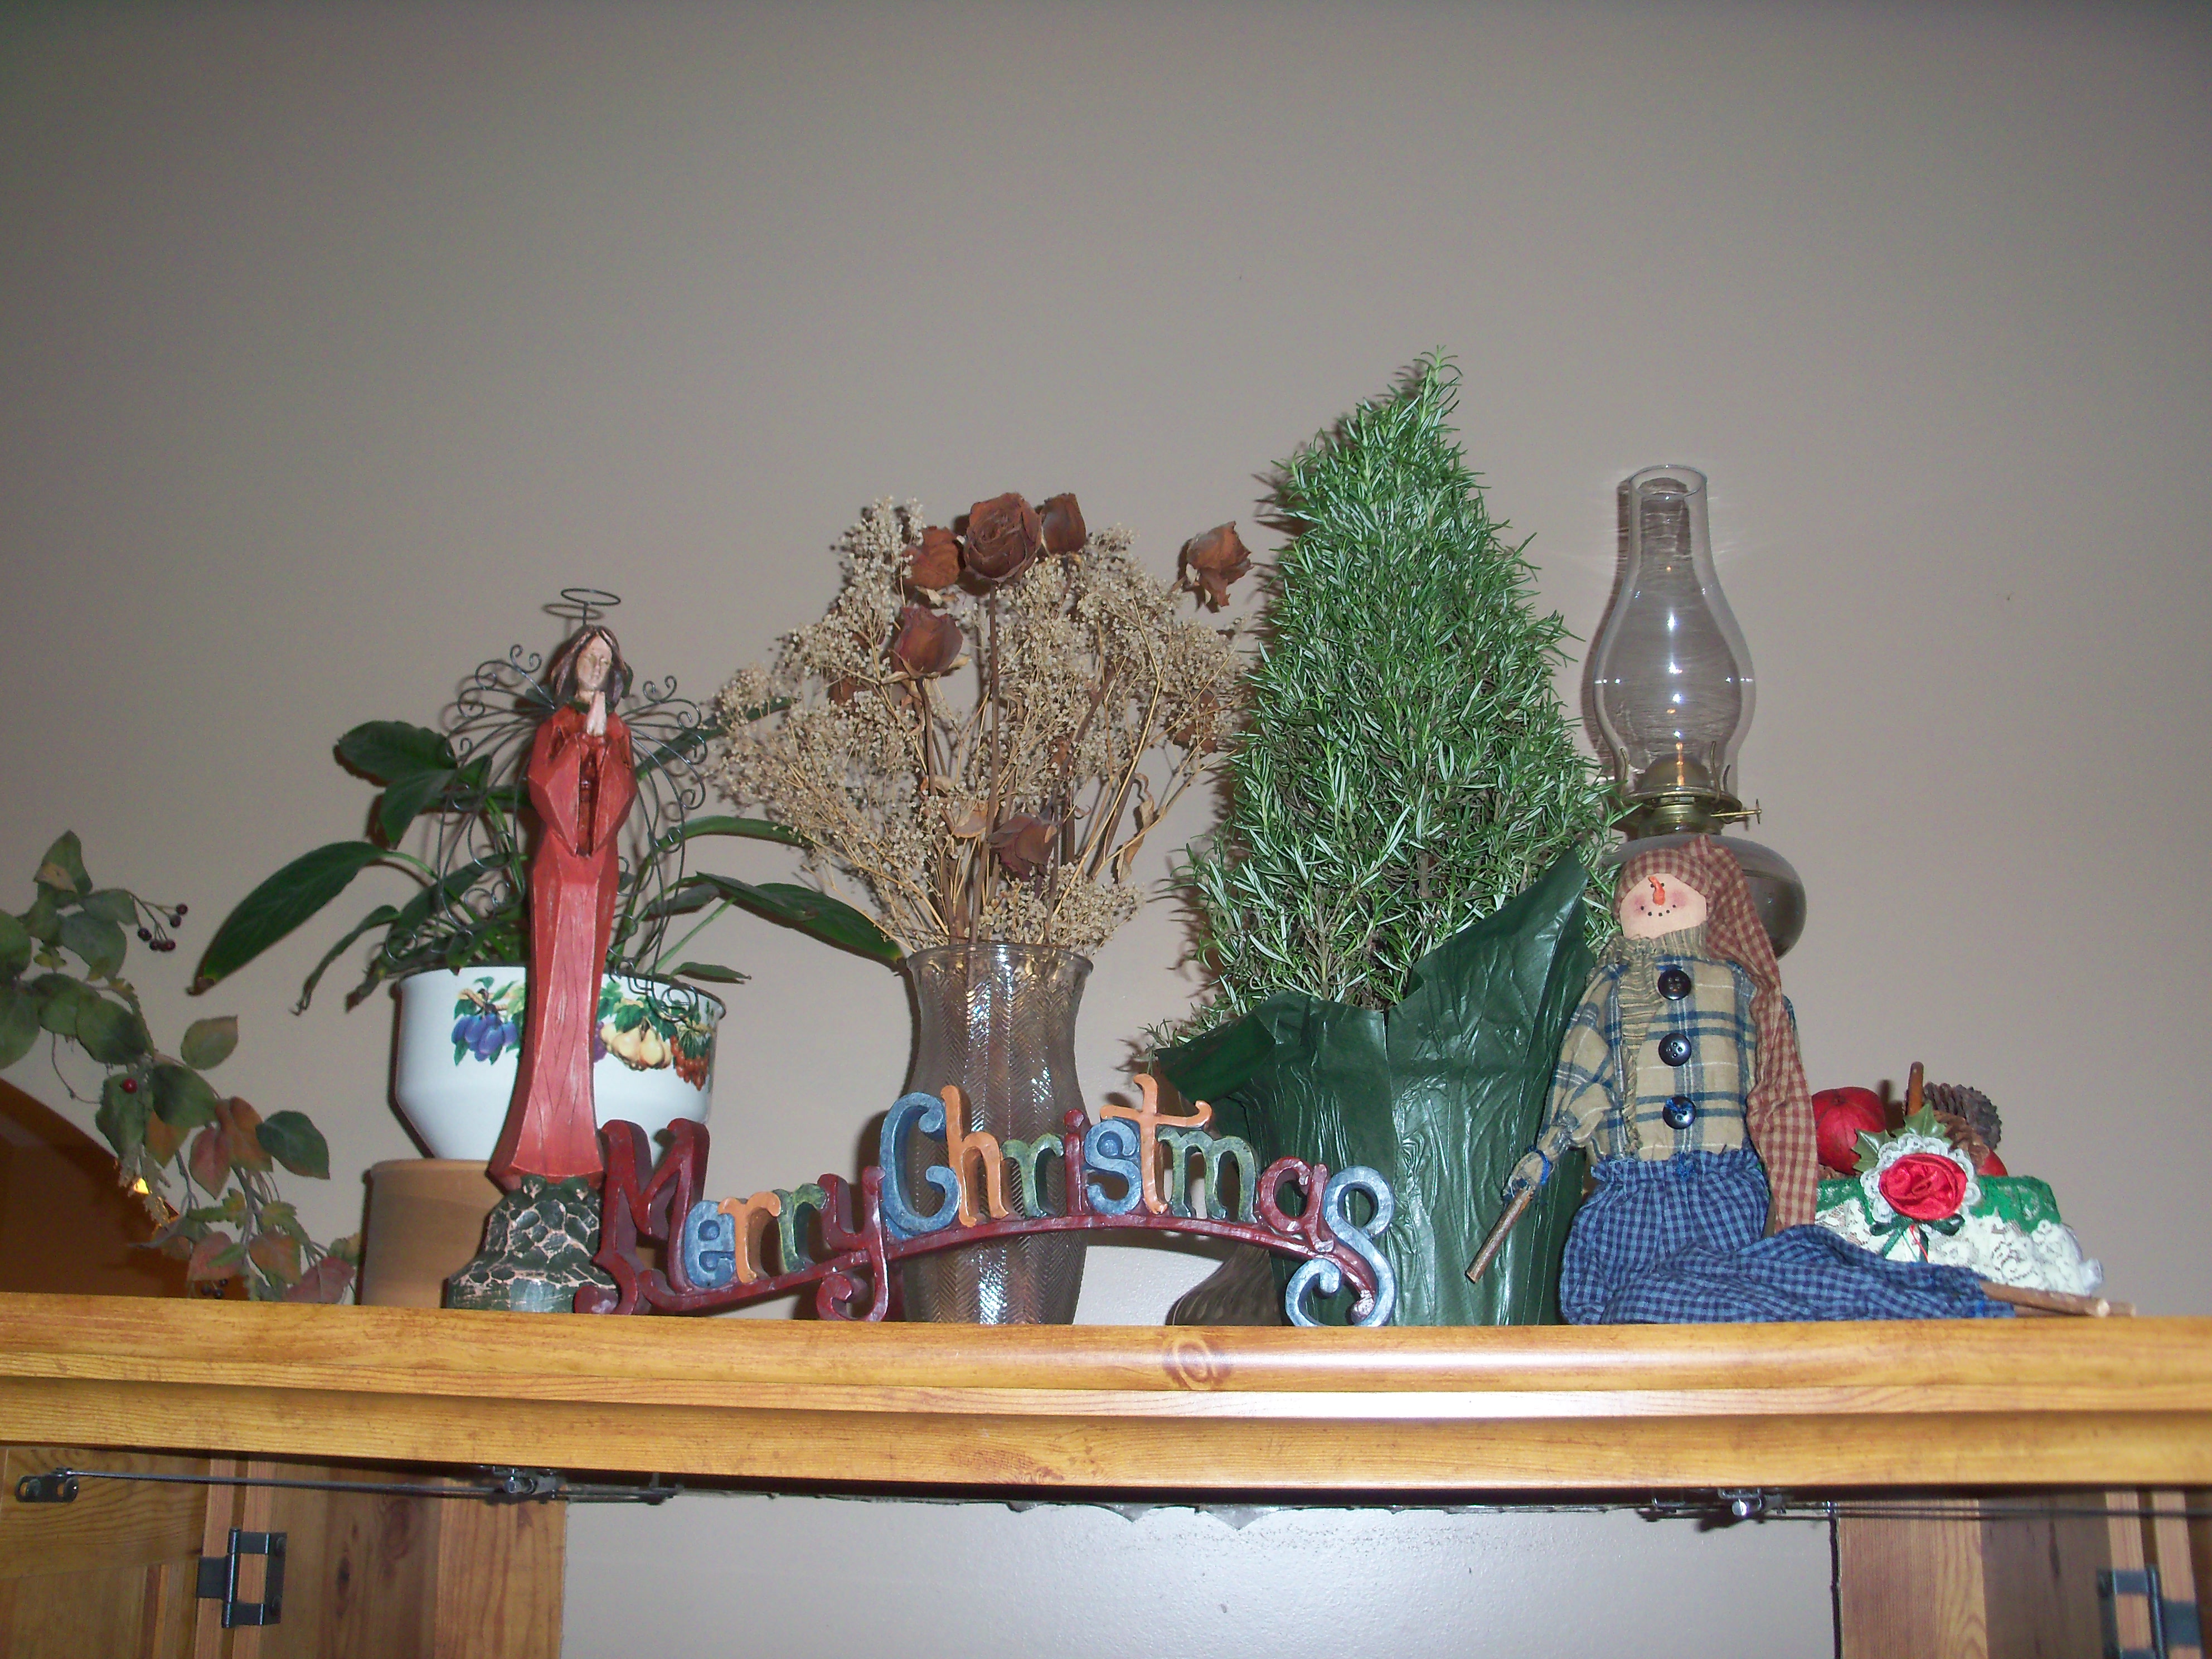
Secondly – I like traditions. They lay the foundations for memories. But, if you just keep adding traditions, they will soon become prison bars. Often, when people try something new, and it turns out to be fun, they want to add it to the traditions. Thus variety becomes monotony. Now, whenever we get together, or whenever we celebrate this event, we will add this activity or eat this food. My siblings, sibs-in-law and I  had an in-depth discussion on this topic. This is a tough nut to crack with my extended family as they are notorious for wanting to make everything a tradition. My sons tried to get me to understand the flaw in this thinking a couple of years ago and it has taken me a lengthy amount of time chewing this cud before I was really able to digest it. I think I’ve got it now and I want to approach this year with an intentionality* to add variety without making the variety a new obligation or … dare I say it? … to replace some of the old traditions with new ones?  (*My reference tools tell me “intentionality” is not a word; it should be a word.) The sibs/sibs-in-law discussion came to the conclusion that switching up what foods we bring to the holidays might be within reason, but everybody, including myself, jumped all over my brother-in-law when he suggested we could switch up who hosted each of the holidays. One step at a time.

God bless your new year.  I’ll be sharing where this season-changing year takes me as it unfolds.  Please share what you are actively working on changing in your life.

— Beth

Advertisement

The Christmas Plan

Erased off Memory Card 279

OK, let’s be honest.  Holidays demand a lot of Mom.  If you’re not careful, you can easily get buried in all the preparation and miss out on much of the JOY of the Christmas season.  Been there; done that.   When I discovered my Christmas plan it reduced my stress levels by 75%.  Being a rather distractible type, I find it best to assign each week of December a particular focus.  Here’s how it works.

2013 005

Week 1 (the week after Thanksgiving) – Focus:  GIFTS

In this week I attempt to get all gifts bought and wrapped.   For me, this generally begins on Black Friday when the women in my family go on an all day shopping adventure.  In a good year, I get 90 % of my shopping done on this day.  That leaves the rest of the week for getting those gifts wrapped and tagged.  Way, WAY better than the days when I would stay up until the wee hours on Christmas Eve wrapping gifts after the kids were in bed.

            Erased off Memory Card 281 Erased off Memory Card 266


Week 2 – Focus: DECORATIONS

This is the week I do my best to turn our home into a magical Christmas environment.  Here’s a tip I learned one year that has made all the difference for me.  To avoid giving your house a cluttered feel, take down a lot of your home’s every day décor and replace it with the Christmas décor.  In the old days Christmas decorations just felt like adding more clutter to my already well-cluttered home.  Now it’s a refreshing break from the every day which makes a welcome return about mid January.  By the way, you can find TONS of Christmas decorations at great prices if you shop garage sales.  I’ve even found several of my St. Nicholas Square buildings this way, often complete with their box and packing Styrofoam.  I also pick up some items from the store at 75% off  in the days following Christmas.

 Erased off Memory Card 278        Erased off Memory Card 277
Week 3 – Focus:  BAKING AND CANDY MAKING

By waiting until week 3, I significantly reduce the number of days I’ll be wolfing down these sweet treats and the cookies will be fresher for the visitors and parties that begin popping up about now.  Below, I will share some of my favorite candy recipes.  Turtles are our specialty and we still work like a well oiled machine when my boys are around to help with assembly.  If all the stars align, I might actually get some plates of goodies put together to share with friends.

                    Erased off Memory Card 273    Erased off Memory Card 274 
Week 4 – LOOSE ENDS, REST and REFLECTION

Even before I came up with my 4 week plan, I understood that I should shoot to have all preparation completed a week before Christmas.  There has to be some margin and some time to focus on the spiritual side of the holiday.  At this point I change my Christmas music from traditional to Christ-centered.  I might find time to read short Christmas stories or to reread the original Christmas story in the Bible.  I try to find some time to relax, and enjoy some hot chocolate and cookies in the light of the Christmas tree.   We have occasionally also found ways to serve in the community at this point.  But there are still practicalities.  I also use this week to put the house in order.  Some of you are blessed to live in order.  We are not.  It takes a very conscious effort on my part to get there.  Also, while I do focus on completing the tasks in their given week, there are usually a few loose ends that don’t get done.  I try to allow enough time in this week to complete whatever needs completing.

Erased off Memory Card 268Erased off Memory Card 275   There you have it.  Nothing earth shattering, but it has made all the difference to me these last several years that I have applied this system.   Whatever you are doing, you’re likely doing too much.  Ask yourself and your family what really matters and make that your highest priority.  We gave up Christmas cards years ago; our outdoor decorations are pathetically simple; I reduced the varieties of cookies and candies;  homemade gifts seem to have fallen by the wayside.  We do make time to watch Christmas movies, go out with friends,  take in some Christmas concerts.   I don’t do much formal hosting during December – just an open house on the night of the 25th – though we do enjoy when friends just drop by informally.   Let’s go easy on ourselves.  Christmas is not about who can check off the longest to-do list.  It’s about remembering our purpose: to love God and those he gives us.  Be embraced in the love of Jesus.   Have a blessed Christmas.   

          Erased off Memory Card 263     Erased off Memory Card 276

As promised, here are some of our favorite candy recipes.  I don’t make all of these in any given year, but turtles and peanut butter balls are an absolute must.

Cream Cheese Mints

3 oz. cream cheese, softened
½ tsp. peppermint extract
3 c. powdered sugar
food coloring if desired
extra fine granulated sugar

Combine cream cheese and extract.  Gradually beat in powdered sugar with electric mixer until mixture is smooth.  (Knead in the last of the powdered sugar with your hands.)  Knead in food coloring.  Sprinkle candy mold lightly with granulated sugar.  Make small balls and roll in the granulated sugar, then press into mold OR flatten with the bottom of a glass.  LET AIR DRY OVERNIGHT on waxed paper.  Can be frozen up to 1 month.  Makes 6-8 dozen.

Fudge

Place in a large bowl: 

12 oz. Semi sweet chocolate chips
1 cup walnuts, chopped (optional)
1 tsp. vanilla* (or peppermint extract)
1 stick butter, softened

 Place in a heavy kettle:

6 oz. Evaporated milk
10 large marshmallows
2 cups granulated sugar

 Bring to boil stirring constantly.  Boil 6 minutes.  Pour over ingredients in bowl and stir until butter and chocolate chips melt.  Put in greased 8” square pan.  Allow to cool and get firm.

*For an extra special treat, add 1 tsp. of cinnamon to the vanilla extract version.

Peanut Butter Balls

2 c. peanut butter
2 c. graham cracker crumbs
2 c. powdered sugar
¼ c. (½ stick) butter
1- 1½ lb.  Ambrosia brand REAL milk chocolate chunk, melted.

Mix together everything but chocolate.  Form into ¾” balls and place on waked paper on cookie sheets.  Freeze for at least 2 hours (but probably not more than 24 hours unless tightly covered).

Melt chocolate according to package directions. [I melt it in a double boiler, but the microwave works too.]  The important thing is not to get the chocolate too hot.  Before melting, cut off two 1” x 1” chunks and set aside.  After the rest of the chocolate is smoothly melted, remove it from the heat and drop the reserved chunks into the chocolate.  Stir continually until the chunks have melted completely.  This is called tempering and should prevent the chocolate candies from developing a white haze on the top.]

The key here is to keep the peanut butter balls well frozen before dipping; take out only as many pieces as you can effectively work with at a time.  For an experienced “dipper” that might be about 50.   Drop frozen peanut butter balls into melted chocolate one at a time.  Quickly remove with two spoons, making sure it is completely covered with chocolate.  Place on wax-paper lined cookie sheets and allow chocolate to harden for a few hours.  (If you are in a hurry, candies can be hardened in the freezer in about 15 minutes, but hardening on the counter seems to make them less melty.)  Store in tightly sealed container away from heat.

Turtles

 2 – 2 ½ pounds real milk chocolate
1 can Eagle Brand sweetened condensed milk
1 lb. pecan halves

 Place unopened can of milk in large kettle well covered with water.  Bring to full boil, then reduce to simmer.  Simmer 3 hours adding water if necessary to make sure can remains well covered with water.  Allow can to cool before opening it to reveal the caramel.

Melt chocolate 1 lb. at a time.  [I melt it in a double boiler, but the microwave works too.  The important thing is not to get the chocolate too hot.  Before melting, cut off two 1” x 1” chunks and set aside.  After the rest of the chocolate is smoothly melted, remove it from the heat and drop the reserved chunks into the chocolate.  Stir continually until the chunks have melted completely.  This is called tempering and should prevent the chocolate candies from developing a white haze on the top.]  Spoon small amount of chocolate onto wax paper and swirl into 2” circles.  Place pecans on chocolate circles.  If pecans are very large, use one whole pecan plus 3 half pecans.

Turtles

Spoon ½ teaspoon caramel onto center of candy.  Cover with melted chocolate sealing caramel in while leaving tips of pecans sticking out.  Freeze for 10 minutes.

This works best as an assembly line.

Assign one person to be the chocolatier.   He makes the 2” chocolate circles then sends the pan around the table.  When it comes back to him, he tops the turtles with chocolate.

Another person or two can place the pecans on the chocolate circles and then pass the pans on to the caramel man.

The caramel man (all my helpers were sons) drops a small dollop of caramel in the center of the pecans, then returns the pan to the chocolatier.

If there are helpers to spare, put one person in charge of running the pans to and retrieving the pans from the freezer.  They can also peel the hardened turtles off the waxed paper and place them in an airtight container.

If you are fortunate enough to have yet another helper, put that one in charge of chocolate melting.  He can melt the next batch of chocolate while the assembly line is using up the previous batch.

If you are doing gift bags, another person can be in charge of filling and tying plastic bags of turtles and then placing them in the gift bags and attaching labels.

Peanut Butter Patties

(The girl scouts have got nothing on us!)

Sandwich peanut butter between two Ritz crackers.  Dip in melted milk chocolate and set on waxed paper to harden.  Yum!

Peanut Clusters

1 cup milk chocolate chips
1 cup semi sweet chocolate chips
1 cup butterscotch chips
1 lb. salted peanuts
(may also add in 6 oz. chow mien noodles)

Melt chips.  Stir in peanuts (and noodles) until well coated.  Drop by spoonfuls onto waxed paper and refrigerate.

Peanut Brittle

1 ½ tsp. baking soda
1 tsp. water
1 tsp. vanilla
1 ½ c. sugar
1 c. water
1 cup light corn syrup
3 Tbs. butter
1 lb. raw Spanish peanuts

Butter two 12 x 15 cookie sheets.  Keep warm.  Combine soda, vanilla, and 1 tsp. water.  Set aside.

Combine sugar, 1 cup water and corn syrup in large kettle.  Cook over medium hear, stirring occasionally, to 240 degrees.

Stir in butter and peanuts.  Cook, stirring constantly, to 300 º.  DO NOT BURN!  Remove from heat.      IMMEDIATELY stir in soda mixture.  Pour half of mixture onto each warm baking sheet.  Quickly spread as thin as possible.  Cool on counter.  Break into pieces.

Cinnamon Glazed Pecans

1 egg white
1 Tbs. water
1 lb. pecans
¾ c. sugar
1 tsp. cinnamon
1 tsp. salt

In large bowl, eat egg white and water until frothy (not stiff) then dump pecans in mixture and stir to coat well.  Mix cinnamon, salt and sugar in a small bowl, then pour over pecans and stir to coat well.  Spread in a single layer on greased baking sheet at 300°  for 30 minutes, stirring after 15 minutes.  Remove to waxed paper immediately upon taking out of oven or they will get stuck to pan.   Ready to eat after they have cooled for about 5 minutes.

Chocolate Covered Pretzels

Melt white or milk chocolate in microwave.  Dip pretzels in chocolate.  Set on waxed paper and freeze 10 minutes.  (This is a great way to use up the extra chocolate after making turtles or peanut butter balls.)

Even Easier Chocolate Pretzels

Buy the circle shaped pretzels.  Line cookie sheet with foil.  Unwrap chocolate kisses (or white hugs) and place one in the hollow center of each pretzel.  Bake at 350° for 3-5 minutes, then flatten with a knife and remove from foil as soon as it is cool enough to handle.  This is made especially interesting if you use the white chocolate/peppermint “hugs” that come out at Christmastime.

If you, like some of my family members, are particular about proportions and would like more pretzel to your chocolate, you can do this same thing using the square “grid” kind of pretzels.  Set kiss on top of one square and after you take it out of the oven, make a sandwich out of it by squishing it with another pretzel square.

Cinnamon Sugar Pretzels

6-16 oz.  pretzel twists
2/3 cup vegetable oil
½  cup sugar
2 tsp cinnamon

Preheat oven to 300 degrees. Pour pretzels into a roasting pan. In a medium sized bowl mix together vegetable oil, cinnamon and sugar. Pour over pretzels and stir to coat. Place in oven and bake for 30 minutes, removing twice to stir.

Orange Creamsicle Truffles

 Makes 20 truffles

1/4 cup butter
Zest of 1/2 orange
3 Tbsp heavy cream
1 cup white chocolate chips
1/2 tsp orange extract
1/4 cup powdered sugar
Red and yellow food coloring (optional)

Pour white chocolate chips into a mixing bowl, set aside. Melt butter along with orange zest in a small saucepan. Stir in cream and scald mixture. Pour hot cream mixture through a fine mesh sieve over white chocolate chips and using a rubber spatula press zest against sieve to release orange oils into mixture. Allow mixture to rest 1 minute, add orange extract and optional food coloring to white chocolate chip mixture then stir until smooth.

Cover mixture and refrigerate 2 hours or until firm enough to handle. Scoop mixture out by heaping teaspoonfuls and form into balls then roll in powdered sugar. Freeze truffles 20 minutes then enjoy.

Store truffles in refrigerator as they will soften at room temperature or freeze for up to 1 month.

My Thanksgiving Plan

For most of my childhood, Thanksgiving (as well as  Christmas, Easter and Mothers’ Day) meant going to the local all-you-can-eat-buffet with my parents, siblings, grandparents, and all the aunts, uncles and cousins on my mom’s side.  We looked forward to these events every time.  I felt we were lucky to be able to go out to eat on holidays — that is, until I met my husband’s family and experienced a home cooked Thanksgiving meal.  I fell in love with this holiday tradition.  For years I glided along, being invited to my in-laws, and eventually my sister-in-law took on the tradition.  But time moves on.  Lives change.  Eventually, the day came when Dennis decided we should have our own Thanksgiving dinner – just he, me and the boys (ranging in age from like 2-10 at the time).  I had never cooked a turkey, but, I was willing to give it a try.  Now, I’d like to say we had a warm and wonderful time preparing the meal all together, but that isn’t exactly how it went. 

That first year I worked alone in the kitchen. Dennis and the boys watched football; I had a little pity party.  I missed being with the bigger family.  The following year, I made sure to have a 4 hour movie on hand which I enjoyed on a small TV on the counter while I made the dinner.  By the 3rd year, the movie was replaced by an audio book.  At this point I started kind of enjoying my cook-all-day and enjoy-a-good-book while the guys bonded over football  kind of Thanksgiving tradition.

Over the years, I polished my methods and began to take pride in the dinner I presented, eventually feeling comfortable enough to make this meal for extended family as well.  Now, making the Thanksgiving meal is something which brings me great pleasure and I am grateful that I was forced to learn how to do it.

Being who I am, I had to develop a plan.  So, at the risk of being considered neurotic, I am going to share with you my schedule, along with the recipes.  Perhaps this is your first time making the Thanksgiving meal, or maybe you might be looking for some new recipes or are trying to figure out how to manage all the steps. Or maybe, you, like me,would  just like to have everything in one place. If nothing else, it might give you pleasure to glance at my schedule and shake you head at what a nut I am.  Use whatever works for you.

Making recipes from scratch is my preference.  (Though I used canned cranberry sauce.) Obviously there are lots of shortcuts that can be taken to lighten up the schedule.  I’m giving you my recipes and the schedule as an example.  Adjust it to whatever works for your family. 

Three things I’ve learned that make everything more manageable:  Mashing potatoes is a bit of a timing issue.  You have to mash them right when they’re just soft enough.  Letting the potatoes sit in the water too long (or even draining, but not mashing, if my memory serves me) makes them get really pasty.  Mashing them while you’re trying to pull all the last-minute preparations into place is a real nuisance.  My solution – mash them 1-3 hours before the turkey is done and transfer them to a crock pot to keep warm.  The other thing I do to free up my oven is cook the turkey in a Nesco (plug-in roaster/oven).  I get a big bird (about 20 pounds)  and sometimes it barely fits in there, so that’s something to keep in mind.  Also, you don’t get that nice golden skin on top, but you DO get really moist turkey and a freed-up oven – a good trade-off in our opinion.  I’ve found stuffing the bird to be a lot of mess and waste, so I throw and onion and some celery in the bird’s cavity to help flavor and moisten the meat and put the stuffing in a casserole dish and bake it.  Look below for my schedule and recipes.

BONUS THANKSGIVING IDEAS

  • My siblings and I decided many years ago that we would “give” Thanksgiving DINNER to the in-laws.  Each of us eats with our in-laws, or now our growing individual families, but in the evening my side of the family gathers together at one of our houses for a dessert buffet followed by cards and board games.  It’s a great tradition that alleviates the pressure of trying to be at two different places for the Thanksgiving meal.  Plus it allows the forty or more of us to get together without overburdening the hostess.  Whoever is up to it brings a dessert to share and there’s always plenty.
  • Here’s anther fun idea.  Have each person write down 5 things they are thankful for.  Throw all the papers in a basket and read them off one paper at a time.  Try to guess who wrote each paper.
  • Alternatively, keep a Jar of Thankfulness all year long.  Have family members write down throughout the year (or just for the month of November if that works better) different things that fill them with gratitude and place them in a jar.  Read through the jar over your Thanksgiving dinner.
  • A friend of mine, who is much more ambitious than I, made several pilgrim costumes which her younger children would dress in for the Thanksgiving meal.  I love this idea and have visions of doing this for my grandchildren someday though I haven’t followed through on it yet.  Maybe someday we’ll just make that the theme and have adults and children come in costume.  I can dream, can’t I?
  • Give the children lots of Thanksgiving words and words that rhyme with them and have them create and recite a poem for the family.

However you spend Thanksgiving, may your day be filled with gratitude to God for all the blessings He has bestowed upon you.

Jordan Carves the Turkey

Thanksgiving Menu

Turkey (1/2 – ¾  lb. per person)
Stuffing
Mashed Potatoes
Gravy
Honey Kissed Acorn Squash
Corn
Orange
Glazed Sweet Potatoes
Green Bean Casserole
Whole Berry Cranberry Relish
Biscuits
Dennis’ Jello
Spiced Apples
Pumpkin Pie
Pecan Pie

Thanksgiving Cooking Schedule (Recipes to follow)

Night Before

Make Jello

Make Pies


6-7 hours before dinner:

Place onion and celery in cavity of a fresh or thawed, rinsed turkey, rub turkey with oil, sprinkle with Lawry’s Salt and place (breast side up) in Nesco at 325°*

Put Giblets on to boil along with an onion, celery, 2 carrots, salt and pepper

[ * Baste Turkey about every 1/2 hour or so.  Figure on cooking for about 20 minutes per pound.  Turkey is done when meat thermometer, inserted in thickest part of breast, reads 185°.]

5 hours before:

Make Stuffing; place in greased casserole and chill.

Peel Potatoes and place in cold water


4 hours before

Boil washed, but unpared Sweet Potatoes

Prepare Glaze for Sweet Potatoes

Assemble Sweet Potatoes (except marshmallows) and chill


3 hours before

Quarter Potatoes , bring to boil, boil about 20 minutes  until mushy

Assemble Green Bean Casserole then keep chilled

Whip Potatoes  with butter, salt and milk, and put in Crock Pot on low


2 hours before

Make spiced apples

Prepare Squash and Filling


1 hour before

Bake Squash

Put Beans in Oven

Put Stuffing in Oven

Make Gravy and place in small crock pot to keep warm or keep chilled until needed.


45 minutes before

Fill Squash and return to oven

Sweet Potatoes and Apples  in oven


30 minutes before

Prepare Biscuits

Top Beans with Onions and Take cover off  of Stuffing

Put Corn on to Boil


15 minutes before

Take all casseroles out

Put Biscuits in oven

Take Turkey out to carve

Place cranberries in dish and place on table

 IT’S SHOWTIME!

Thanksgiving Recipes

Dennis’ Jello

1  6-oz. pkg. orange jell-o
1   3-oz. pkg. cherry jell-o
2   11-oz. cans mandarin oranges (or 15 oz. crushed pineapple)
1   20-oz. can crushed pineapple, chilled

Dissolve orange jell-o in 1 c. boiling water.  Add undrained oranges to jell-o.  Set in refrigerator to cool until slightly thickened.  Stir occasionally.  When jell-o thickens enough that fruit doesn’t all float to top, pour it into a slightly oiled mold and allow to set overnight.

Dissolve cherry Jell-o in 1 c. boiling water.  Add undrained pineapple. Pour this layer over orange layer.  Allow to set at least several hours.  Invert mold onto plate when ready to serve.

Pie Crust

1 tsp. salt
2 c. flour
2/3 c. Crisco brand vegetable shortening
6 Tbs. water

Cut salt, flour and shortening together with a pastry cutter until crumbly.  Add just enough water to make dough soft.  Mix with fingers just long enough to blend and make dough stick together.  (Over-handling will make a tougher crust.)

Divide dough in half and roll out to desired size (about 2 inches beyond the diameter of the pie plate).  Gently fold in quarters and lift to pie plate.  Carefully unfold and fill or crimp.

Makes a top and bottom for a 9” pie.

Pumpkin Pie

1 can (15 oz.) pumpkin
12 oz. evaporated milk
2 eggs
¾ c. sugar
½ tsp. salt
½ tsp. ground cinnamon
¼ tsp. ground cloves
Single (unbaked) pie crust

Blend all ingredients and pour into crust.  (Make high edges on crust – you will fill it.)  Bake at 425° for 15 minutes.  Reduce heat to 350º  and bake 40-50 minutes longer.  Knife inserted in center should come out clean.

Pecan Pie

3 eggs, slightly beaten
1 cup sugar
1 c. light or dark corn syrup
2 Tbs. butter
1 tsp. vanilla
1 ¼ c. pecan halves
1 – 9 inch unbaked pie shell

Preheat oven to 350º.  Stir together everything but the pecans, until well blended.  Stir in the pecans and pour into the pie shell.   Bake 50-55 minutes until knife inserted halfway between center and edge of pie comes out clean.


Beth’s Turkey Stuffing

12-14 oz. Pkg. Dry unseasoned bread cubes
3-4 c. chicken or turkey broth (See “to make stock” below)
1 med. or large onion chopped
8-9 stalks of celery (with the leaves), chopped
1 c. butter
2 tsp. crushed sage
1 ½ tsp. thyme
¼- ½ tsp. black pepper
1-2  tps.  salt

Sauté celery, onion and spices in the  butter until tender.  Toss in large bowl with bread cubes.  Stir in broth.  Place in buttered casserole dish. And bake at  350º for 30 minutes covered, then uncover and bake for 10-15 minutes more.

Gravy:

To make stock:  Simmer several celery stalks, 2 pared carrots, 1 onion, 2 tsp. salt, ¼ tsp. pepper, turkey neck and package of giblets in 2 ½ quarts of water for 1 ½ – 2 hours

To make giblet gravy:  Strain stock and set aside for gravy.  Place stewed vegetables and giblets in blender.  Pick meat off of neck and add to blender being sure not to get any bone.  Add about 1 c. stock to blender.  Blend until smooth.  Add back to stock.  [Optionally, add sliced, cooked mushrooms to gravy.]

Bring 1 quart of strained stock to boiling.  Put ½ c. flour in
1 c. cold waterand shake to smooth consistency.  Whisk into broth slowly.  Add   1 ½ teaspoons salt and 1/8 teaspoon black pepper.  Cook over medium heat stirring constantly until thick and bubbly.


Orange Glazed Sweet Potatoes

6 sweet potatoes (yams)
1/3 c. white sugar
1/3 c. brown sugar
1 Tbs. cornstarch
1 tsp. salt
½ tsp. grated orange peel
1 cup orange juice
2 Tbs. butter
1 c. mini marshmallows

Wash potatoes, but don’t pare.  Place them in a pot and cover with water.  (Add 1 tsp. salt for every cup of water.) Bring to boil, then boil for about 30 minutes until tender.  Cool with cold water, then peel skin away.  (It come off very easily.)  Slice in chunks and put in 2-3 qt. casserole dish.

Place sugars, salt, orange peel, butter and ¾ c. orange juice in sauce pan.  Whisk cornstarch into remaining ¼ c. orange juice until smooth.  Add cornstarch mixture to sugar mixture whisk together.  Heat on medium heat, stirring continually until thickened.  Pour hot juice mixture over potatoes in the dish.  May refrigerate at this point.

Sprinkle marshmallows over top of potatoes.  Bake at 350° for 30 minutes until marshmallows are golden.

(Marshmallows could also be mixed into potatoes before baking.)


Green Bean Casserole

12  oz. package of frozen green beans
1 – 10 ¾ oz. can Campbell’s Cream of Mushroom soup
¾ c. milk
1 tsp. Worcestershire sauce
¼ tsp. pepper
1 can French fried onion rings

Blend milk and Worcestershire sauce and pepper with soup.   Stir in half of the onion rings.   Stir frozen beans into this mixture and pour into buttered casserole dish.  Bake, covered at 350 º for 30 minutes.  Top with remaining onion rings and bake15 minutes MORE, uncovered.

Spiced Apples

½ c. raisins (option:  Soak raisins in Amaretto for a couple hours ahead of time,)
4-5 apples of assorted varieties, pared and sliced thickly
½ c. orange juice
½ c. water
1/3 c. sugar
2 Tbs. lemon juice
½ tsp. cinnamon
½ tsp. nutme
¼ tsp. salt
1 Tbs. flour
2 Tbs. butter

Bring everything but flour and butter to boil and simmer to desired tenderness.  (Drain raisins before adding.) Remove 1/3 cup of liquid and set aside to cool slightly.  Stir butter into apple mixture.  Whisk flour into cooled liquid until smooth.  Add to apple mixture and heat until thickened.  Serve warm.

Buttermilk Biscuits

½ c. shortening
1 ½  c. buttermilk

DRY INGREDIENTS:
4 c. flour
2 Tbs. baking powder
½ tsp. baking soda
2 tsp. salt

Sift or whisk dry ingredients together.  Cut shortening into dry ingredients.  Add buttermilk and mix with fork. Knead dough a few times on floured counter until easily handled.  (Only long enough to have dough hold together.  Over-kneading makes for tough biscuits.) Pat out in circle to about ½” – ¾“ thickness.  Cut with small glass or bisuit cutter.  Place on lightly greased cookie sheet.  Bake at 450° for about 10 minutes – until lightly browned.  (14 large biscuits)

Honey Kissed Acorn Squash

2 acorn squashs, halved and seeded
8 oz. crushed pineapple, drained
¼ c. chopped pecans
¼ c. sweetened dried cranberries
¼ c. plus 2 Tbs. honey
¼ c. butter, melted
Optional: ground nutmeg

Bake squash cut side up, uncovered at 350° for 30 minutes. Meanwhile, combine pineapple, pecans, cranberries, honey and butter.  Scoop mixture into center of each squash.  Return to oven for another 30 minutes.  Sprinkle with nutmeg if desired.

Craft Gathering for Families

We tried this idea out with our home school group as a Christmas Gathering with mostly Christmas themed activities, but you could do this any time of year with other craft/activity ideas.  It’s a great way to share talents and enjoy a multi-generational afternoon with friends.  Our Christmas Gathering, by the way, was a grand success and included about 50 families.

Ours is a 3 hour event with multiple craft/activity stations set up all around a large hall allowing children of all ages to freely move from station to station creating projects or participating in games/activities.   Naturally, we provide a snack area as well.

All participating families “fund” this event by either providing the supplies and supervision for a craft OR  by bringing 2 liters of juice, 3 dozen cookies (or equivalent amount of healthier options), AND $5 to go toward the cost of paper goods and rental or donation for use of the hall.   My goal is to have at least 20 craft/activity stations set up.  Any last minute families are expected to choose the juice, snack and cash option.

While teens enjoyed some of the activities, it is probably a better idea to include them as assistants.  They can man the food area, be in charge of or assist a craft/activity table, or assist moms with multiple children in taking their children to the various booths.  Don’t forget about the older generation either.  Invite grandparents along to teach a craft or participate with their grandchildren.

I let parents come up with their own crafts or activities, but also supplied a list of possibilities for those who were willing to host a table but were lacking ideas.
Image

Here is a plethora of ideas, but be sure to read all my TIPS at the end of this article as well.

CRAFT IDEAS

  • Beaded bracelets
  • Bookmarks
  • Cake pops
  • Christmas Origami
  • Christmas ornaments
  • Cookie Decorating
  • Gift jars (This one could get pretty costly though.)
  • Gift Coupon booklets.  (Coupons good for help with a chore, providing a service, guaranteeing a good attitude, etc.)
  • Graham Cracker “Gingerbread” houses.
  • Hot Cocoa in Bag (Provide a variety of additions to layer.  Use the clear, cone-shaped, decorating icing bags with curling ribbon to tie them shut.)
  • Little gift boxes made from old Christmas Cards
  • Marshmallow Corn Flake Crispy Wreaths (with red cinnamon candy “berries”)
  • Paper chain for the Christmas tree OR a count down ‘til Christmas chain (rip off a link every day)
  • Potato Print Wrapping Paper
  • Puzzle Piece Wreaths
  • Refrigerator Magnets
  • Scrapbook paper cut in triangle flags and paper-punched to string together for a wall banner.
  • Scrapbook Style Christmas Cards
  • Sock snowmen
  • Snowflake Cutting
  • Snow globes – using baby food jars

Image

ACTIVITY IDEAS

  • Balloon Animals
  • Christmas Jigsaw Puzzle
  • Coloring / word search table
  • Face Painting
  • Grand Prize Game
  • Guitar Accompaniment to sing Christmas Carols
  • Hand bells or xylophone  with charts to follow to play Christmas Carols
  • Kid’s’ Karaoke
  • Letters to soldiers
  • Nativity Costume Corner (just a dress up corner to act out the Christmas Story – not take home costumes)
  • Puppet Booth
  • Temporary Tattoos

TIPS Image

  • Be sure to give families at least a 2 month notice of this event to allow them time for preparation and to watch for sales for their crafting supplies.
  • It’s best to do this somewhat messy activity in a tiled rather than carpeted area.
  • I do not run this as a drop-off activity.  It is expected that every child in attendance will have an adult that is keeping an eye on them.
  • You may want to station a worker at the door to take the cash donations and keep children from leaving the area.
  • Keep the food and drink contained in a specified area.
  • Be sure to assign someone to oversee the snack area.
  • I hate for families to miss out on the fun, so I ask “food families” to register, but also allow last minute families to show up as long as they bring the required food and cash donation.
  • Set a deadline for craft families to register their craft at least a week before the event.  (Most will need more time than that to prepare anyway.)
  • If two or more families have a very similar craft idea, the 1st family to register their craft gets to do it.
  • You may want to allow 2 families to sign up to do a craft together for two reasons.  1) It allows the expense and preparation time to be shared.  2) One of the moms can keep an eye on both families’ children as they move from station to station and the other can man the booth.
  • I wouldn’t allow more than 2 families to work a craft together or you will not have enough activities to keep the children occupied.
  • I suggest craft families be prepared for about 100 kids to visit their booth.  This is based on 50 families.
  • My other suggestion for crafters is that their craft can be completed in less than 10 minutes.
  • I try to have a number of crafts for every age group and some that are fun for all ages.
  • We suggest each family bring a box or bag in which to collect all their children’s creations, but also have on hand a supply of plastic grocery bags for whoever needs them.
  • You could alternatively set up a concessions area to sell snacks and charge admission if you want to do this as a fund-raiser.  I know WE were working with large families on tight budgets so I tried to make it as economical as possible.  Know your participants.
  • Reminder for the organizer – don’t forget nametags, ice, cups, plates, napkins, plastic table covers.
  • This is a big event for a single person to organize.  Find yourself an organizing buddy.God bless your efforts.  May your event be as much fun as ours have been.