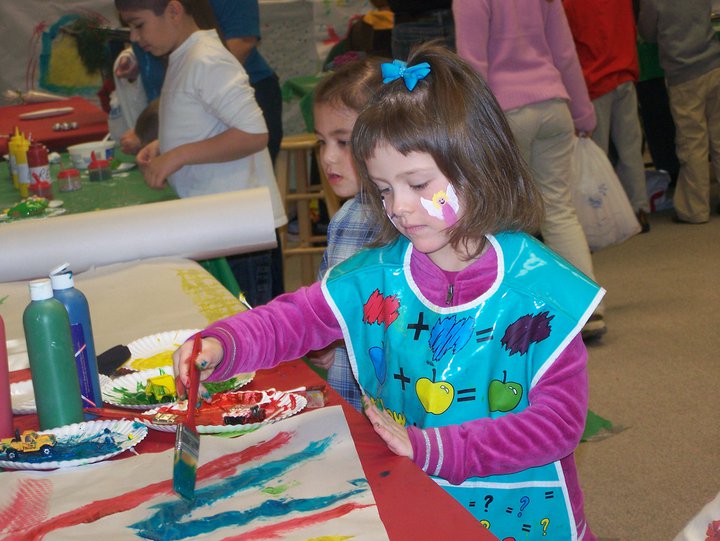
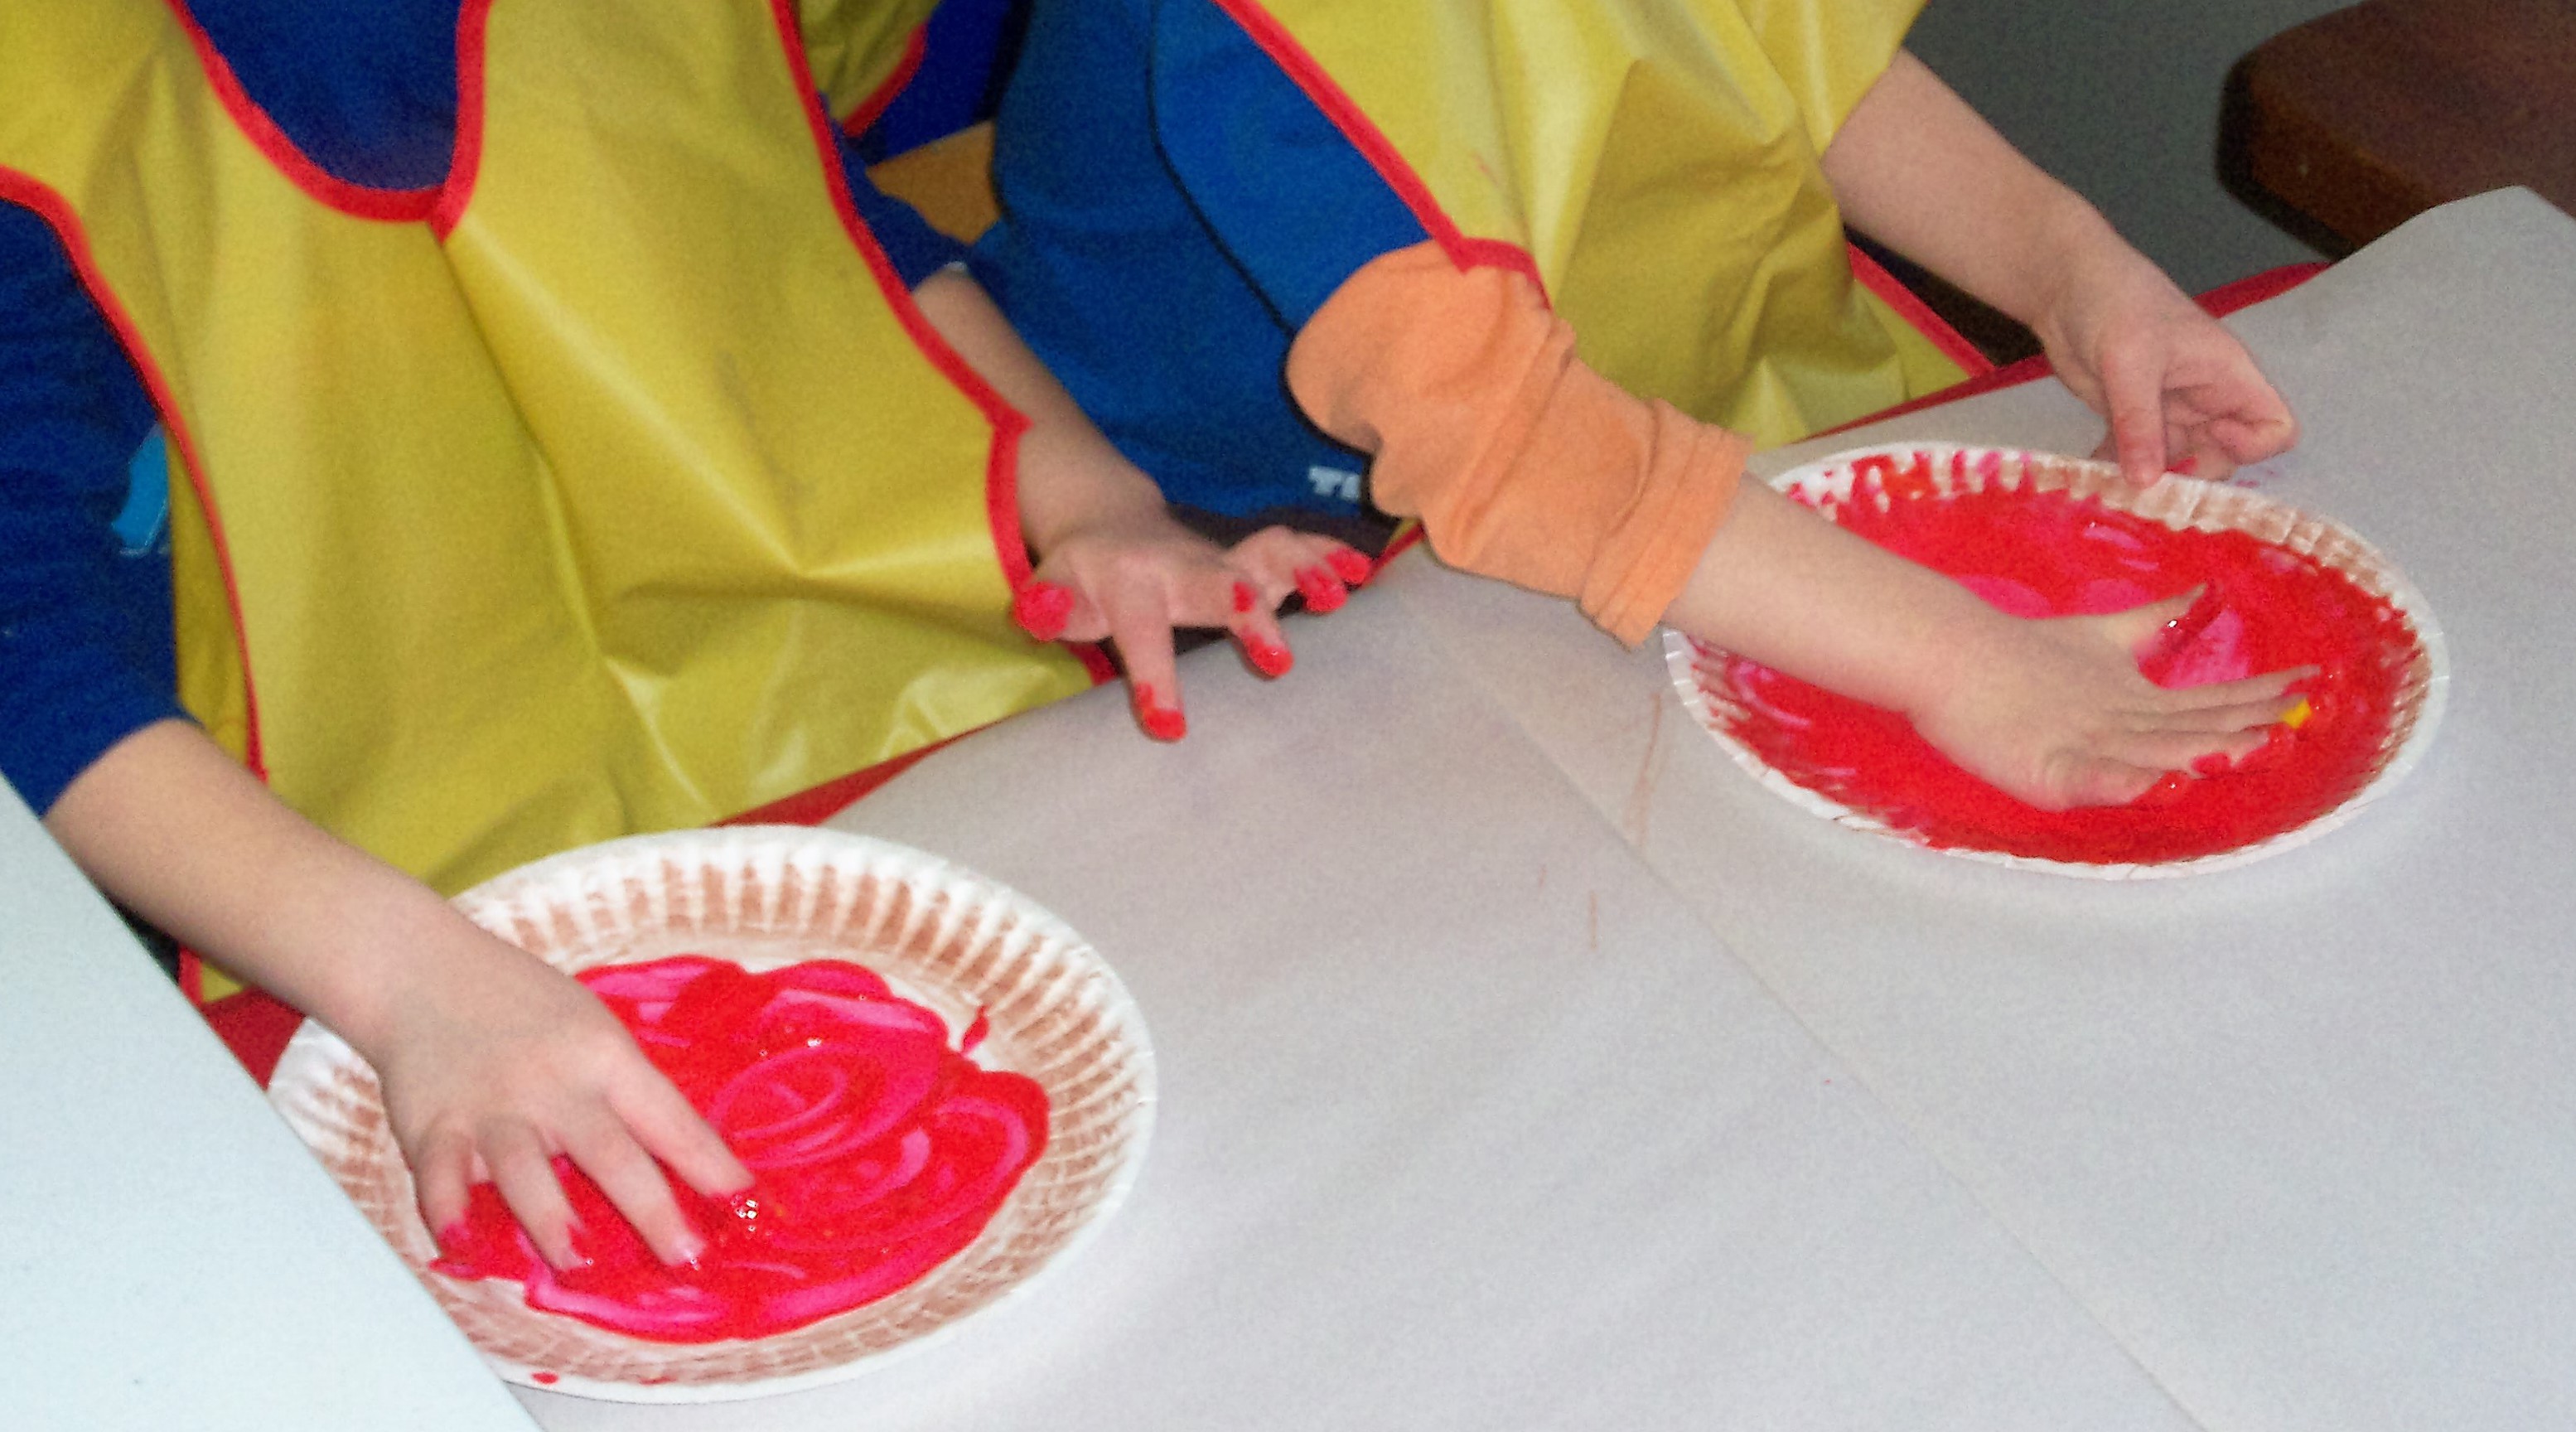
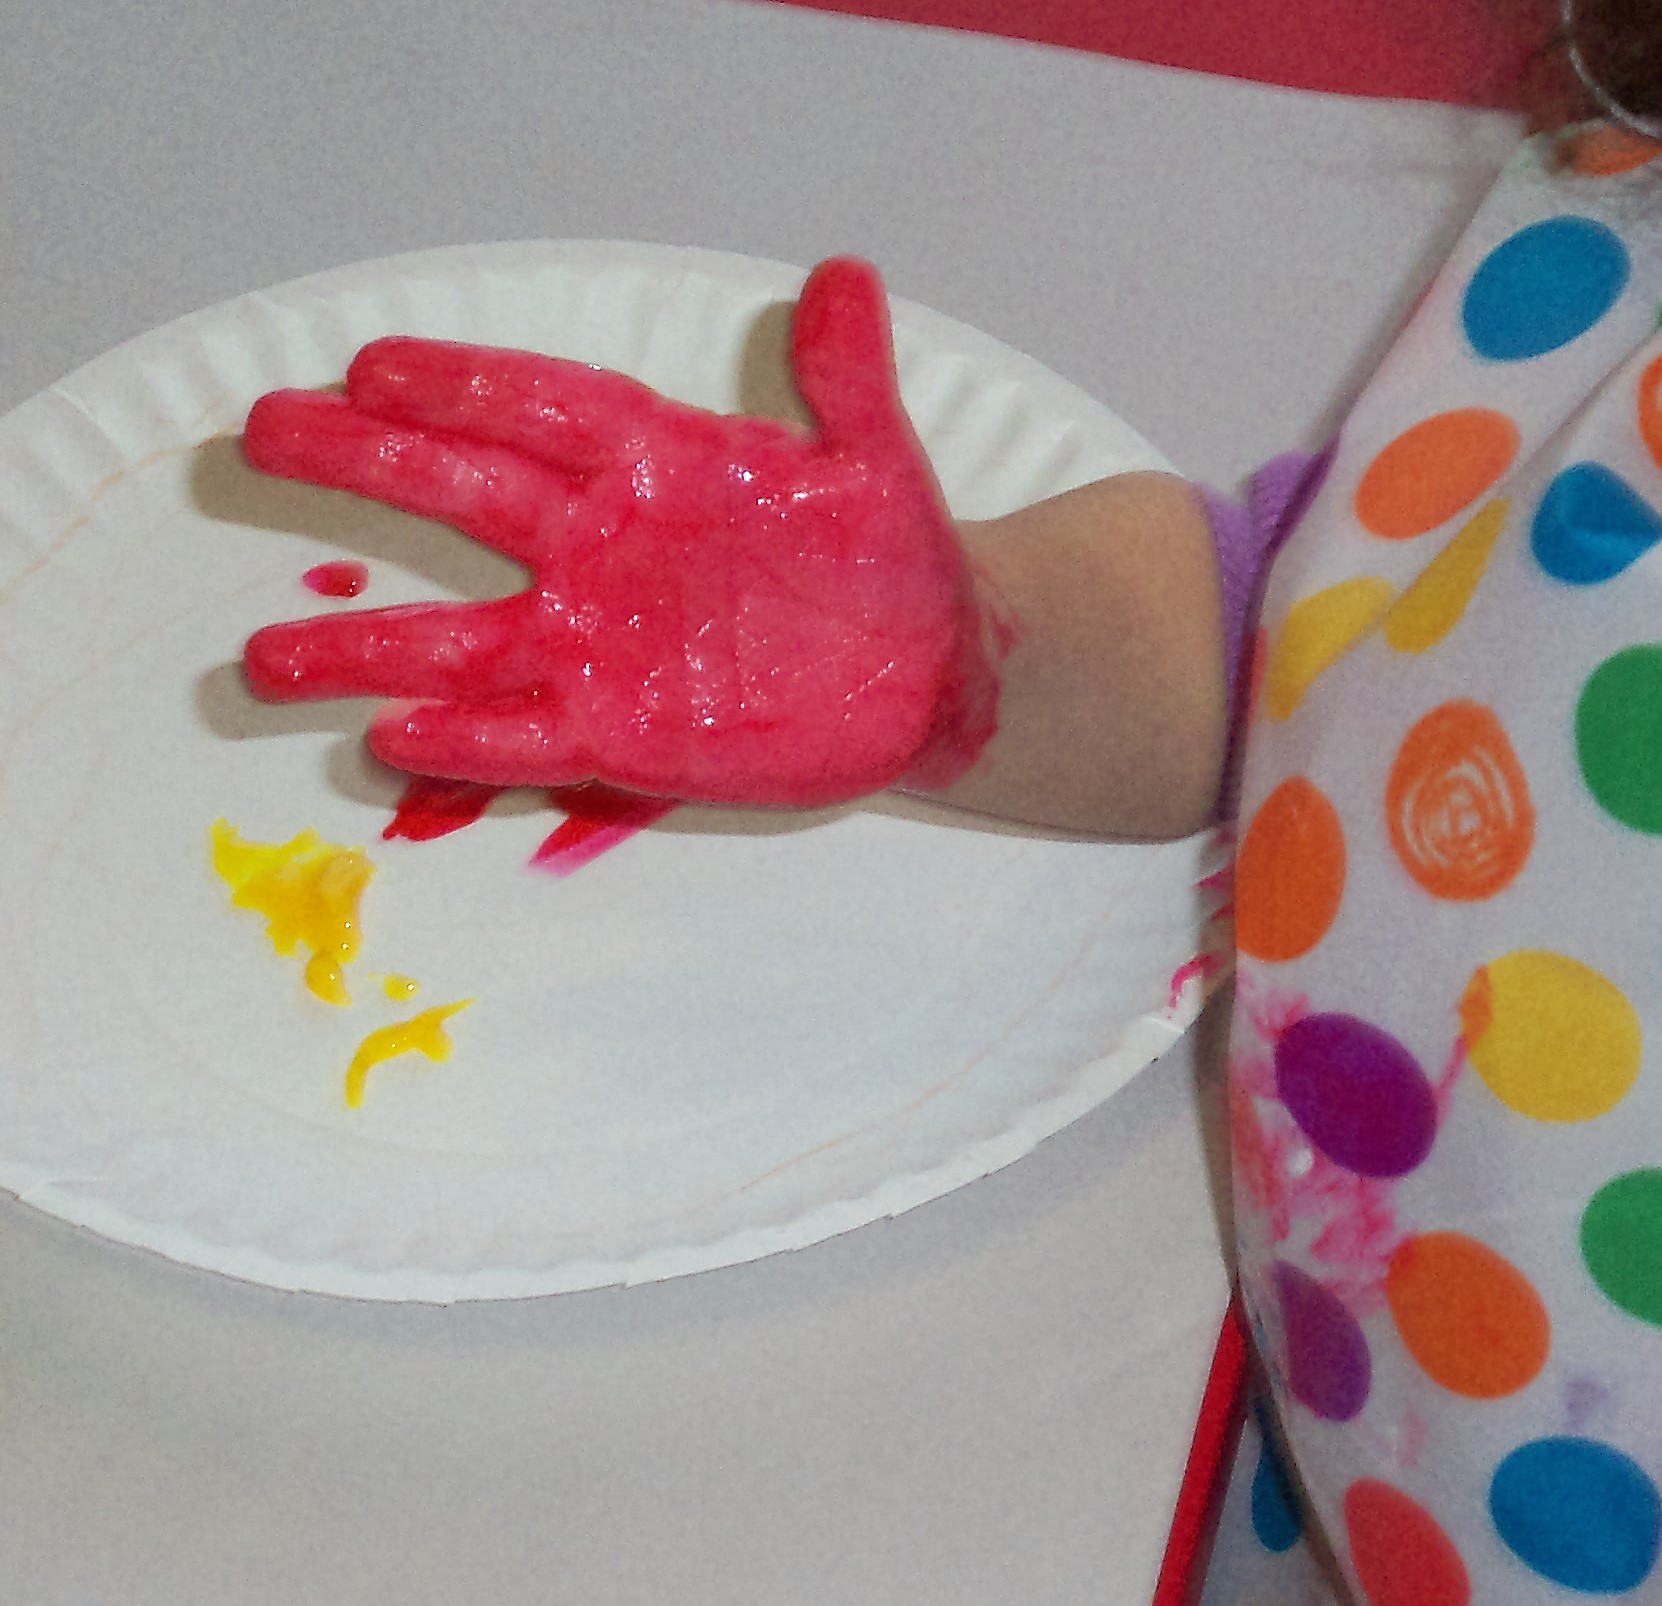
This week at preschool we learned about our five senses. It was a touchy, smelly, tasty, visual and auditory extravaganza. When the kids arrived, they were given cheap white paper plates and were told they were going to make it into a pizza. As we waited for the other classmates to arrive we began coloring the outer edge of our plates a golden brown. This would be our crust. Once all the kids were present and had completed coloring their crusts, we put a dollop of red finger paint “sauce” on the middle of their “crust” and they got the delightfully tactile experience of spreading it around the crust with their hands. We felt the sauce was a little too red and so we added some yellow to smear in. (We learned about red and yellow making orange last week.) It helped just a little. We should have done some hand print art while we were at it but instead we just wiped all the “sauce” off our hands with our ever-present box of baby wipes, then washed the “cleaned” hands in the sink. In ignorance, we set our pizzas aside to dry. Apparently finger paint doesn’t dry too quickly. We’ll get back to the pizzas later … because they turned out GREAT!
Blinking Eyes
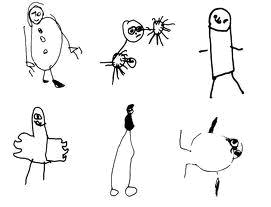
While the pizza sauce “dried”, we started working on our “blinking eye” models. My assistant did all the folding for us as this would have been too difficult for the little guys. I gave the children a selection of skin tone colors and told them to choose any skin color they wanted to color the eyelids. After they colored the skin, we added black eyelashes. Then we unfolded the paper and I drew light pencil circles in the correct location. The children were instructed to outline the iris in black and color in the pupil except for the shiny spot. Next they were allowed to choose any color they wanted for the iris color with the only limitation being they had to find a lighter and darker shade of the same color. I had them color the inner part of the circle with the lighter shade and the rest of the circle with the darker shade. This gives the eyes a fairly realistic look which was quite pleasing. As the final step, they were to add a few black lines radiating out from the pupil to the edge of the iris. These lines got rather bold, but adorable. Then we folded the paper back to its original form and showed the kids how to blink their eyes by pinching the corners in back and pushing together and forward to open the eye and pulling out and back to close it. We also discussed how being able to blink is what keeps your eyes lubricated and safe from dirt getting into them.


Next we tested our sense of hearing by shaking old pill bottles (Thank you Mom.) which I had covered with construction paper and filled in sets of two with various ingredients such as oatmeal, rice, salt, a single chocolate kiss, buttons, pennies. The kids had to shake a bottle and then try to find its partner by listening to the sounds of the other bottles as they shook them. After that, we did the same thing with “Smelly bottles” — paper covered pill bottles again, but this time covered with tissue so we could smell but not see the ingredients. These bottles contained such ingredients as dry oatmeal, brown sugar, cinnamon, cocoa, ground coffee and black pepper. At first I tried just putting essential oils on cotton balls so I wouldn’t need to hide the ingredients, but in testing them myself, I was surprised at how difficult it was to tell the difference between rather distinct smelling oils. I wasn’t too surprised to learn how quickly this put my olfactory system on overload though, so I decided to go more the food route with the kids. I was too lazy to cover the bottoms of the bottles and it didn’t take the kids long to figure out how to self-check their guesses.


")


Our sense of touch was the next to be tested. We had two activities. We put 5 pennies on a dish for each child, then buried them in rice and had the kids close their eyes and find the pennies. Next I brought out cloth sacks and put a familiar object in each child’s sack. I used our reusable cloth Christmas sacks, but a large sock would work just as well. They were to use their sense of touch to figure out what was in their bag. Once they got the hang of it, I moved to more difficult items. After they’d found quite a variety of objects, I put all the objects into one sack and we passed it around assigning each child a particular object to go fish out of the bag. This proved to be a bit more difficult than identifying the single object, but it was not too difficult for them to accomplish.
Pizza Time!


We brought our paper pizzas back out along with all the toppings. Sadly, the sauce was still quite wet. No matter, we just drizzed glue all over it and then sprinkled our pizza with “cheese” and then real Italian seasoning to make it smell like pizza. Next the kids topped their pizzas any way they please. Their inner pizza chefs sprang to life as they created their masterpieces. I cut all the ingredients out of paper except for the sausage which was cut from felt and the onion bits which was a white raffia ribbon cut in bits. When the kids finished topping their pizzas, we drizzled them with more clear school glue just for an extra measure to make sure all the ingredients stay attached. The results were stunning.


Snack Time! — finally a chance to play with the sense of taste!
We tasted salty, spicy, bitter, sour and sweet. The kids were more adventurous in tasting things than I expected. Most of them even tried nibbling the parsley.
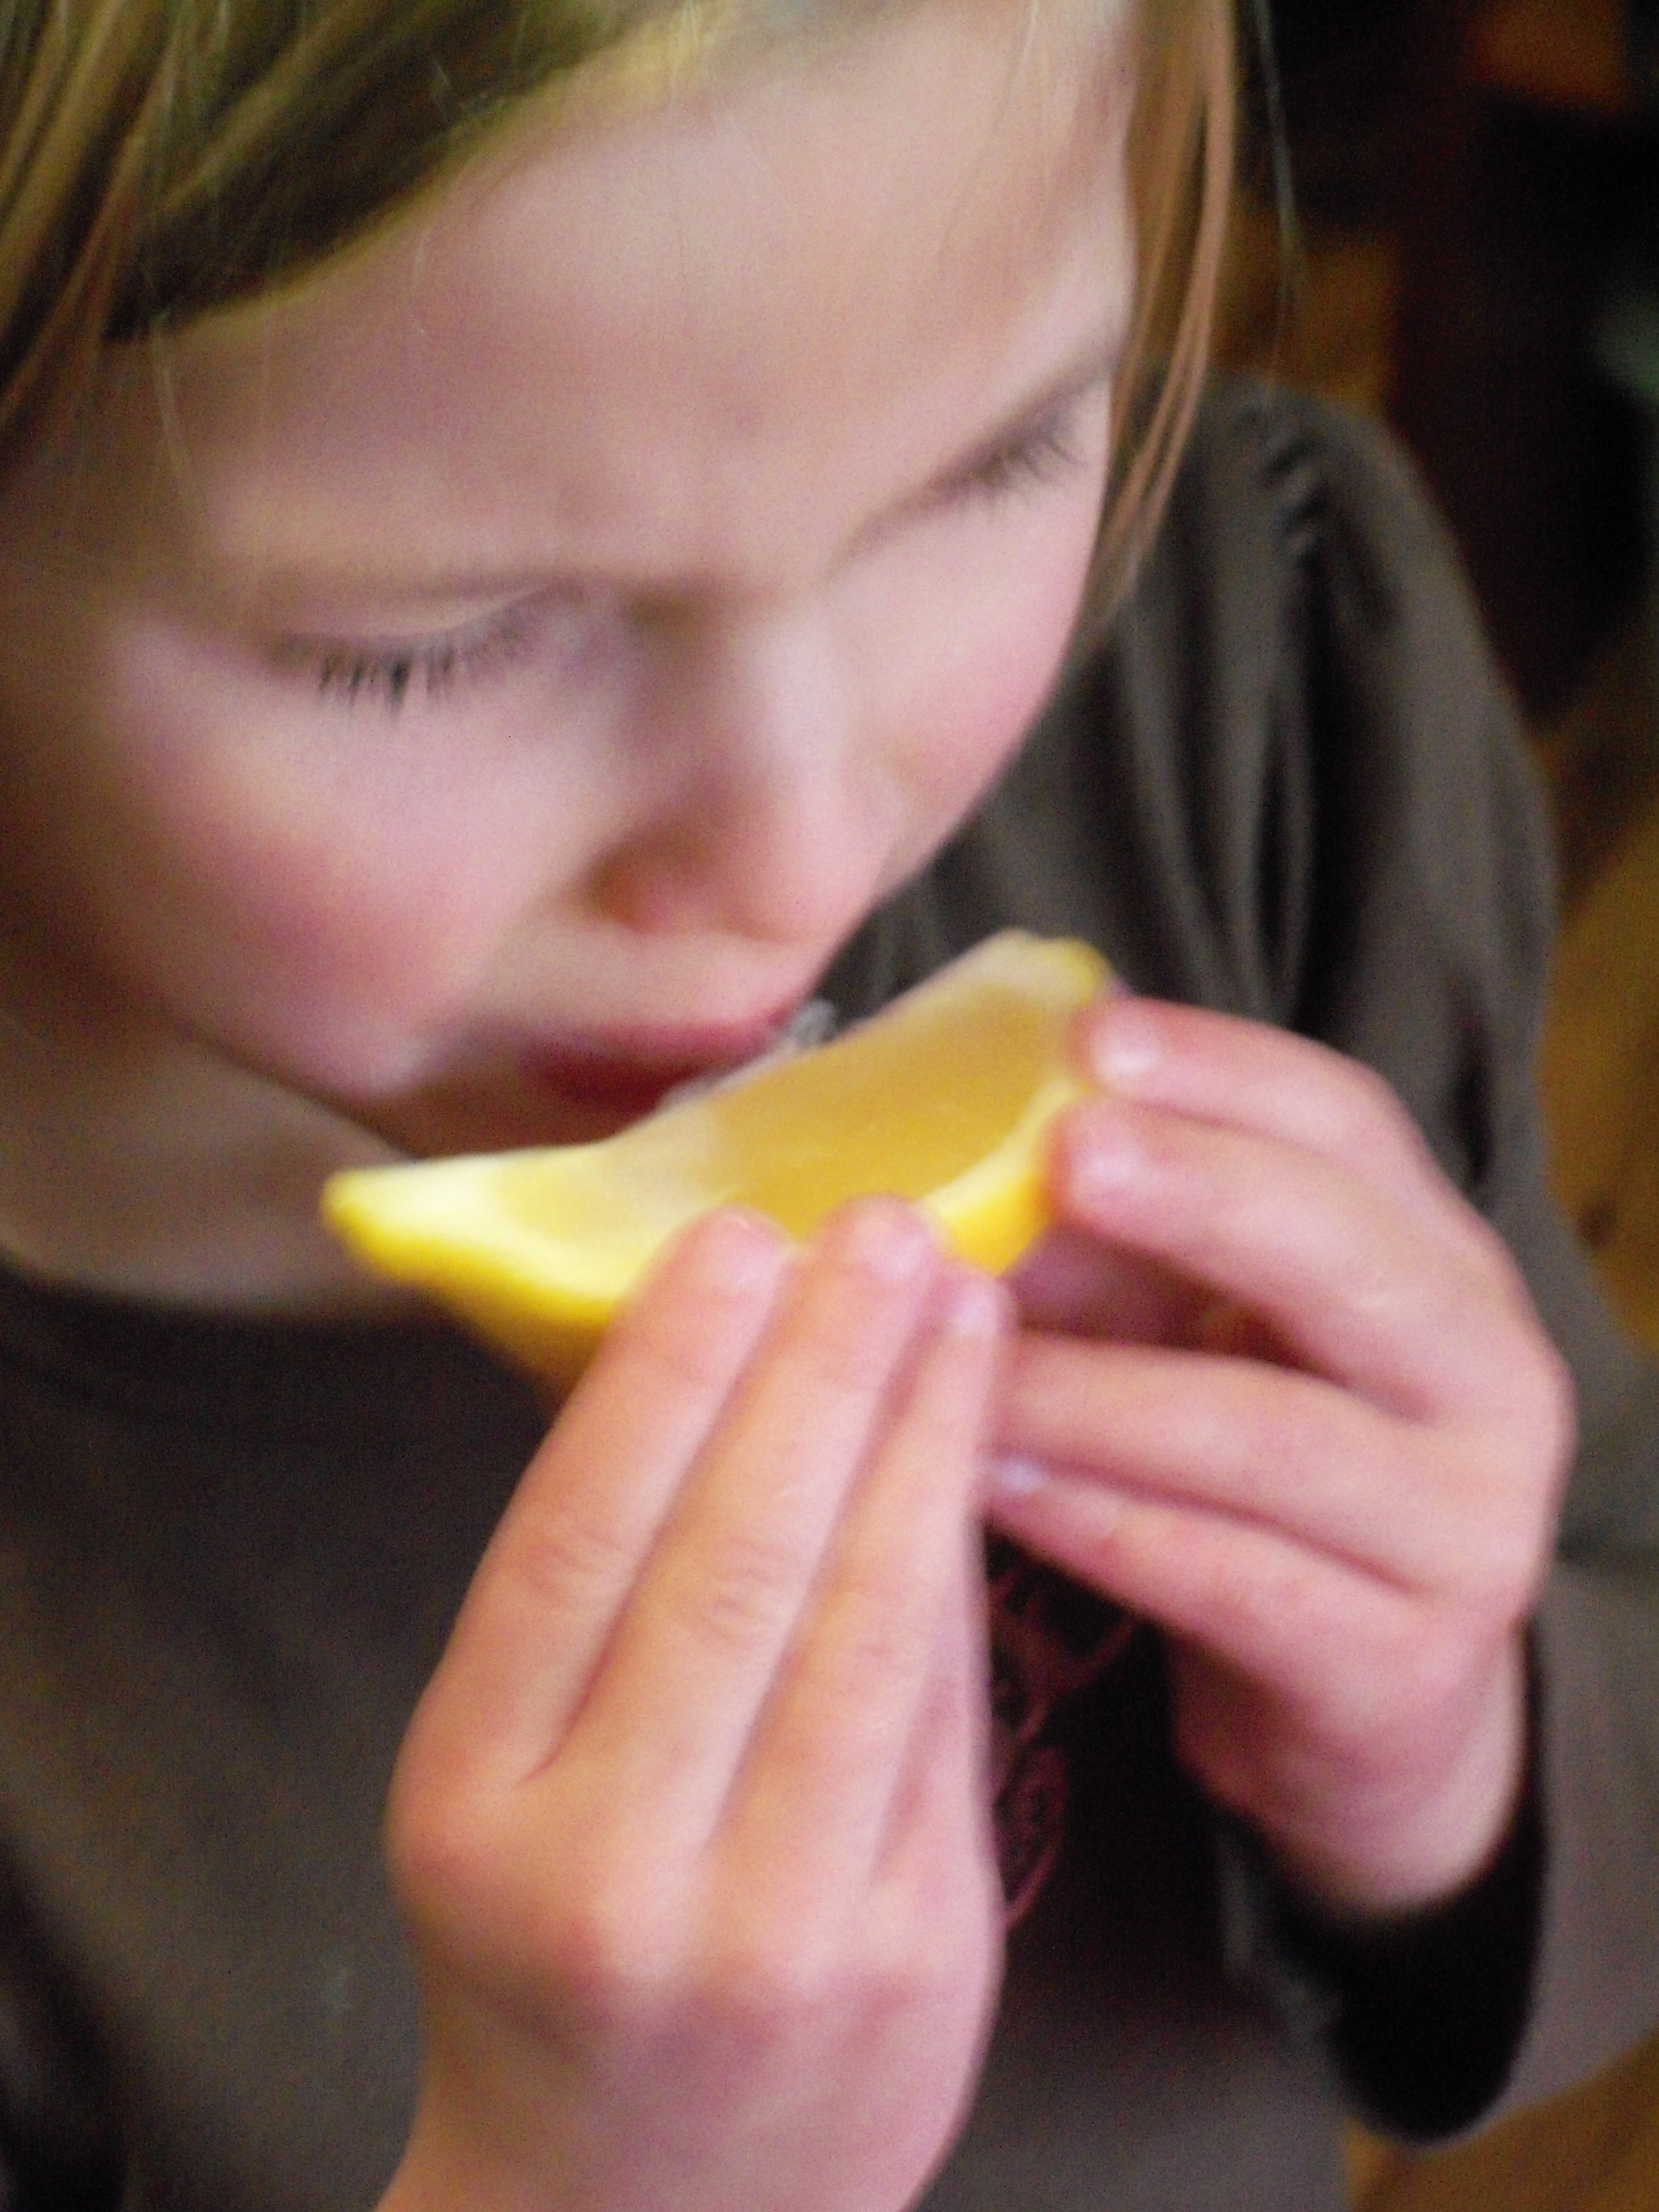
 For salty I used a sprinkle of pumpkin seeds. The kids were offered a choice of a lemon slice or a dill pickle for sour. Most tried and enjoyed both. For bitter, they tried both parsley and my chocolate concoction. I mixed straight cocoa powder with some coconut oil. One of the girls tasted it and said, “This is Mom chocolate!”
 We decided a little sprinkle of sugar vastly improved the taste for a kid’s palate. No, I wasn’t teaching them that adding sugar to food made it taste better; I was demonstrating that a little sweetness can take away bitterness. Speaking of sweetness, we used applesauce for this taste. The kids cleaned me out on this one. For spicy I wanted to use nacho flavored tortilla chips, which I did, but for the dairy-free kids I found some spicy crackers that were both gluten and dairy free. The kids did not know that spicy play dough was waiting on the table for their playtime or I doubt they would have dawdled through snack time as leisurely as they did.
Active Group Play
After snack we usually try to do something active. Today I tied in out theme of senses for this activity. Lacking an old fashioned ticking timer, I downloaded a ticking “bomb” app on my tablet and hid it in various places. The kids had 30 seconds to find it before it “exploded”. We had to adjust the volume a few times to make it a little more difficult to find, but even still, it never took them the full 30 seconds to find it.
Play Time!
 There were a few other choices, like some musical toys, a prism and our wave bottle (half colored water, half corn oil), but for the most part they wanted to play with the spice-scented play dough for the rest of the afternoon. This was the first time I’d tried this recipe, and I love it! It was a bit of a work out stirring six double batches (By the way, doubling the recipe worked
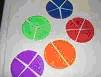
  just fine.) but it really only took about 5 minutes per batch. Don’t let the cooking part scare you — really. It was a wonderful texture after I kneaded it for half a minute. I used a variety of spices to both color and scent the dough. They smelled wonderful and I was delighted with the natural colors I got. The center one is beet powder, then clockwise starting with the bright yellow, which is turmeric, followed by sage and thyme, cocoa powder, dill and cinnamon.
We brought out all our play dough tools and used our rhythm sticks as rolling pins. The kids didn’t do much with the cookie cutters but when I brought out the little pie pans their eyes lit up and a little bakery sprang to life.


That brought us to the end of a very sensory day of preschool. Thanks for stopping by to check us out. Go here to read about some of our other preschool adventures.


 Jump Rope

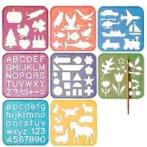 Stencils


 Trampoline
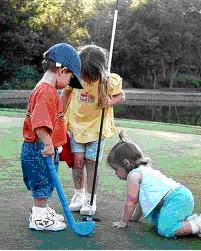 Golf
Golf 
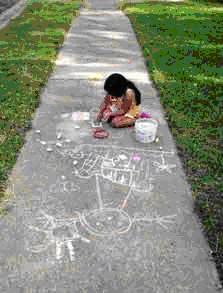 Chalk on Cement
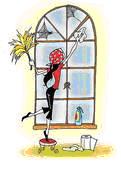 Wash Windows
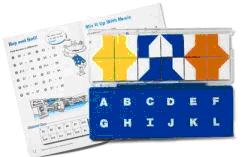 Think-it-Through Tiles (Discovery Toys)
 Play with Rubber Animals
 Pound Nails, Turn Screws, Drill Holes

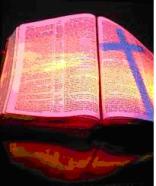 Memorize Bible Verses
 Decorate your bike
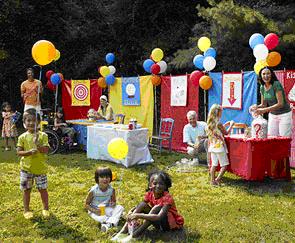
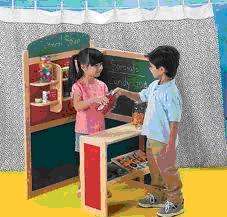 Play Store
 Practice Face Painting