FIRST Day of Preschool

sunny-tablewith-words
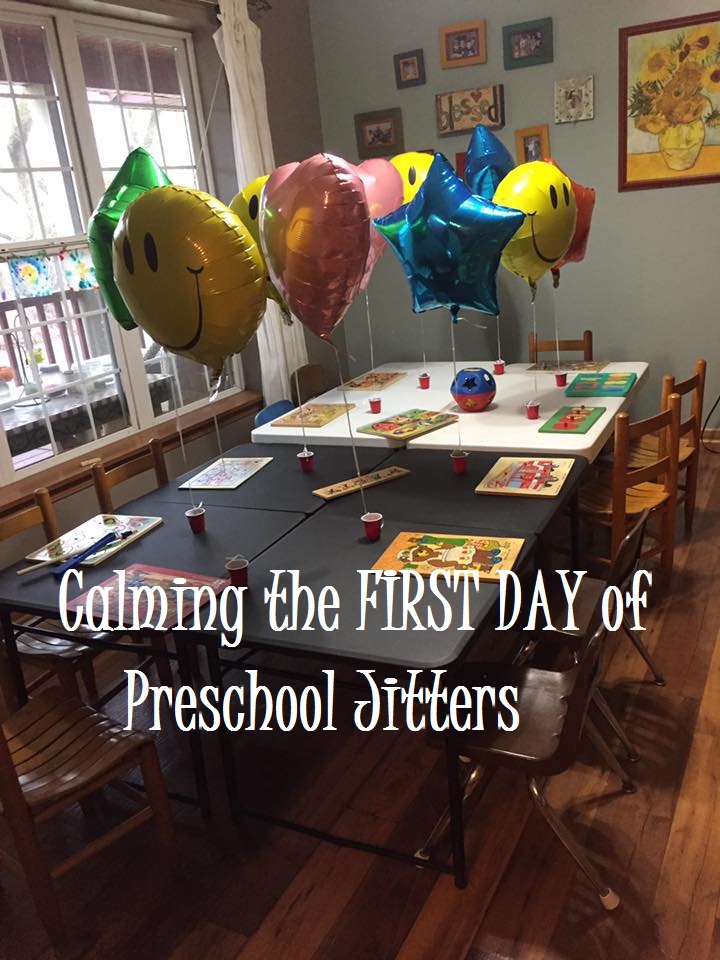
A new semester has brought a new group of students.  Today they all took their first step into preschool class.  Most were pretty timid upon walking through the door.  A few tears were shed during the first hour, but they were easily assuaged with a little comforting.  My philosophy with my students is to entice them out of their shell rather than push.  In preparation for first day jitters, I had each parent send me a family picture ahead of time.  When the children came into the classroom, they took off their coats and hung them up.  Then they were told to go to the photo table and find their family.  Hah!  Here’s a task they could not fail.  They KNEW the answer to this test!  You could see visible relief on their faces as they marched themselves and “their family” over to our table to choose a seat.  I try to have Mylar balloons for each student this first day of class.  Who doesn’t love a Mylar balloon?  They make the atmosphere feel fun and festive right off the bat.


WELCOME ACTIVITY
The students found a seat they liked, propped their family photo against their balloon’s weight and proceeded to engage in doing wooden puzzles.  Very few preschoolers can resist the draw of bright wooden puzzles, but I had one today.  He was particularly nervous and could not be drawn out by the lure of puzzles.  Luckily, he was excited to see my shape-sorter ball on the table as well.  This was a “puzzle” he could enjoy.

SCHOOL SKILLS HOUR
Once all the kids had arrived and had sufficient time to explore the puzzles, we welcomed the class and went around the table with each student holding up their picture and telling us about who was in their family.  We noticed that some of our students were the oldest in their family while others were the youngest.  Some had both older and younger siblings.  Two families had all boys and one family had all girls.   I asked students to raise their hands if they had 2 kids in their family, 5 kids, etc.  It was a great time to compare how our families were similar and different.

getting-aquainted36

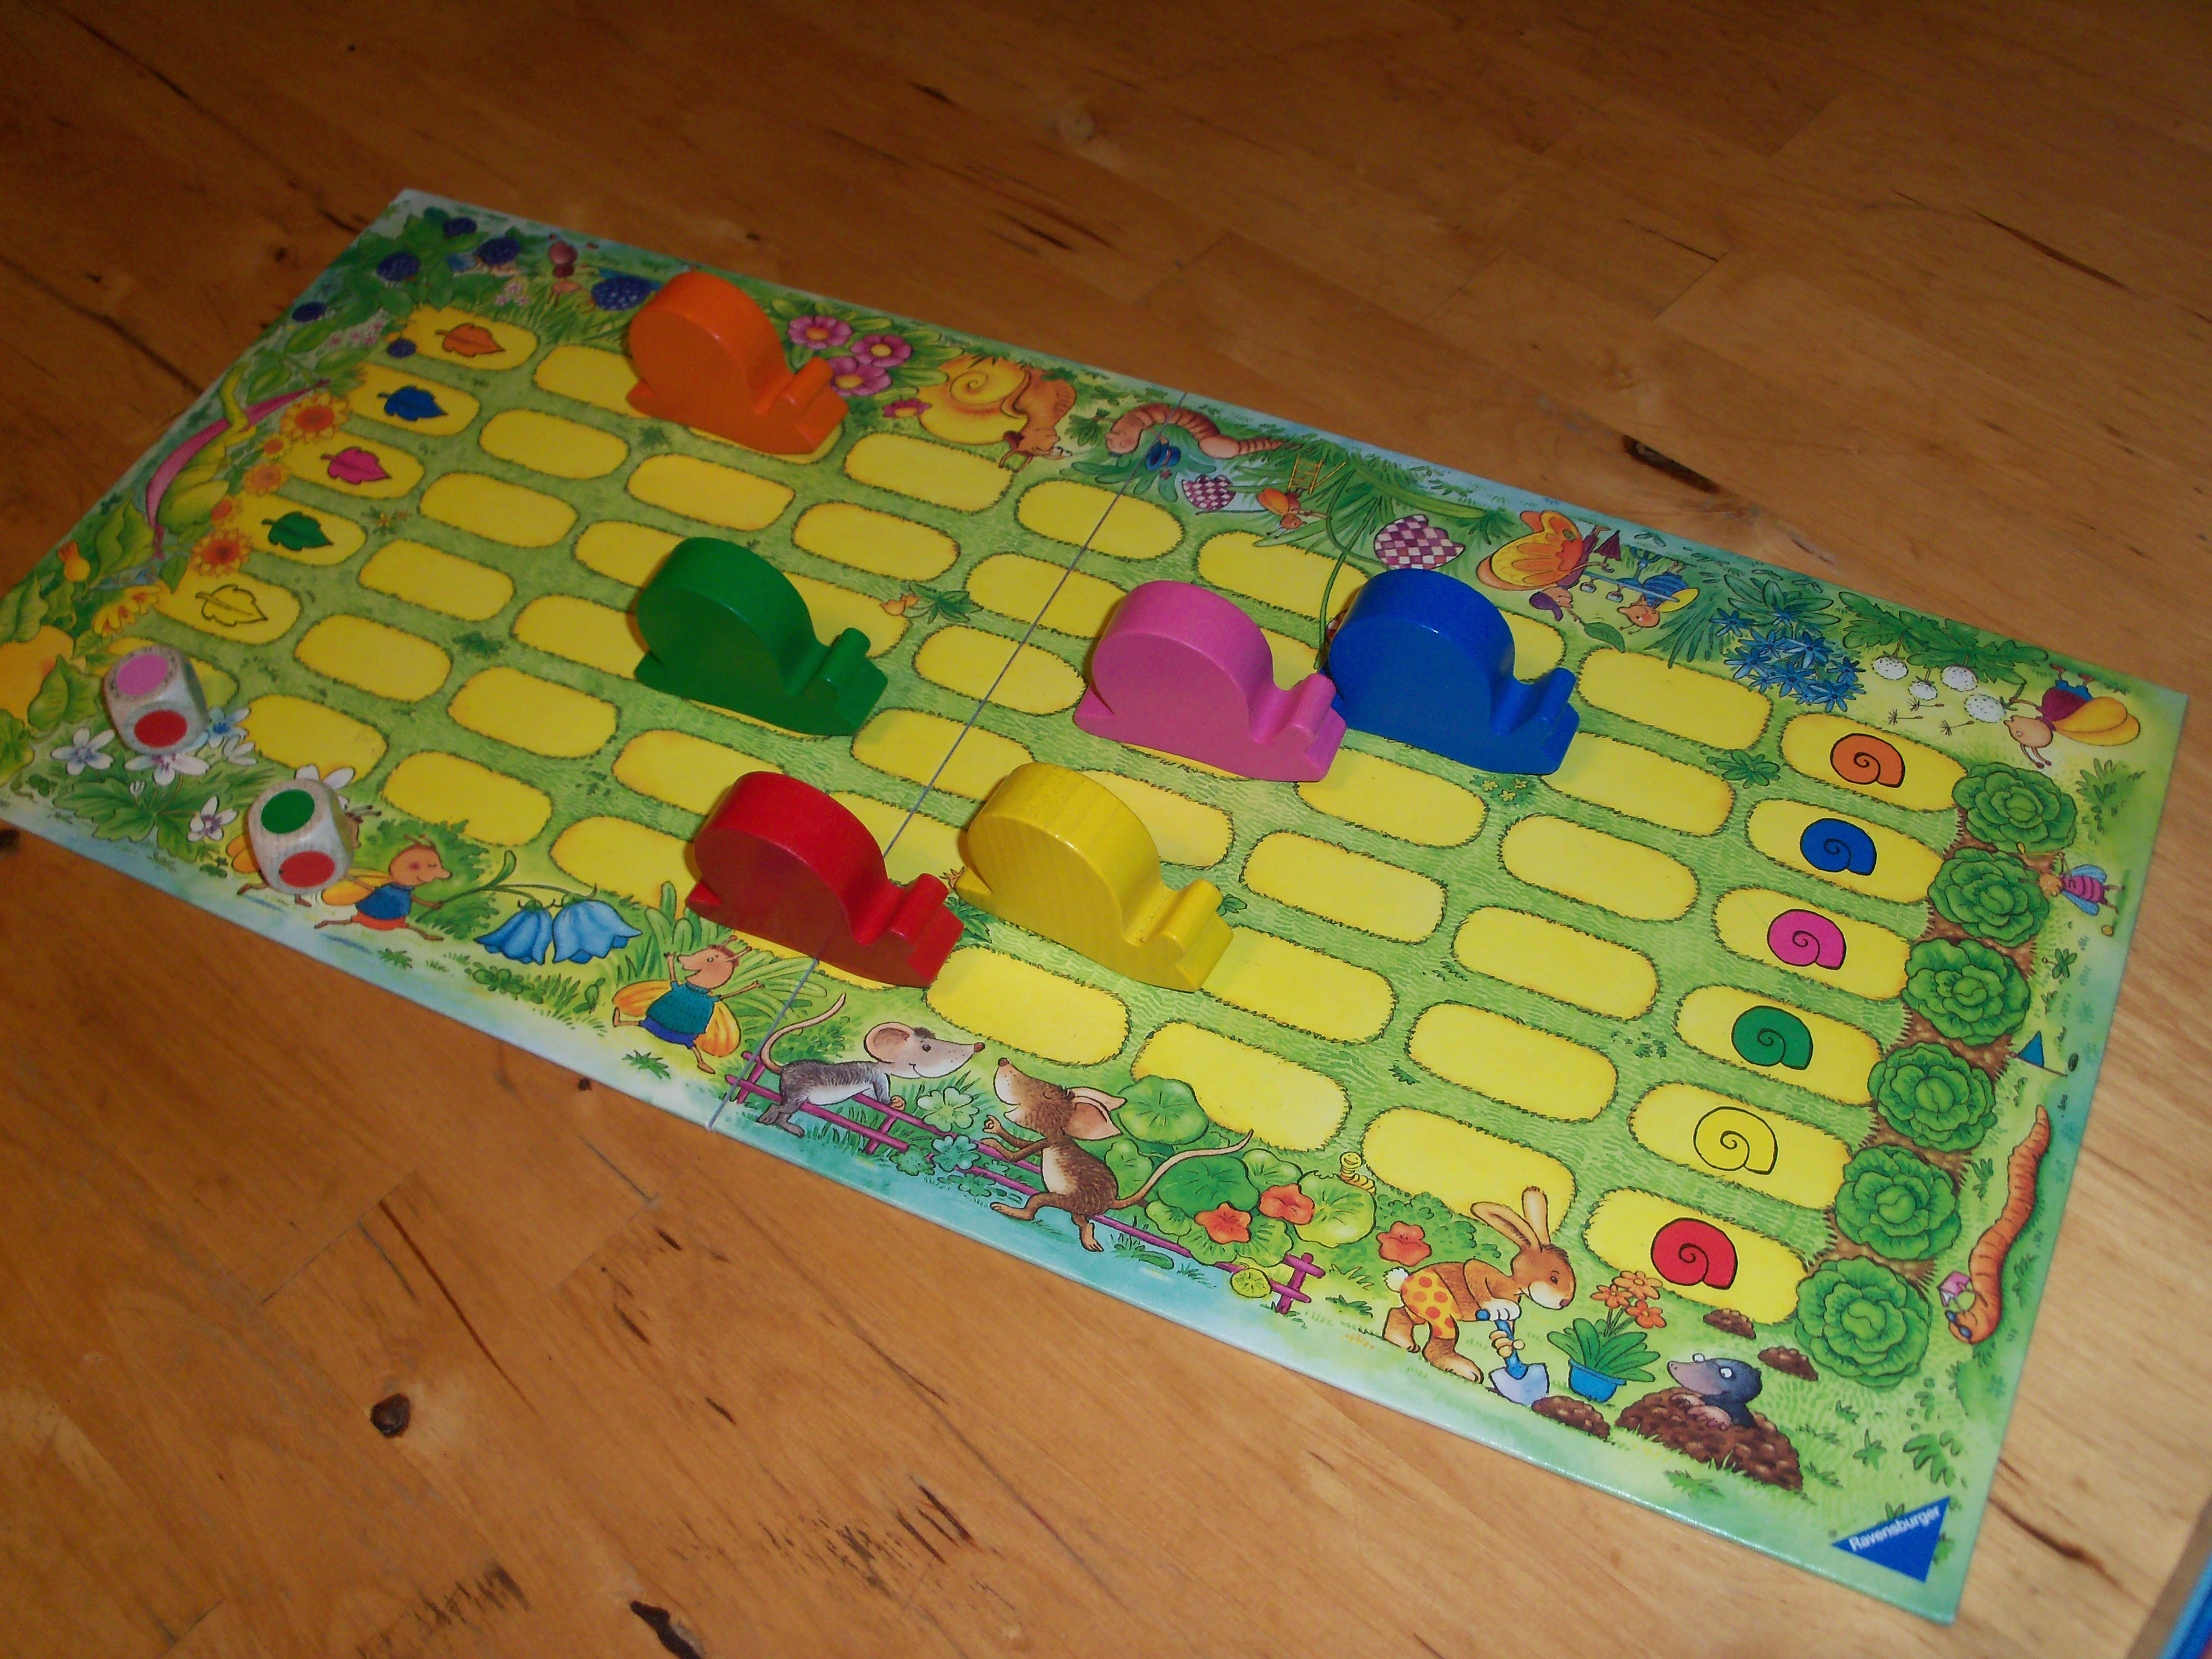
After everybody got a chance to share about their family, we brought out my Snail’s Pace Race game.  This is probably THE BEST preschool game around.  I like to think of it as a preschool version of the Kentucky Derby, but without the betting.  Theoretically, it is a non-competitive game, but kids can always find a way to compete.  Playing games is a wonderful way to teach a child so many skills, not the least of which is, “How to be a good winner/loser.”  We went over that lesson, and then I took note of the behavior of the children.  Do they have their colors down? (Yes!) Can they play by the rules?  Do they take turns nicely?  Does anybody try to cheat?  The kids took turns rolling the color dice and moving the snails and we all cheered for each snail as it crossed the finish line.

100_3561

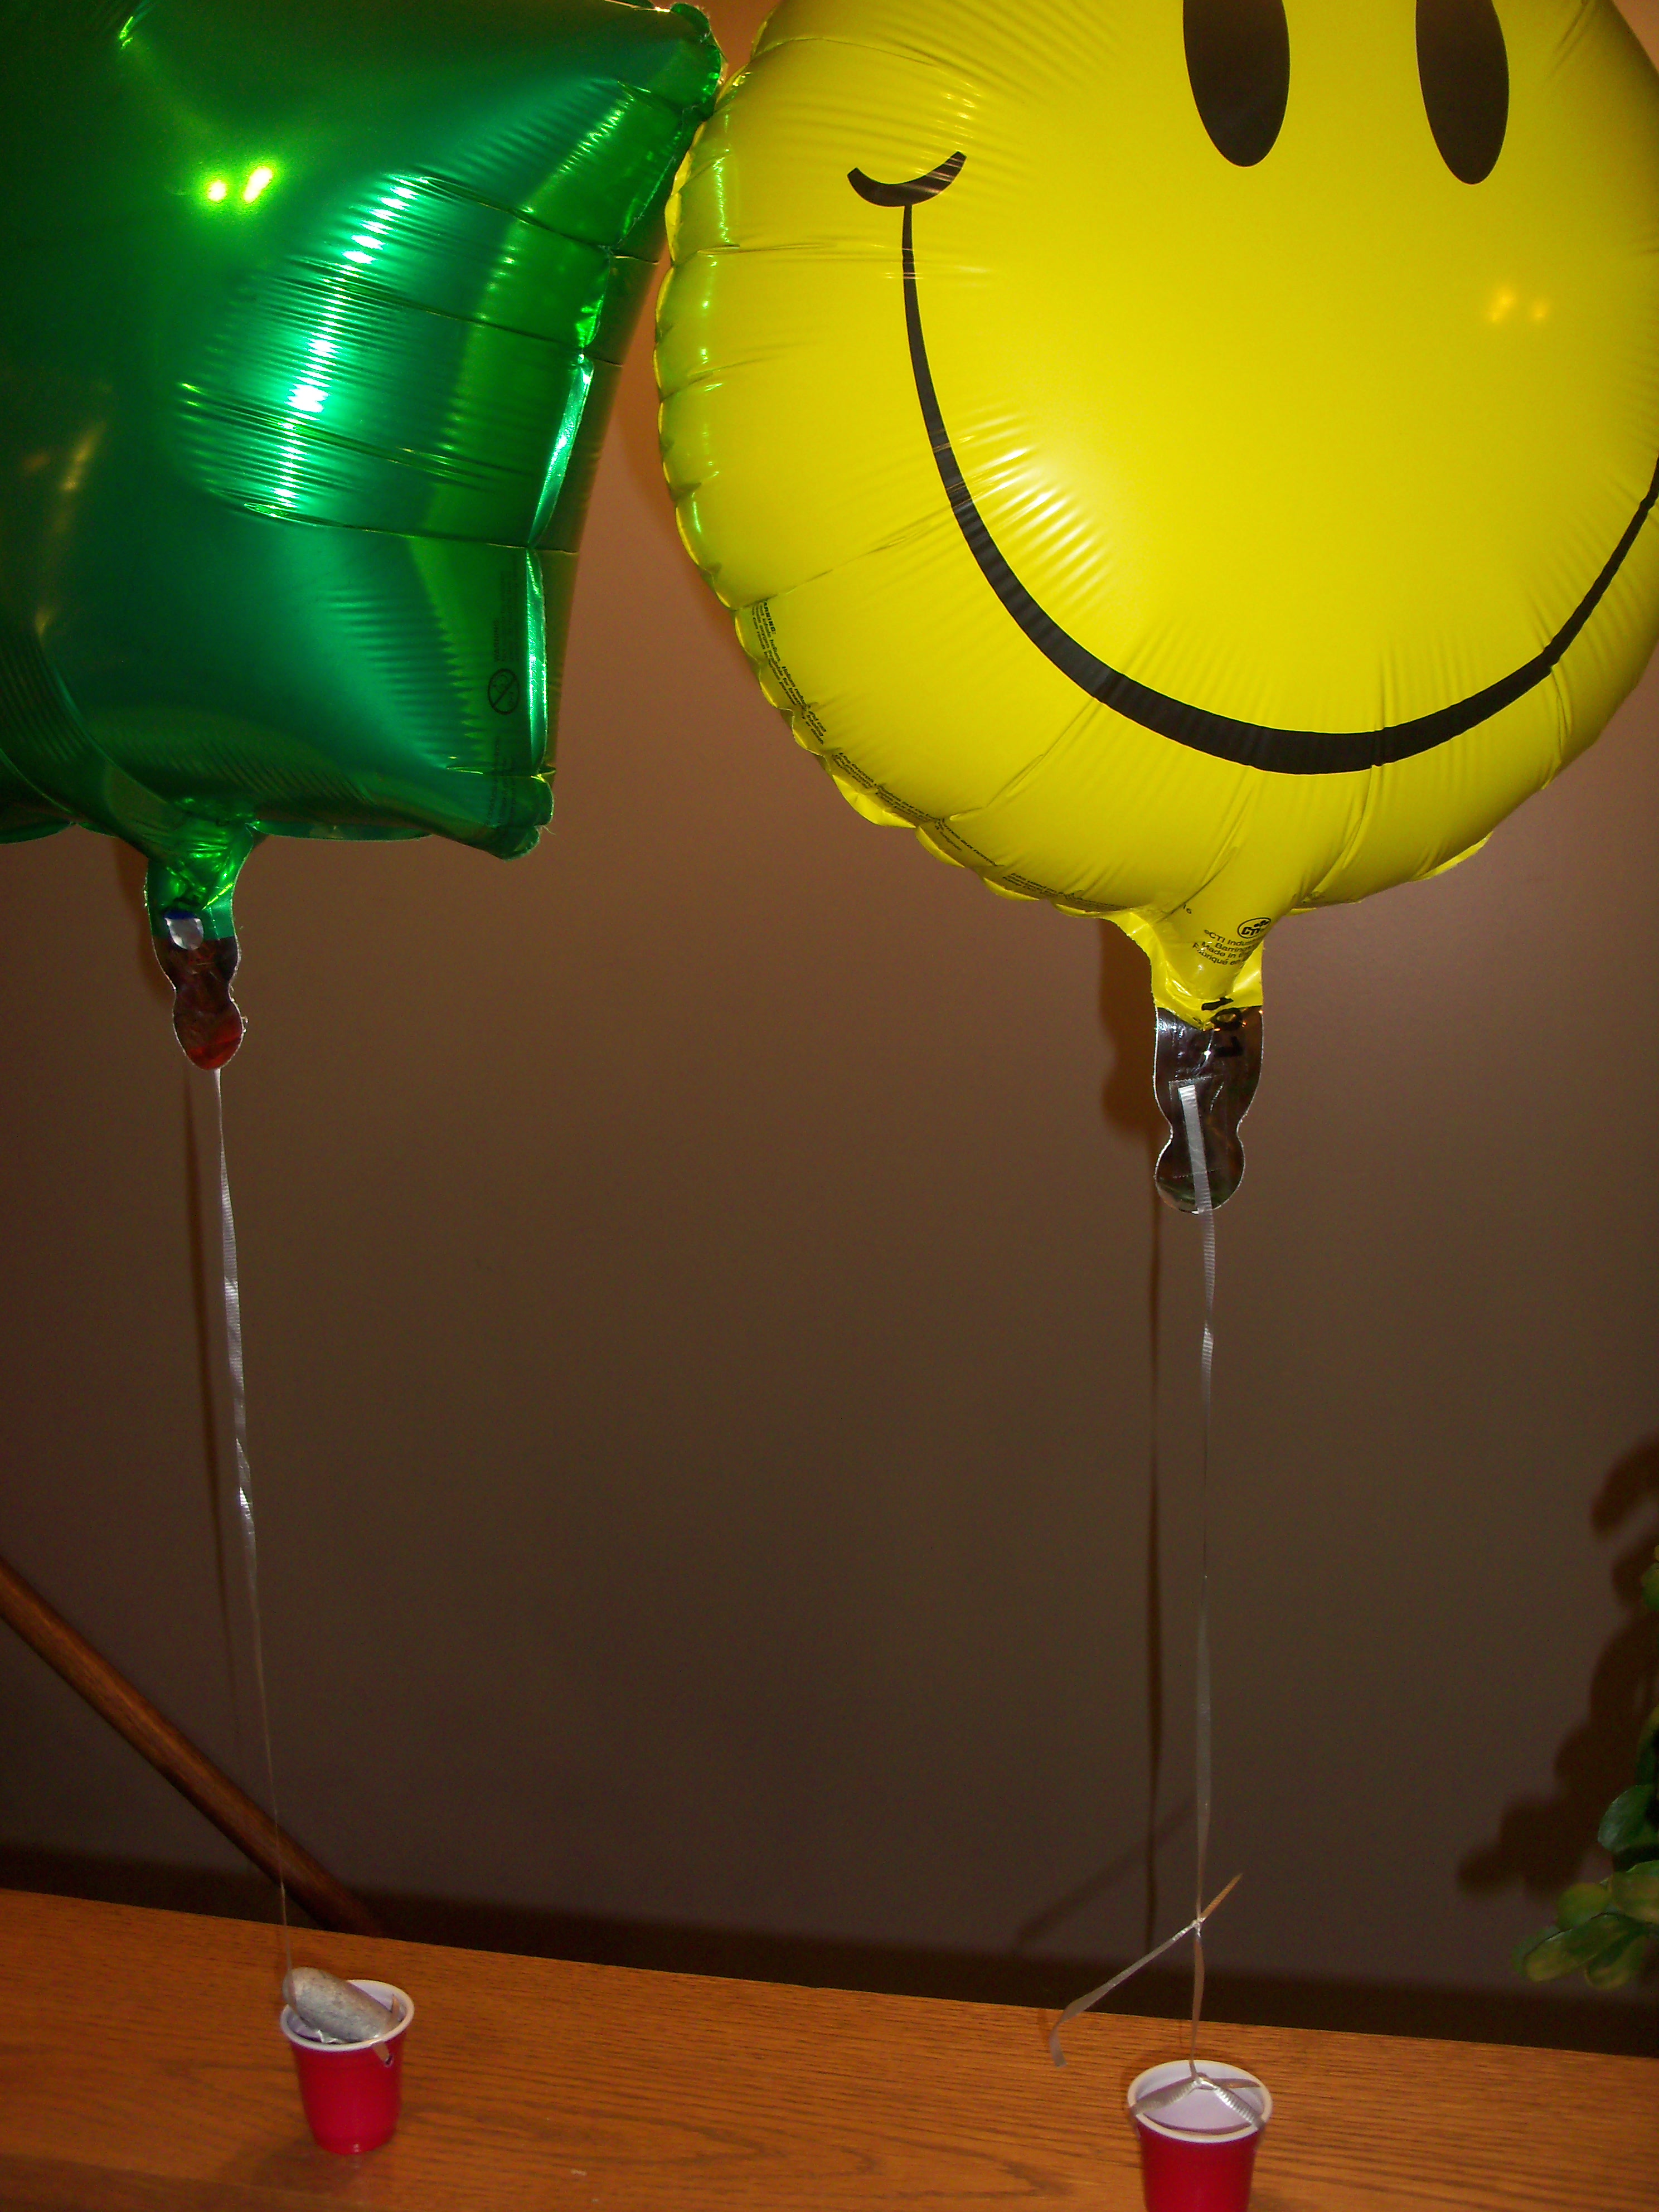
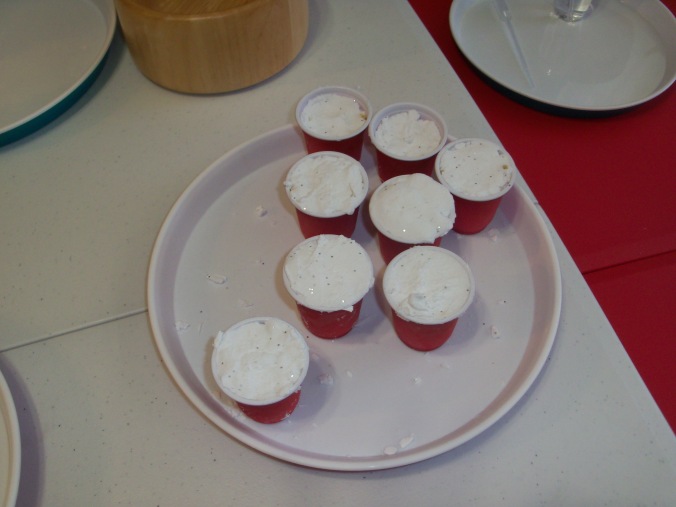
Mylar Balloons with Tiny Solo Cup Baskets

100_3562

Stones kept our balloons anchored until we were ready to do our experimenting with them.


The night before, I’d weighted the Mylar balloons by tying them to tiny Solo cup “shot glasses” which I’d melted holes into by using an ice pick which I’d heated up by holding it over the flame of the stove.  Just as I’d hoped, the shot glasses were not enough weight to hold the balloons down, so I added a stone to each cup to keep the balloons weighted. Back to our school time —  I had the children remove the stones from their cups and we spent several minutes delighting in letting the balloons go and trying to catch them before they got away.  Then I laid an assortment of small items out on the table — toothpicks, Q-Tips, little Lego people, hairbands, tiny pom pom balls, fish and teddy bear counters.  I challenged the students to experiment with what it took to keep their cup down.  We found about 4 toothpicks was enough for one boy.  Another discovered that if he put two pom poms in, the balloon sort of floated mid-air.  Some kids had fun just seeing how full they could stuff their cups with all the trinkets.

100_3568

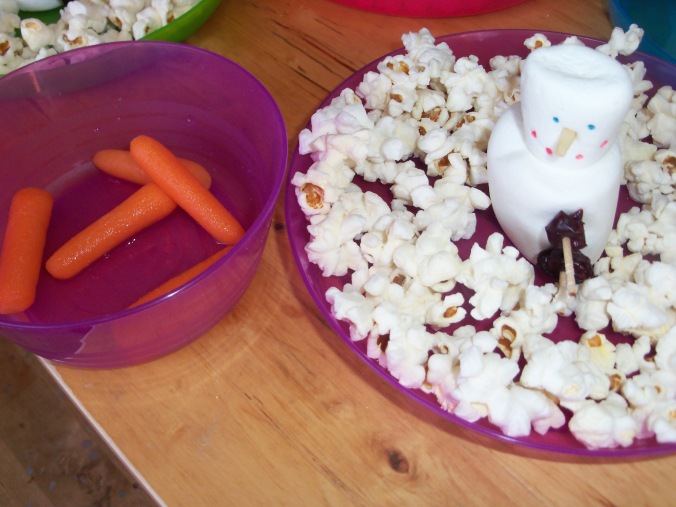
One little bear made this balloon kind of jump around. It took two to anchor it securely.

100_3564

With no added weight, the balloon would float to the ceiling. With just the right amount of added weight you could get it to hover.


getting-aquainted5-2

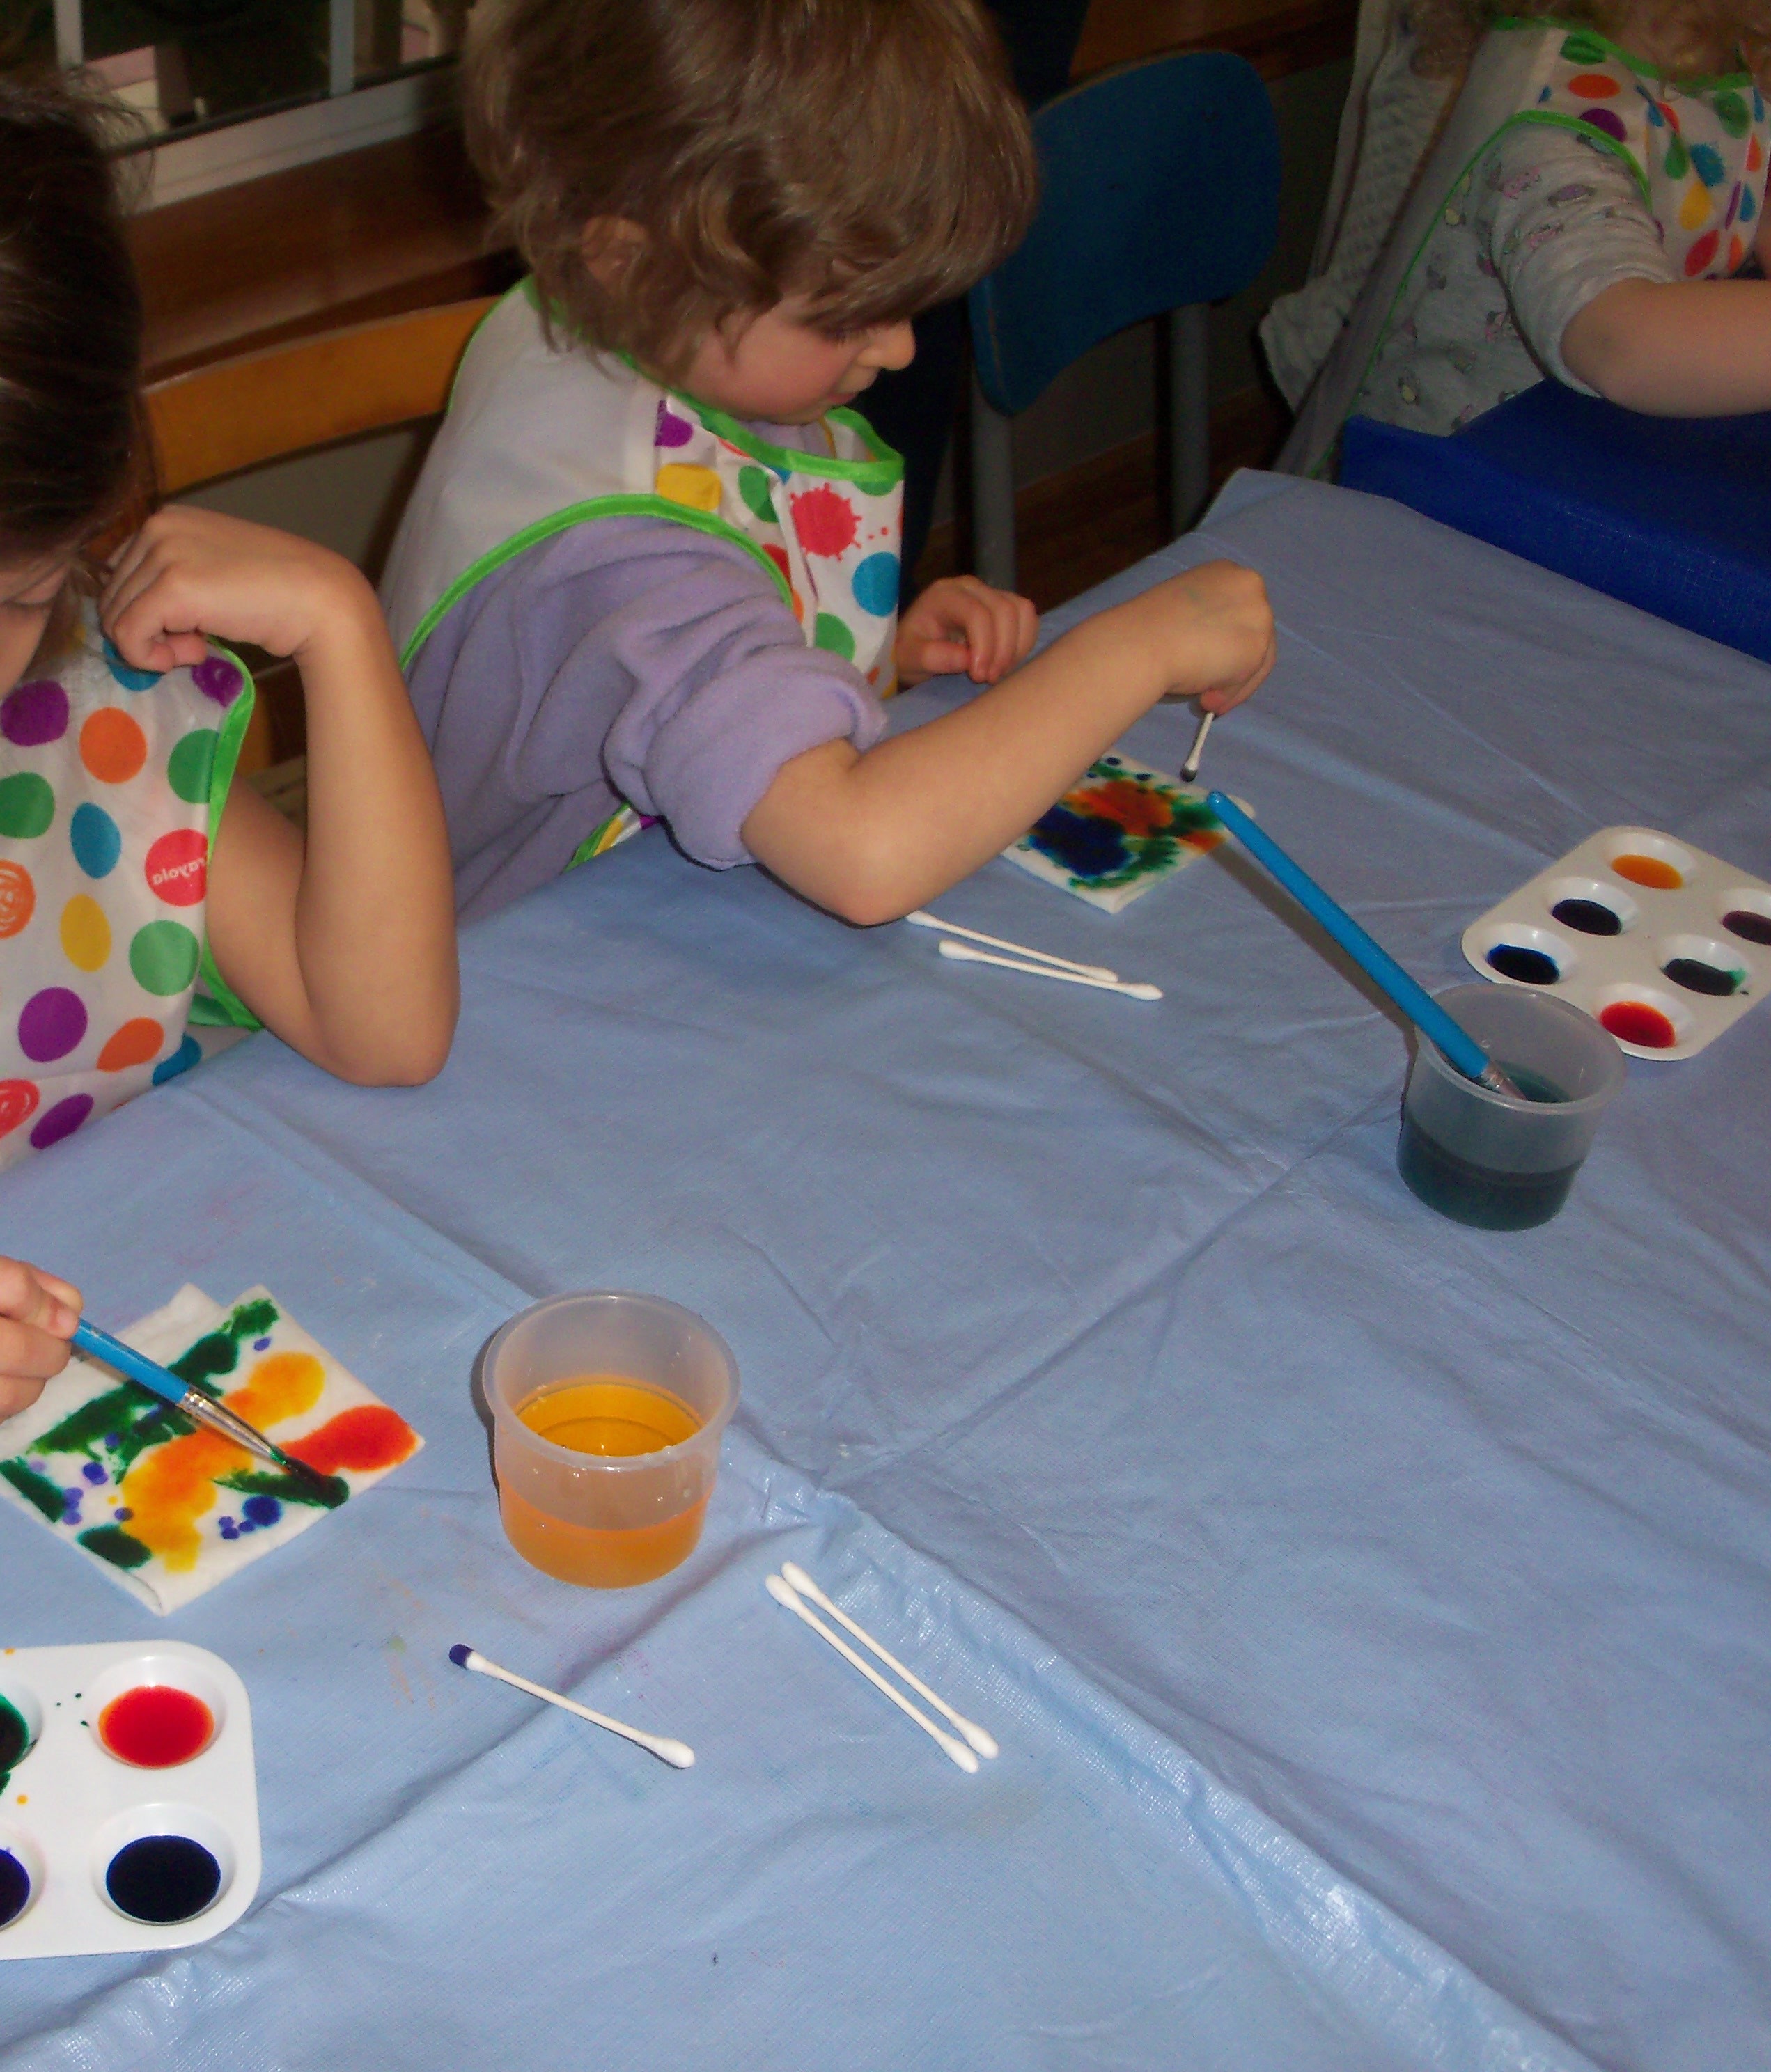
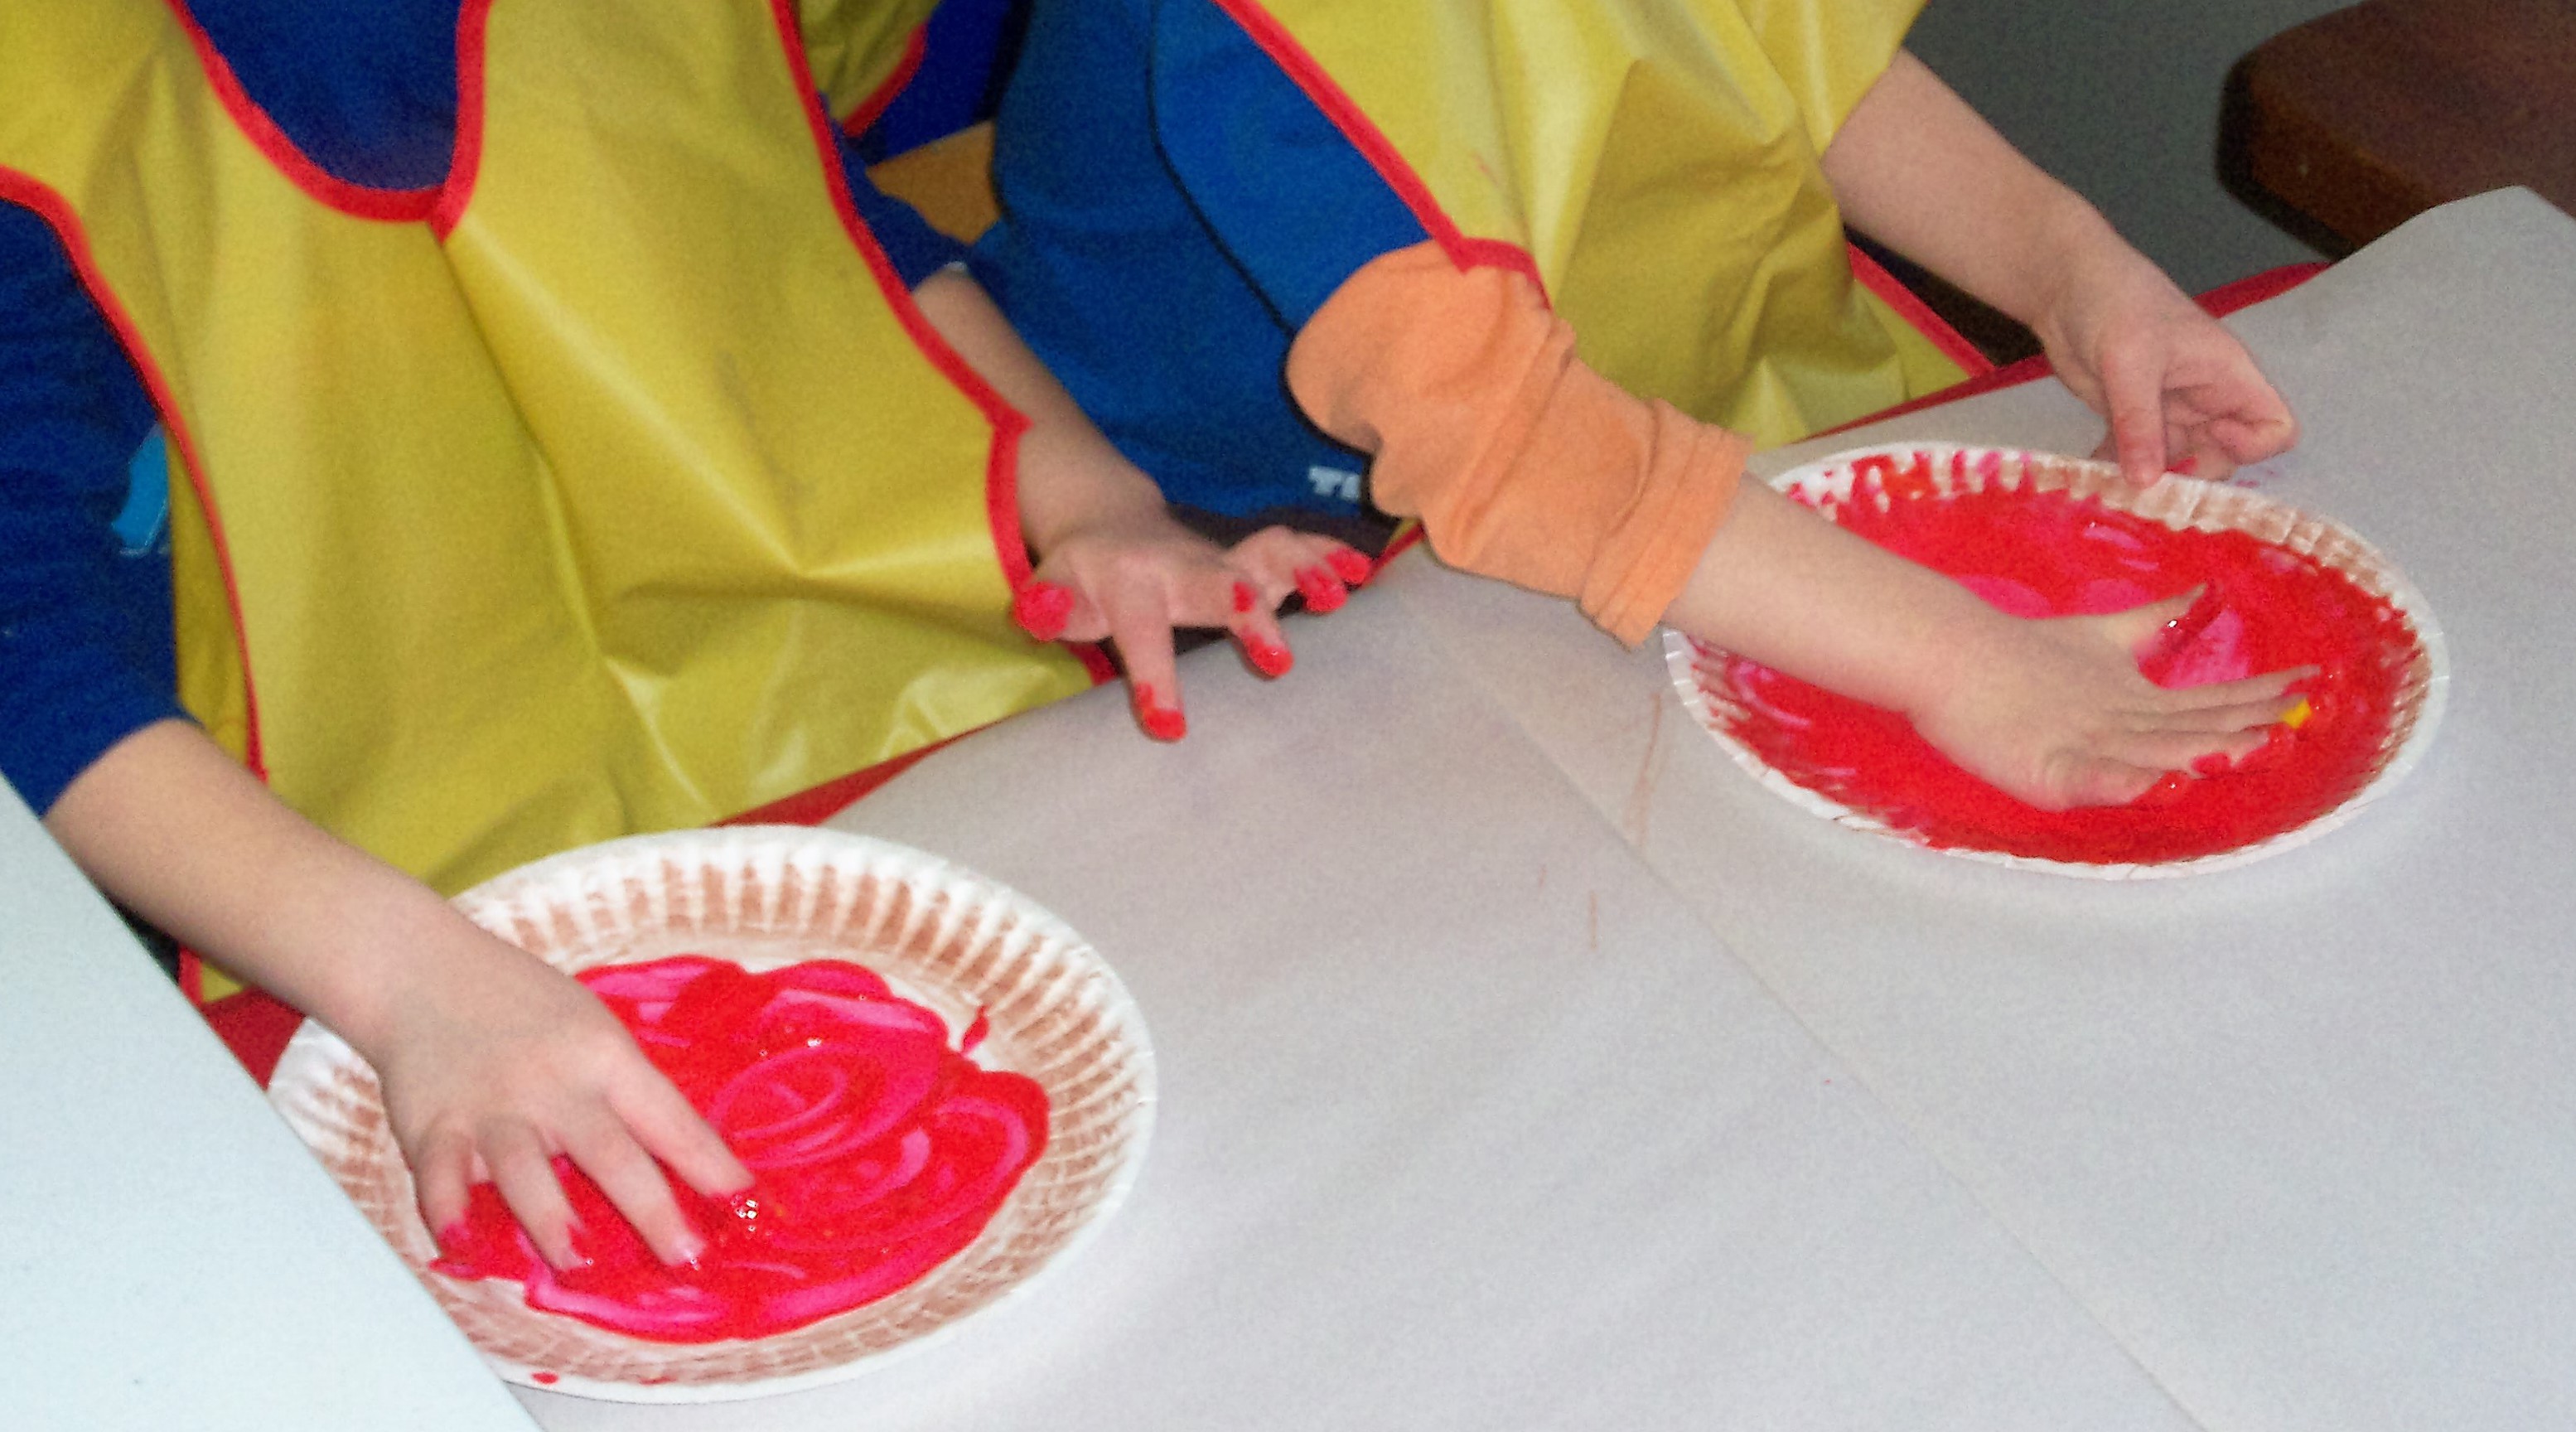
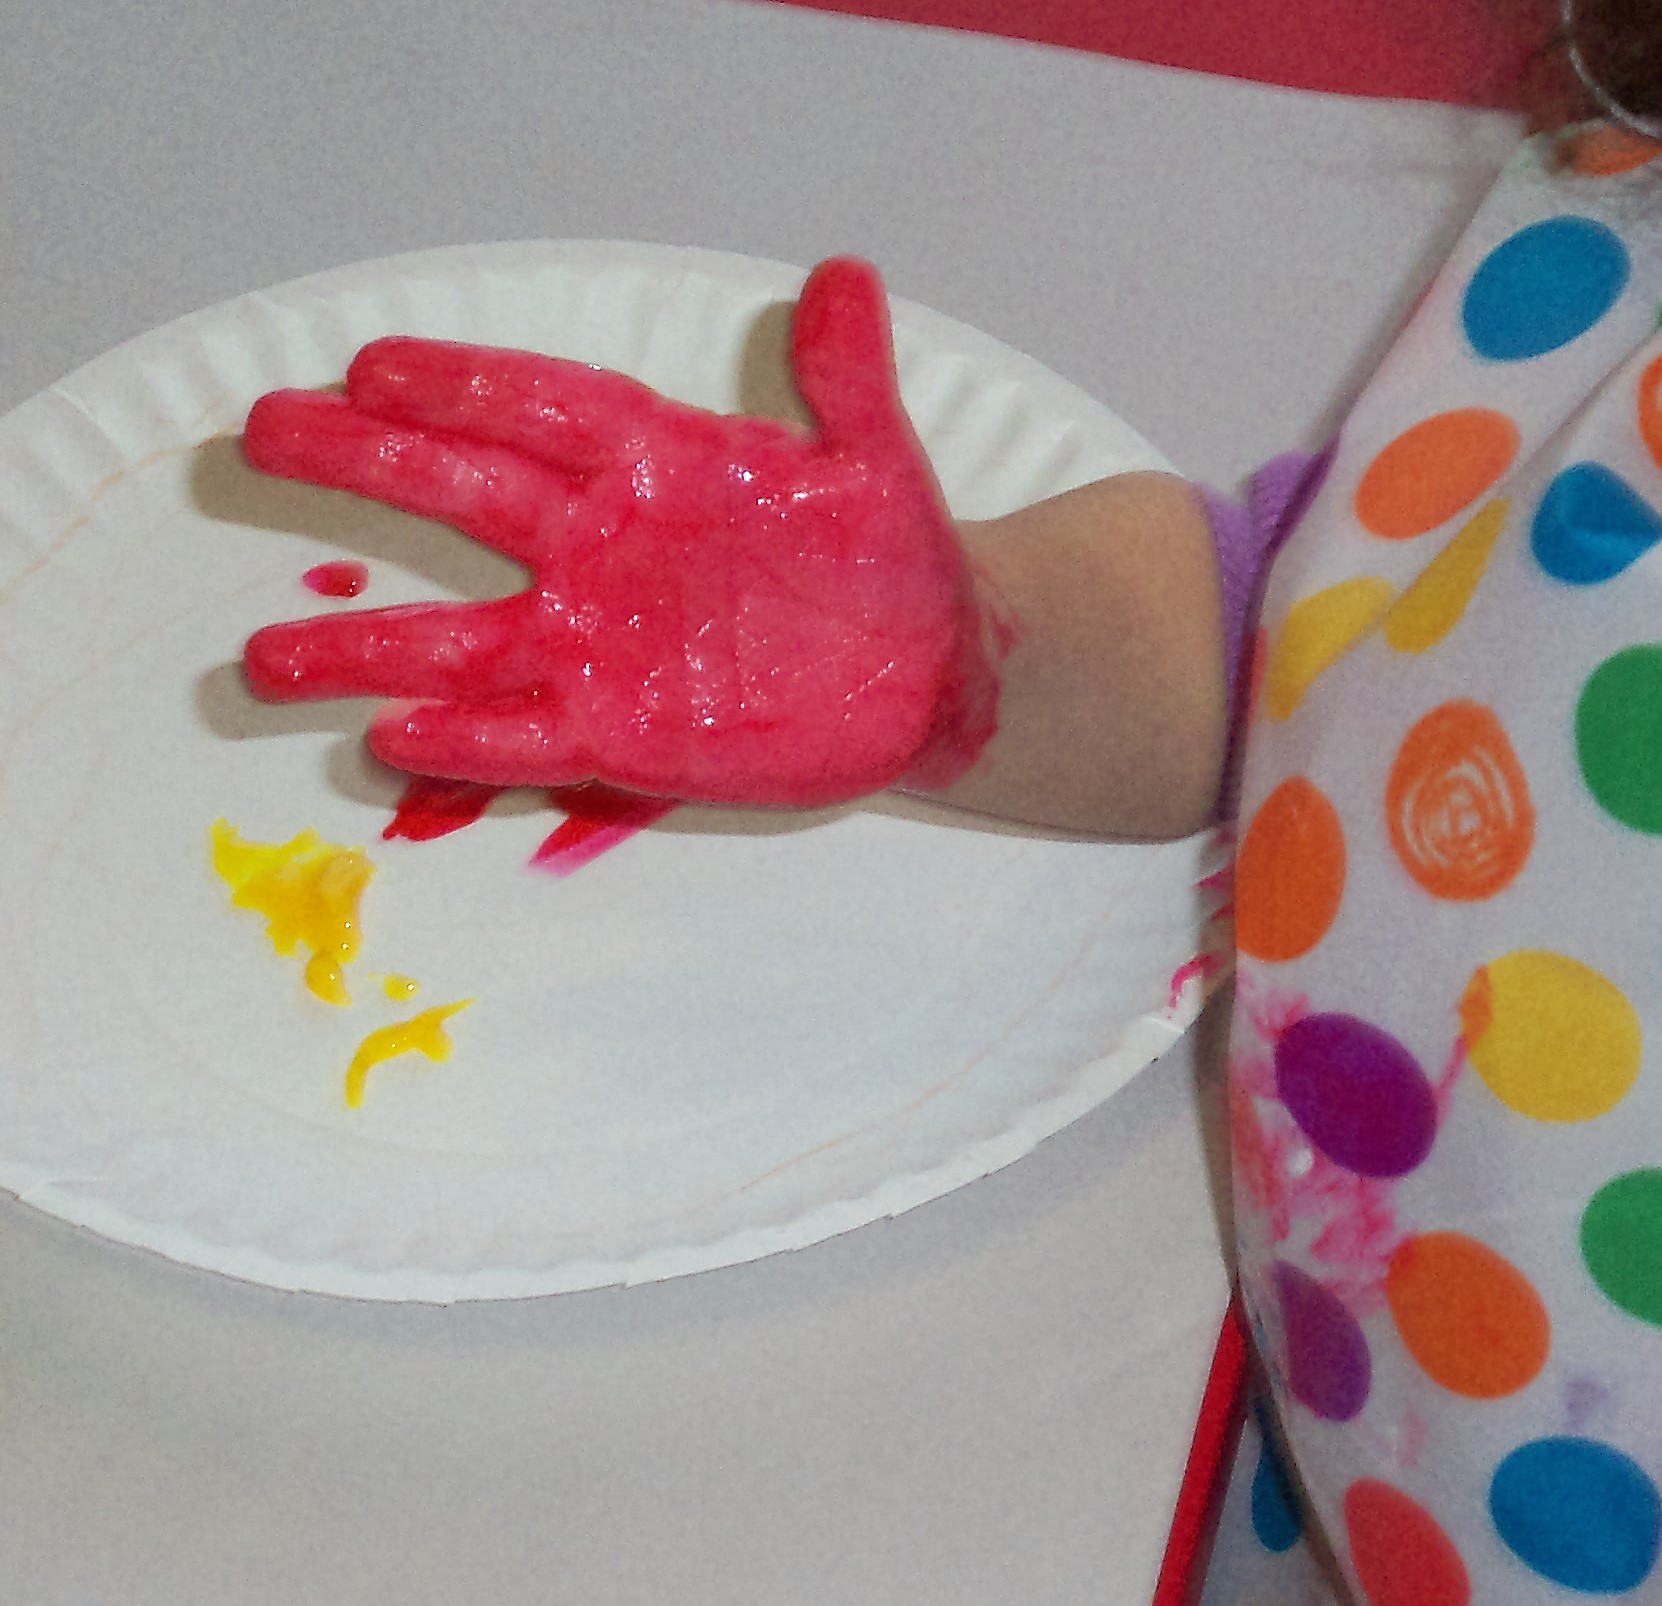
We folded baby wipes then painted designs on the top layer, and reinforced the design by adding extra paint where needed on the bottom layer.

getting-aquainted9

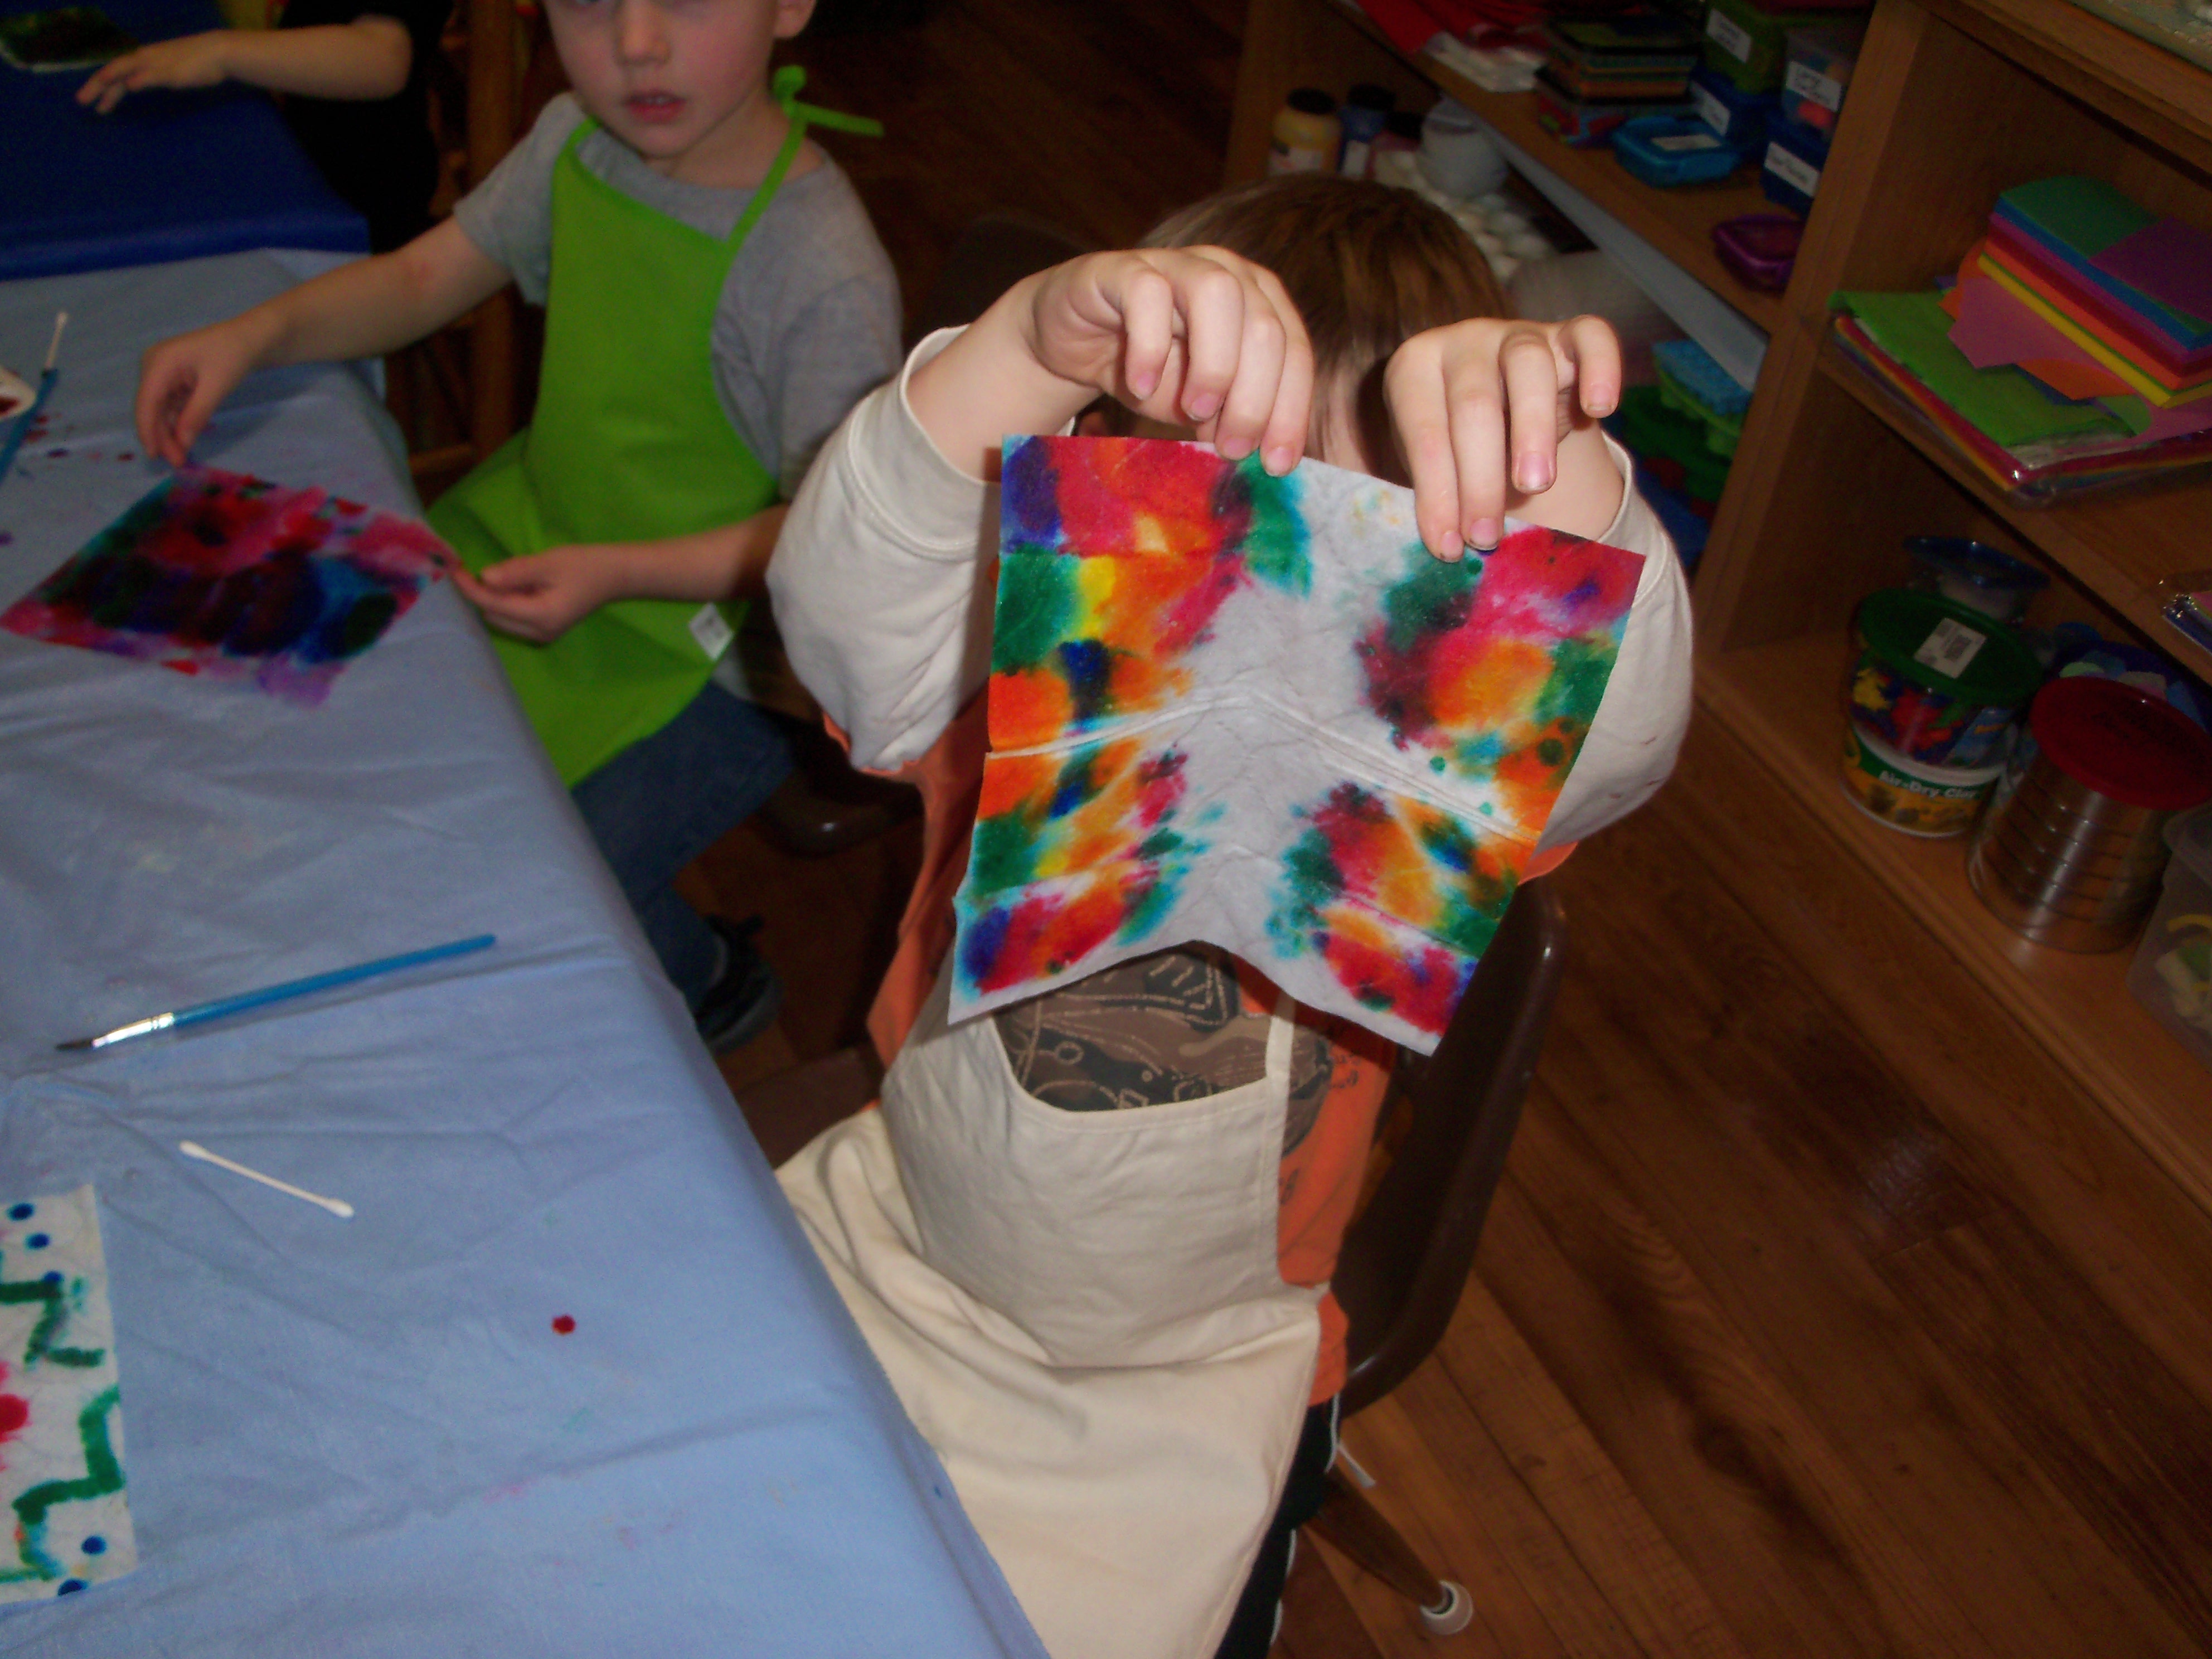
Unfolding brought squeals of delight.


ART PROJECT
For our art project, we made “tie-dyed” squares.  I got the idea here.  We found it much easier for 4-year-old hands to just fold the baby wipe into quarters rather than twisting and wrapping rubber bands around them.  We painted them with these wonderful liquid watercolors.  While this meant we had to turn our folded wipe over and reapply some of the colors to the backside, I think the results were just as satisfying.

SNACK TIME
Snack time was  another learning experience.  Besides apple slices, we gave the children graham crackers and a little pot of peanut butter and instructed them how to use their plastic knife to spread the peanut butter.  Next they were offered mini chocolate chips, chopped pecans and coconut flakes to sprinkle on top.  Some had never tried coconut before but found they liked it.  This led to a conversation about how even though new experiences (like trying coconut or coming to the first day of preschool) might seem a little scary,  if we are always afraid to try new things, we will miss out on so much in life.

GROUP GAME
Our group game involved sitting around in a circle on the floor and taking turns rolling a ball across the circle to each other.  As we rolled the ball, we had to shout out our name.  Simple as this was, the kids anxiously waited for their turns and seemed to really enjoy the activity.

FREE PLAY
Now, the last hour of our day, it was time for free-play.  Today’s stations included playing with our tunnel, wooden blocks, rubber animals, stacking cups, this Fisher-Price gumball machine (which, even at 4 years old, these kids can’t seem to get enough of),  throwing sock balls to try to hit a Mylar balloon tied to a chair, and a story time corner.  We also brought the wooden puzzles back out for those who didn’t get enough of them earlier in the day.  All play stations got lots of activity.  Free play is a vital part of the preschool experience.  After spending over two hours in the classroom following directions and mostly staying seated, these kids need time to roam and explore.  It’s a wonderful social experience where kids learn to take turns, share toys, cooperate, create and, in some cases, stand in line.

Blocks, animals and cups? The possibilities are endless.

Blocks, animals and cups? The possibilities are endless.

When the parents showed up to pick up their “experienced” preschoolers, they were met with happy faces and chattering children anxious to share about their day.  In order to enhance this communication between parents and children, I send home a take-home letter listing all that we did that day and post pictures to our private group page.

Advertisement

Parenting and Home Schooling Goals: The Good, The Bad and The Ugly

Today I’m going to write a challenge to parents, particularly to home school parents, but it is applicable to all parents.  When we first started home schooling, nearly 3 decades ago, we were advised to write a mission statement, to remind us why we chose this route and to help us focus on our goals.  I’m not sure I ever did that, and probably it would have changed quite a bit over the years.  In its simplest form, it would have been to teach my sons to love learning.  To that end, I’ve definitely succeeded. 

home-schooling-goals

Some of the other goals I may have set – goals which conference speakers directly or indirectly encouraged us to seek – we didn’t reach.  There was a lot of perfection pressure in the home school community in decades past.  It’s still there to some degree, though the direction may have changed a little.  Ultimately, I found making these things my goals often hampered what I’ve come to hold as my most important goal and also put unfair expectations on my boys.  All this pressure to present the perfect picture can wrongly imply to your child that he isn’t good enough – will never be good enough.

I discovered some years back that I was starting to develop a “salvation through home schooling” mentality.  If I did everything right, my boys would embrace my values, love the Lord and live to please Him.  If I parented as well as I was supposed to, I could save my children from choosing sin.   Oh, I probably would never have admitted or even recognized that’s what I was doing, but when it came down to it, that’s what it was.  One of my mantras now is, “You can’t home school (parent) the sinful nature out of your children.”  That’s not your job, and it’s not possible.  If it were, we wouldn’t need the saving grace of God.  We wouldn’t need Jesus’ sacrificial death and resurrection to give us true salvation.

Anyway, I didn’t do everything right; I did a lot of things wrong.  For one thing, my boys grew up with a mom who struggled with, at times, debilitating depression.  Striving for perfection can often lead to depression, by the way.  It took some hard knocks to wake me up to what I was doing.  My husband once told me I had to quit trying to make our kids fit other people’s standards for them.  This too I vehemently denied and I deceived myself.  First I tore him down for not setting (“suitable”) standards for our children.  Then I beat myself up for not being able to model, much less convince my children to adopt, those standards.  I’m here to tell you, you can and should model Christ to your children; this should be our real focus and our constant prayer.  You can lead your children toward Christ, but how, when and even if they truly accept His grace is between them and Jesus.   They will make mistakes and they will force you to face your own mistakes.

I have watched decades of kids graduate from home schooling.  I have talked with dozens of moms distraught over the choices made and actions taken by their adult children.  It is hard to accept the brittleness of goals you put so much effort into achieving.  I have learned we were looking at the wrong goals.

And so I challenge the present generation of hard-working parents:

If you are doing this (home schooling / raising children) to raise saints for the Kingdom, that is a good and godly goal, but they may grow up to rebel.

If you are doing this for “social security” — that is, so your kids will be your friends, that is a lovely goal for your adult children (younger children need you at a different level), but they may walk away from you.

If you are doing this to raise an academic genius, it’s entirely possible they may end up being “average” students.

If you are doing this to proudly build a tower of success (shame on you) it will likely come tumbling down.

If you are doing this to knit your family tightly together, you may succeed, or it may all unravel.

If you are doing this to keep your children from the world, it may result in them clinging to the ways of the world with all their might.

If you are doing this to earn a badge of honor for yourself, you deserve a badge of shame.

If you are doing this to prove you can, you are always at risk of proving you can’t.

What do you do when you have poured all your energies into a goal which ultimately you have no control over?

There is, I have found, only one purpose for home schooling or everyday parenting of your children which is pretty much guaranteed to get the desired results.  That is, you are doing this as an exercise in love and obedience.  Every opportunity you take to love and obey is pretty much guaranteed to expand your ability to love and obey.  In the process, you will have very likely strengthened your family.  Honestly, who can ever have too much exercise in loving those given to us by God?  And who can ever claim they aren’t in need of practice in obeying the Lord? 


hearts8

To that end, I have found one response to parenting and home schooling challenges which always seems to work.  Love your children in such a way that they will know they are loved.  Whether they embarrass you, question you, defy you, hurt you – and they will — respond with love.  Read 1 Corinthians, chapter 13 if you need a reminder of what love looks like.  That chapter does not just apply to marriage, in fact, I believe it speaks more to how God loves us.  It is a model of how we ought to love one another.

If you have to cut off friendships that are hurting your relationship with your children, cut them off.  If you have to sacrifice some of your ideals, sacrifice them.  If loving your child means readjusting the goals you set for them, then do it.  When your child needs correcting, let it be given with love, not anger.

When it comes to the “schooling” part of home schooling, love is what drives you to seek the right approach to help your child understand.  Love is what enables you to ask for help when you need it.  Love is what gives you the strength and ability to make the sacrifices required.  Love is what brings you to your knees in prayer to understand, build, strengthen and enable that child.

Read great books to your children.  Teach them the math, science and grammar skills they’ll need.  Teach them history, handwriting and health.  Teach them to love God, their family, their country.  Teach them the life skills they will need and teach them to give of themselves.  But also, be sure to teach their hearts to dance.   Teach them to laugh and sing and hug.  Listen to their heart.  Recognize their strengths and come alongside them in their weaknesses.  They are not your trophies; they are your gift and your responsibility.

When all is said and done, it is near impossible for your child to succeed in life and happiness if they don’t believe they are loved. 

hearts7

Five Senses Day at Preschool

This week at preschool we learned about our five senses.  It was a touchy, smelly, tasty, visual and auditory extravaganza.  When the kids arrived, they were given cheap white paper plates and were told they were going to make it into a pizza.  As we waited for the other classmates to arrive we began coloring the outer edge of our plates a golden brown.  This would be our crust.  Once all the kids were present and had completed coloring their crusts, we put a dollop of red finger paint “sauce” on the middle of their “crust” and they got the delightfully tactile experience of spreading it around the crust with their hands.  We felt the sauce was a little too red and so we added some yellow to smear in.  (We learned about red and yellow making orange last week.)  It helped just a little.  We should have done some hand print art while we were at it but instead we just wiped all the “sauce” off our hands with our ever-present box of baby wipes, then washed the “cleaned” hands in the sink.  In ignorance, we set our pizzas aside to dry.  Apparently finger paint doesn’t dry too quickly.    We’ll get back to the pizzas later … because they turned out GREAT!

108_1988 (2) 108_1989 (2)

Blinking Eyes
While the pizza sauce “dried”, we started working on our “blinking eye” models.  My assistant did all the folding for us as this would have been too difficult for the little guys.  I gave the children a selection of skin tone colors and told them to choose any skin color they wanted to color the eyelids.  After they colored the skin, we added black eyelashes.  Then we unfolded the paper and I drew light pencil circles in the correct location.  The children were instructed to outline the iris in black and color in the pupil except for the shiny spot.  Next they were allowed to choose any color they wanted for the iris color with the only limitation being they had to find a lighter and darker shade of the same color.  I had them color the inner part of the circle with the lighter shade and the rest of the circle with the darker shade.  This gives the eyes a fairly realistic look which was quite pleasing.  As the final step, they were to add a few black lines radiating out from the pupil to the edge of the iris.  These lines got rather bold, but adorable.  Then we folded the paper back to its original form and showed the kids how to blink their eyes by pinching the corners in back and pushing together and forward to open the eye and pulling out and back to close it.  We also discussed how being able to blink is what keeps your eyes lubricated and safe from dirt getting into them.

Next we tested our sense of hearing by shaking old pill bottles (Thank you Mom.)  which I had covered with construction paper and filled in sets of two with various ingredients such as oatmeal, rice, salt,  a single chocolate kiss, buttons, pennies.  The kids had to shake a bottle and then try to find its partner by listening to the sounds of the other bottles as they shook them.  After that, we did the same thing with “Smelly bottles” — paper covered pill bottles again, but this time covered with tissue so we could smell but not see the ingredients.  These bottles contained such ingredients as dry oatmeal, brown sugar, cinnamon, cocoa, ground coffee and black pepper.  At first I tried just putting essential oils on cotton balls so I wouldn’t need to hide the ingredients, but in testing them myself, I was surprised at how difficult it was to tell the difference between rather distinct smelling oils.  I wasn’t too surprised to learn how quickly this put my olfactory system on overload though, so I decided to go more the food route with the kids.  I was too lazy to cover the bottoms of the bottles and it didn’t take the kids long to figure out how to self-check their guesses.

Our sense of touch was the next to be tested.  We had two activities.  We put 5 pennies on a dish for each child, then buried them in rice and had the kids close their eyes and find the pennies.  Next I brought out cloth sacks and put a familiar object in each child’s sack.  I used our reusable cloth Christmas sacks, but a large sock would work just as well.  They were to use their sense of touch to figure out what was in their bag.  Once they got the hang of it, I moved to more difficult items.   After they’d found quite a variety of objects, I put all the objects into one sack and we passed it around assigning each child a particular object to go fish out of the bag.  This proved to be a bit more difficult than identifying the single object, but it was not too difficult for them to accomplish.

Pizza Time!  

We brought our paper pizzas back out along with all the toppings.  Sadly, the sauce was still quite wet.  No matter, we just drizzed glue all over it and then sprinkled our pizza with “cheese” and then real Italian seasoning to make it smell like pizza.  Next the kids topped their pizzas any way they please.  Their inner pizza chefs sprang to life as they created their masterpieces.  I cut all the ingredients out of paper except for the sausage which was cut from felt and the onion bits which was a white raffia ribbon cut in bits. When the kids finished topping their pizzas, we drizzled them with more clear school glue just for an extra measure to make sure all the ingredients stay attached.  The results were stunning.

Snack Time! — finally a chance to play with the sense of taste!
We tasted salty, spicy, bitter, sour and sweet.  The kids were more adventurous in tasting things than I expected.  Most of them even tried nibbling the parsley.

108_2034 108_2038 - CopyFor salty I used a sprinkle of pumpkin seeds.  The kids were offered a choice of a lemon slice or a dill pickle for sour.  Most tried and enjoyed both.  For bitter, they tried both parsley and my chocolate concoction.  I mixed straight cocoa powder with some coconut oil.  One of the girls tasted it and said, “This is Mom chocolate!”

108_2039We decided a little sprinkle of sugar vastly improved the taste for a kid’s palate.  No, I wasn’t teaching them that adding sugar to food made it taste better; I was demonstrating that a little sweetness can take away bitterness.  Speaking of sweetness, we used applesauce for this taste.  The kids cleaned me out on this one.  For spicy I wanted to use nacho flavored tortilla chips, which I did, but for the dairy-free kids I found some spicy crackers that were both gluten and dairy free.  The kids did not know that spicy play dough was waiting on the table for their playtime or I doubt they would have dawdled through snack time as leisurely as they did.

Active Group Play

After snack we usually try to do something active.  Today I tied in out theme of senses for this activity.  Lacking an old fashioned ticking timer, I downloaded a ticking “bomb” app on my tablet and hid it in various places.  The kids had 30 seconds to find it before it “exploded”.  We had to adjust the volume a few times to make it a little more difficult to find, but even still, it never took them the full 30 seconds to find it.

Play Time!
108_2053There were a few other choices, like some musical toys, a prism and our wave bottle (half colored water, half corn oil), but for the most part they wanted to play with the spice-scented play dough for the rest of the afternoon.  This was the first time I’d tried this recipe, and I love it!  It was a bit of a work out stirring six double batches (By the way, doubling the recipe worked 108_2043just fine.)  but it really only took about 5 minutes per batch. Don’t let the cooking part scare you — really.  It was a wonderful texture after I kneaded it for half a minute. I used a variety of spices to both color and scent the dough.  They smelled wonderful and I was delighted with the natural colors I got.  The center one is beet powder, then clockwise starting with the bright yellow, which is turmeric, followed by sage and thyme, cocoa powder, dill and cinnamon.

We brought out all our play dough tools and used our rhythm sticks as rolling pins.  The kids didn’t do much with the cookie cutters but when I brought out the little pie pans their eyes lit up and a little bakery sprang to life.

That brought us to the end of a very sensory day of preschool.  Thanks for stopping by to check us out.  Go here to read about some of our other preschool adventures.

Snowman Day at Preschool

Once a week, I get the privilege of having a handful of 4-year-olds come over to my house for a little preschool time.  We have so much fun together, I thought I’d share our days with you.  Each week we have a different theme and our schedule follows the same pattern:  an hour of school skills, an hour of art, snack time, active group play, free play (including some form of sensory play) at various play stations.

THIS WEEK’S THEME WAS SNOWMEN!

We started our day practicing tracing and cutting skills.  The kids took turns sharing a couple of snowman shaped patterns which they used to trace the shape on their cardstock.  Next they cut the snowmen out — a little tricky to get in the points, but they handled it well.  Each child drew a face on their snowman and glued on one of the scarves I had created out of scrapbook paper.  I had also created hats out of the same pieces of scrapbook paper and put a number from 1-12 on each one.  It was time to begin our game.

The children took turns picking a hat, turning it over to reveal the number and then placing the hat upon their snowman.  They got really excited when the hat paper matched their scarf paper.  Now the task was to place as many buttons on the snowman as the hat showed.  Once we checked to see if they had the right amount, they would switch hats and add or subtract buttons to match the new number.  They were not really taking turns, but all working on their buttons and switching hats randomly whenever they completed their task.  This game was far more engaging than I anticipated and the kids really enjoyed it.  Here is the post where I got the idea.

Next, we made snowmen out of glue which I got from this link.  I did a sample snowman, but it didn’t have the whole 2-3 days drying time necessary to be completely done by the day of class.  I was rather dismayed as it dried because the glue seemed to be absorbing into the wax paper and I thought I hadn’t used enough glue.  I didn’t realize this was exactly how it was supposed to look, so when the kids made theirs I kept encouraging them to use more glue.  While this didn’t hurt their final products at all, it did mean more drying time — about 3 days total for the thickest ones.  The final product had a milky translucency to it and is semi-stiff/semi-flexible.


Probably the best activity of the day was the melting snowmen which I got from this link.  Preparation involved dropping 2 beads and an orange felt triangle in the bottom of a cup, then stuffing the cup with a mixture of baking soda and water mixed to a stiff claylike consistency with a little silver glitter mixed in for fun.  I used red Solo “shot glasses” and I wouldn’t recommend going any bigger than that.  After I firmly packed the cup about half-full, I threw in a couple of sequin “buttons” and inserted two pieces of toothpicks down the side for arms.  Then I set them on the front porch overnight to freeze.  This worked great since temperatures were below zero last week.

preschool Jan 2016 010

Our frozen snowmen awaiting release.

It took some doing to get the snowmen out of the cup.  They were REALLY frozen solid!  We dipped them in hot water, rolled them in our hands, dipped them again and squeezed and prodded until finally, they worked their way out.  It was so fun to see the unique facial expressions each one was “born” with.  Each child was given one snowman on a plastic tray and a 3 oz. spray bottle filled with vinegar.  We also set out small bowls of vinegar and equipped each child with a plastic pipette.  Then we set them loose instructing them to melt the snowmen with their vinegar.  Because the baking soda concoction was frozen it didn’t react as abruptly as the baking soda and vinegar volcano many of us have done.  Each squirt resulted in a satisfying little fizzle and a tiny bit of melting.  The kids began debating which worked better, the spray bottle or the pipette.  One child figured out (after using all the vinegar in his spray bottle) that he could then suck up the pool of vinegar off his tray and refill his bottle.  Then he discovered pouring the vinegar onto the snowman out of the open bottle was a VERY effective method for melting him.  This project kept all the children completely engaged until the snowmen were totally melted.  In all, it took 20-25 minutes.  Wanting to let the children linger over this learning experiment, I decided to knock a few activities off of our list rather than rush this project.

Next, we read the book Snowmen at Night, by Caralyn Buehner and then let the kids draw their own “snowmen at night” pictures with chalk on dark blue paper.  We used colored chalk, but most of the kids chose to just use white anyway.


Snack time consisted of a marshmallow snowman in a field of popcorn “snow” with a side of snowman noses.


preschool Jan 2016 045

I should have cut the button toothpicks shorter, so they didn’t look like daggers, but I was in a hurry.  I dipped a toothpick in food coloring to make the face and used a slivered almond for the nose.


It was time to get active so we split the kids into two teams and equipped each team with a bucket of snowball.  With a barrier set between the teams, we let the snowballs fly.  This activity rivaled the melting snowmen as a favorite, and I think the kids could have gone on forever.

While the snowmen-faced balls are adorable and soft, the plain ones have an incredible texture that feels just like you are packing a real snowball when you squeeze them.

Our sensory play consisted of snow dough.  Again, this was such a fun texture to work with.  It is a simple concoction of baking soda and conditioner in about a 4/1 ratio.  (I used a bit more conditioner than the original post suggested.)  You’ll know the right proportions by feel.  At first, it sticks together but is rather crumbly but as you mix in more conditioner, you get a silky soft feel to it.  It still looks like real snow though.  This packs nicely and can be formed into a snowman.  It’s still crumbly and your hands will get messy, but both these ingredients rinse off easily and will not clog your drain.

I put out a nice selection of snowman accouterments to try to encourage the kids to build one more snowman, but most of them just wanted to immerse themselves in the texture of the dough.  One little girl found a coal shovel in the train set and decided to use it to shovel snow.

Taking a break from snowmen, we ended the day by building a magnificent Duplo train track through the rooms.


UNPLUG and ENGAGE – 100+ Things OLDER Kids Can Do at Home to Learn, Relieve Boredom and Bless Others

Nothing ruins a summer so much as the phrase “I’m BORED!”  But letting your children pass the days sitting in the air-conditioning in front of some screen or another is not the answer to this problem.  Here are all kinds of things your older children can do to engage in life, relieve bordome, stimulate their minds and imagination and use their gifts to bless others.  [Check out my son’s stop-motion videos if you want to learn the value of stimulating the imagination.]  Here’s hoping that awful phrase is removed from your home this summer.  These activities are — for the most part — FREE!, child led (not a lot of parent involvement necessary), and can be done right in your home or yard.  Almost all of them don’t even require electricity much less a screen (although I do send you to some internet links to help you get started on some of them).  Print ’em and Post ’em.  When the kids even HINT at being bored, point to the list.  Enjoy!

Go here https://blessandbuild.com/2014/07/07/unplug-and-explore-60-things-kids-can-do-at-home-when-theyre-bored/  to see my list for younger children,
and here https://blessandbuild.com/2014/07/07/road-trips-unplugged/comment-page-1/#comment-160 to see my ideas for fun things to do in the car.

LEARN and ENTERTAIN

Alone or With Friends

  1. Learn  at least 3 different kinds of  SOLITAIRE.
  2. Learn to SHUFFLE and “bridge” cards
  3. Find old  FRAMES and/or old  FURNITURE (get permission!) and PAINT them with fun designs.
    DCIM100MEDIA
  4. Practice SPORTS SKILLS – dribbling, shooting, passing, free-throws, lay-ups, kicking, batting, pitching, volleying, archery, etc.
  5. LEGOS
  6. PAINT a masterpiece (If you haven’t got any ideas, try to copy a famous piece of art.)Imagination Station
  7. Practice DRAWING – I heartily recommend Mark Kistler’s books (or videos).
    https://www.youtube.com/watch?v=lAcK9BY7Ymw
  8. Explore the world from a DIFFERENT PERSPECTIVE with binoculars, magnifying glass or microscope.
  9. Have a KOOL-AID STAND.
  10. Gather, clean, and price outgrown toys and have a TOY SALE.
  11. CHALLENGE YOUR BRAIN with Cryptograms, Crosswords, Sudoku or Logic Puzzle
  12. Create a MAZE, with pencil and paper or with blocks or dominoes.
  13. Write a STORY.
  14. Complete a 500 piece PUZZLE.  (or more difficult if you choose)
  15. Use RUBBER STAMPS to make a collection of cards
  16. Learn ORIGAMI. – Get a book on how to do it from the library.
    origami
  17. Listen to AUDIOBOOKS  (Check your local library for a plethora of titles.)
  18.  CLIMB a tree.
  19. DECORATE your room.
  20. Build a TREE HOUSE.
  21. ROLLERBLADE
  22. Go for a BIKE RIDE. – With your parent’s help map out a 10 mile route and conquer it.
  23. Practice creating an outstanding AUTOGRAPH.  Your signature says a lot about you.  Make it stylish and unique.
  24. Make a MINIATURE GOLF COURSE in your yard or basement.   Use soup cans for holes.
  25. Learn some fancy JUMP ROPING moves.
  26. Learn some MAGIC TRICKS.
  27. Try a simple BUILDING PROJECT – shelves/bench/wooden crate/etc.
  28. Make an awesome COSTUME.
  29. Go on a NATURE HIKE.
  30. Create a SHELTER  out of branches, leaves, etc.  Sleep in it, if you dare.
  31. Press FLOWERS.
  32. Make PICTURE FRAMES  from twigs (or any other objects) glued onto sturdy cardboard
  33. Learn to KNIT or CROCHET.fairy garden
  34. Make DOLL CLOTHES.
  35. Create a  FAIRY GARDEN in a corner of the yard.
    http://www.themagiconions.com/2010/08/make-fairy-garden.html
  36. RE-FASHION old T-shirts.
    http://darlingadventures.com/?p=574
  37. Make BOOKMARKS.
  38. RE-CREATE your favorite book illustration.
  39. DESIGN your own GAME.
  40. Write SECRET MESSAGES with lemon juice on white paper.  When dry, hold paper over heating toaster to make invisible letters appear!
  41. Start a JOURNAL or write in one you already started.
  42. Organize your photos.  Create a PHOTOBOOK.
  43. Find and ant hill,  drop some crumbs or sweet liquid nearby and watch the ANTS do their thing.
  44. Play CHARADES.
  45. Draw/write a CARTOON STRIP of your own characters.
  46. Make a MAP of your bedroom, house or neighborhood.
  47. Find a PEN PAL from another country.  Share ideas about your cultures with each other.
  48. Collect sticks and mud and build a BIRD’S NEST.
  49. Create a family or neighborhood NEWSLETTER.
  50. Make PAPER AIRPLAINES.
  51. Learn to COOK a meal.
  52. Gather junk and discarded materials and turn it into a sculpture or other piece of art.  This is called FOUND OBJECT ART.
  53. Create a STOP-MOTION VIDEO.
    https://www.youtube.com/watch?v=HuexL14O9L8
    https://www.youtube.com/watch?v=9115ZqfkXM4  (See how creative my kids are?)
  54. Learn some CARD TRICKS.
  55. Practice FANCY LETTERING – a great skill to have for making cards and signs
    CHALK ART  https://www.etsy.com/listing/175732200/jeremiah-2911-for-i-know-the-plans-card?ref=shop_home_active_21
  56. Start a BLOG.
  57. Learn to FACE PAINT.100_0071
  58. Learn to whistle, snap your fingers, swim, ride a bike or ANYTHING ELSE YOU’VE WISHED YOU COULD DO.  (Probably not flying though.)
  59. REARRANGE your bedroom.
  60. Learn to tie a variety of  KNOTS.
  61. Learn a new VOCABULARY word every week and try to use it correctly every day that week.
  62.  Play MUSICAL INSTRUMENTS.
  63. Pitch a tent and CAMP OUT in the backyard.
  64. Learn to make SHADOW PICTURES.
  65. LIP SYNC to a favorite song.  Or just go ahead and learn to sing it —really well!


LEARN and ENTERTAIN

With Friends / Siblings

  1. Play BOARD GAMES.
  2. Play cards with a friend.  Look up “POPULAR CARD GAMES” and learn the rules and strategy.
  3. Play MARBLES.
  4. PUZZLE RACES – Using two puzzles of the same difficulty (100 pieces or less) Race a friend to see who can complete their puzzle first.  You can also do this with teams.
  5. MAKE A VIDEO staring you and your siblings/friends.hopscotch
  6. Play HOPSCOTCH.
  7. Set up an OBSTACLE COURSE and  challenge friends/siblings to beat your time.
  8. Have a water BALLOON TOSS or an egg toss.
  9. Have a WATER FIGHT with water balloons, water guns, big plastic cups or all three!
  10. Play FLASHLIGHT TAG.
  11. Play KICK the CAN.  http://www.wikihow.com/Play-Kick-the-Can
  12. Have a SCAVENGER HUNT.  Form teams and a list of things that must be found outside/ in the house/ in the neighborhood.  State a time limit and see which team can find the most items.
  13. Record you and your friends doing CRAZY STUNTS like posing as mannequins in a store window, asking a stranger for a bite of his sandwich, handing out candy bars to random passers-by, having a parade down your street, or protesting something ridiculous.
  14. Play FOUR SQUARE.  http://www.wikihow.com/Play-Four-Square
  15. Play photographer.  Have a friend take turns with you doing PHOTO SHOOTS of each other.


Be a Blessing

We Are Most Blessed When Blessing Others

  1. WRITE a Letter.set up fair
  2. Wash WINDOWS.
  3. Clean a SHELF or DRAWER in your room.
  4. Set Up CARNIVAL GAMES for the kids in your neighborhood or for your siblings. (If you want to get really into it – have the kids bring old toys in exchange for tickets and use the old toys for game prizes!)
  5. Memorize then  Recite BIBLE VERSES.
  6. Memorize then recite a POEM.
  7. Put on a PLAY.
  8. BAKE A TREAT for your family or neighbors.
  9. ADOPT A GRANDPARENT from among the many lonely people in assisted living.  Write them notes, visit them, make things for them.
  10. Make CARDS/PICTURES and send them to loved ones
  11. CLEAN your bedroom.
  12. Pull the WEEDS.
  13. Using family friendly movies, run a THEATER in your living room for friends (complete with popcorn!).
  14. Write “THANK YOU” cards to tell someone how they’ve blessed you — even if you haven’t received a gift from them.
  15. Create circus stunts and perform a CIRCUS for/with the neighbor children.Circus Lion
  16. DUST the house.
  17. BRUSH the pet.
  18. PICK berries or vegetables.
  19. ENTERTAIN a younger sibling or neighbor child and give mom a break.
  20. Play outside with a PET.
  21. Surprise a neighbor with a GOOD DEED.
  22. Host a TEA PARTY.
  23. BATHE a pet.
  24. READ to younger siblings.
  25. ORGANIZE a dresser drawer.
  26. Clean UNDER the BED.
  27. MOW the lawn.
  28. Create a list of “RANDOM ACTS of KINDNESS” you can do.  See how many you can accomplish.
  29. Hold a neighborhood BIKE WASH.
  30. Do a STORY HOUR  for the younger children in your neighborhood.